Store
Store- Multimedia
For Windows
- Converter Tools
- Video Converter Ultimate

- Video Converter
- 4K Converter
- MP4 Converter
- Audio Converter
For Mac
- BD/DVD
For Windows
- DVD Tools
- DVD Ripper
- DVD Copy
- DVD Creator
- DVD Converter
- DVD Toolkit
For Mac
- Mobile
For Windows
For Mac
- Utility
- Freeware

User Guide
Get Started
Download & Install
Download iPhone Transfer Pro and then follow the on-screen instructions to install it on your computer. After installing, launch it and start the next process.
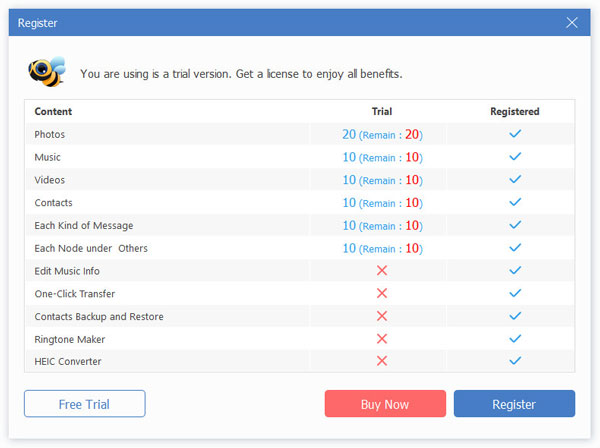
Register
There are some limitations in the trial version of AnyMP4 iPhone Transfer Pro. If you want to enjoy the full features, you can need to register the software with your Email Address and License Key.
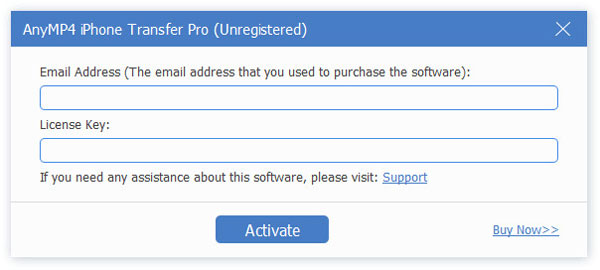
As you open iPhone Transfer Pro on your computer, a pop-up window will show up where you can input your email address and registration code.
After entering the email address and license key, you can click Activate button to complete the registration. Please make sure that your computer has a stable internet connection while you register AnyMP4 iPhone Transfer Pro.
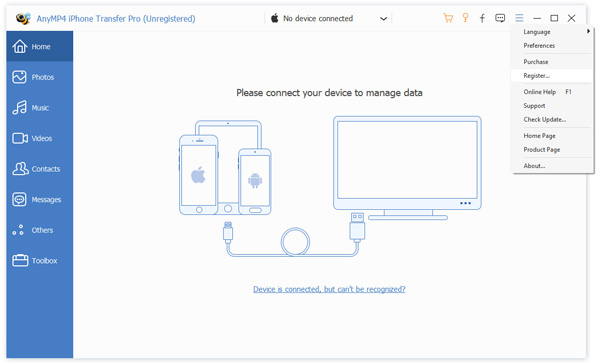
Or you can click the Menu icon on the top right of the interface, and select Register to open the register window.
Update
AnyMP4 iPhone Transfer Pro will be constantly updated with bug fixes and new features. If you want a new update, you can try the following methods.
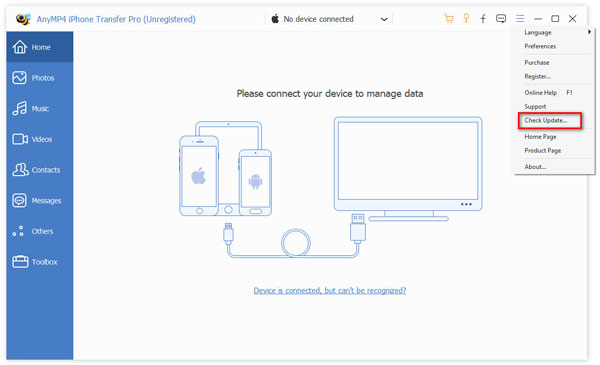
Method 1: Click the Menu icon and choose Check Update. When there is an update, you can download and install it immediately.
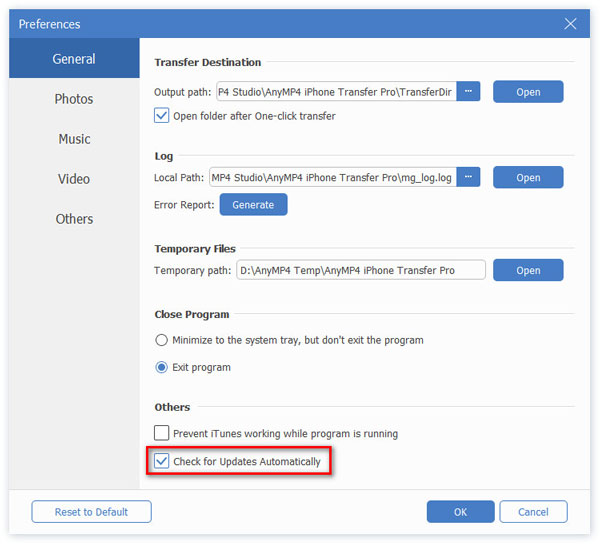
Method 2: Click the Menu icon and select Preferences. Then check the box of Check for updates automatically. Then you will get the message whenever an update is available.
Method 3: You can go to our official website to download the latest version of iPhone Transfer Pro.
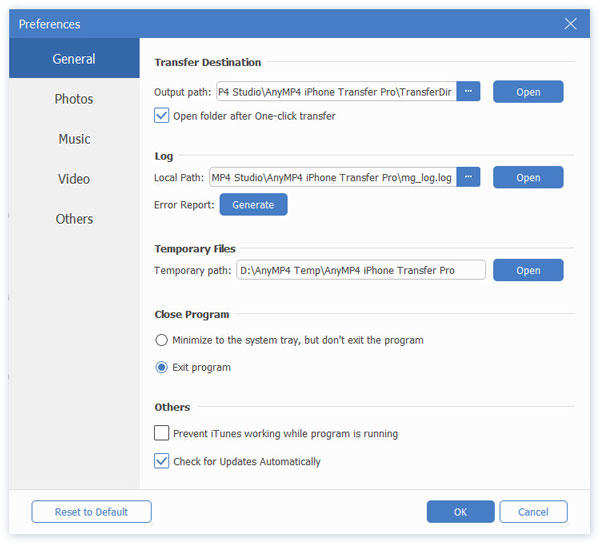
Preferences
The Preference window enables you to adjust settings in advance. You are given choices to adjust general settings like destination, photos, music, video, contacts and messages.
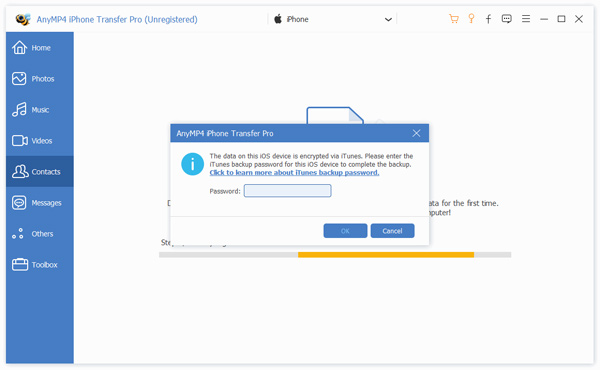
iOS 13/14/15 Data Encryption
After iOS 13 or above update, Apple has enhanced the security of device data. When you want to access your iOS data with iPhone Transfer, a pop-up window will display and require you to enter the password on iOS device to confirm the operation. You will need to enter the password for extra 2 times after tapping the Trust button.
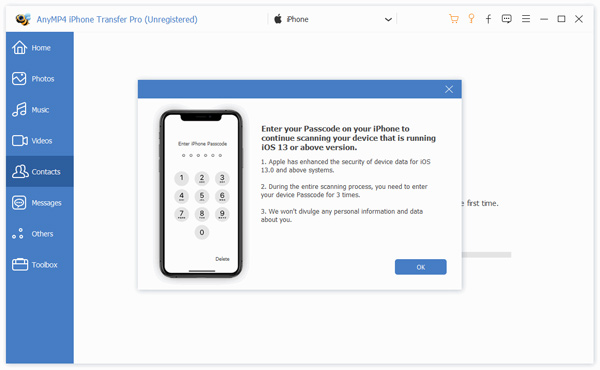
Moreover, if you have backed up iOS device with iTunes with the encrypted password, you are required to enter the password on the device after inputting the iTunes backup password in this software.
Transfer from iDevice to iDevice/Computer/iTunes
Step 1 Connect iOS Device to computer
After downloading this software, install and run this program on your computer. Meanwhile, connect your iPhone to computer with USB cable.
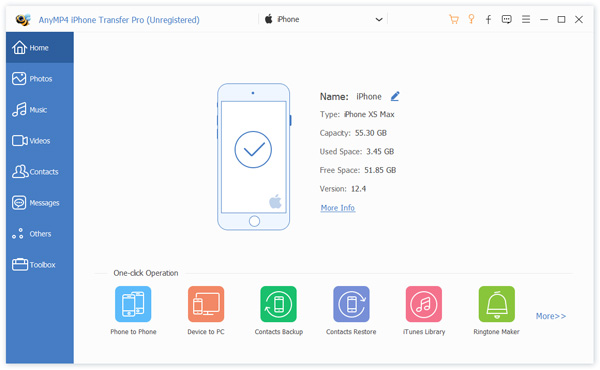
Step 2 Transfer data from iDevice to computer
The detailed information of your iOS device will show in the main interface. You can also check the details of Photos, Music, Videos, Contacts, Messages, Others or Toolbox in the left pane.
Transfer data from iOS device to computer
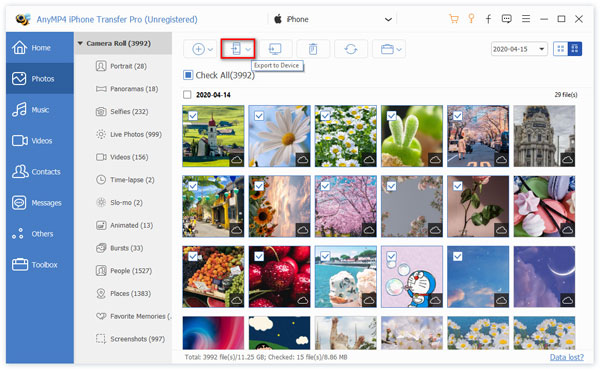
Step 3 Tick the photo you want to transfer or manage, click Export to PC button (the computer icon) to export the data to your computer. If you want to delete the photo, just click Delete button (the trash icon) on the top side.

Transfer data between iOS devices
Here, if you would like to transfer data between two iOS devices, then you need to plug your another iOS device to the computer. Select the data and click Export to Device button (the phone icon) to sync data between the two devices.
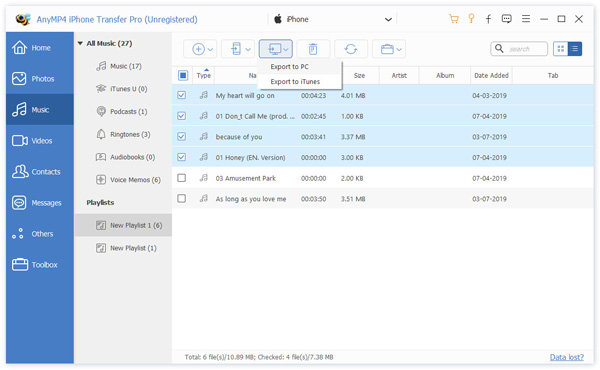
Move data from iOS device to iTunes directly
Without running iTunes, you could also use this software to transfer the data from iOS devices to iTunes directly. Select music data you want to move, and click on the computer icon > Export to iTunes.
Data Transfer & Management
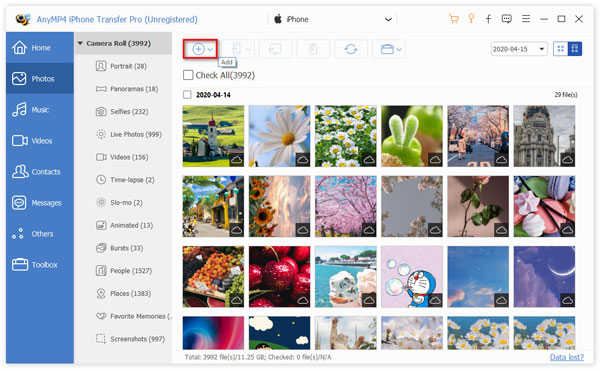
Transfer & Manage Photos
Select Photos in the left pane, and you can check all the photos in details. If you want to add photos to iPhone, you can click the Add button to import the photo from computer to your iPhone.
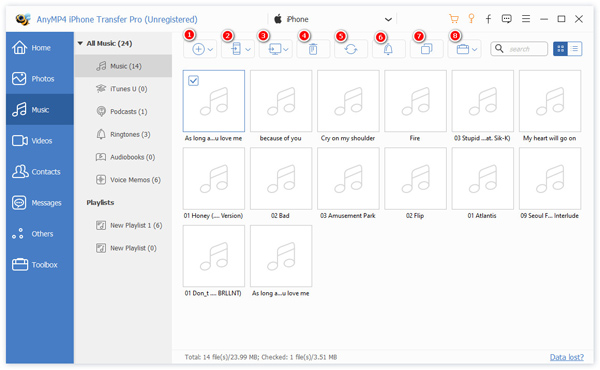
Transfer & Manage Music
Select Music in the left list, and you can check all the functions below.
1. Click Add item(s) button to add music file or folder from iOS device to computer.
2. By clicking Export to Device button to transfer music file from one iOS device to another.
3. Click the computer icon to transfer the music from iOS device to computer or iTunes.
4. The trash icon enables you to delete the music pieces that you are tired of.
5. Click the Refresh button to refresh the music files on your iPhone, iPad or iPod.
6. This Turn songs into ringtones button (the bell icon) lets you quickly generate a ringtone.
7. The Find duplicate songs function searches the duplicate music at once, so that you can quickly find and delete duplicates.
8. The toolbox button gives you choices to play, check and edit music info, add to playlist, and check all music files.
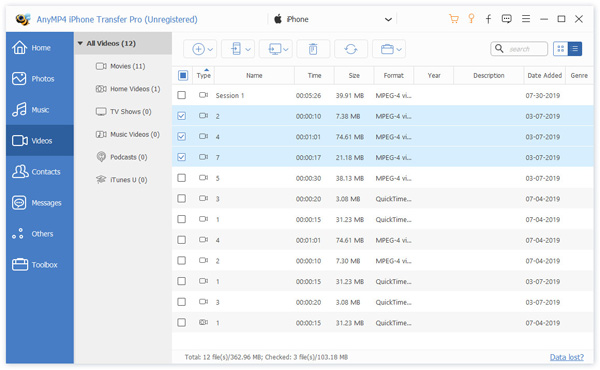
Transfer & Manage Videos
As you select Videos in the left side, you can check all video files on your iOS device. You can click Add item(s) button to add a video from computer, or Export to Device button to transfer videos from iOS device to computer. Even without running iTunes, you can click the computer icon to choose Export to PC or Export to iTunes.
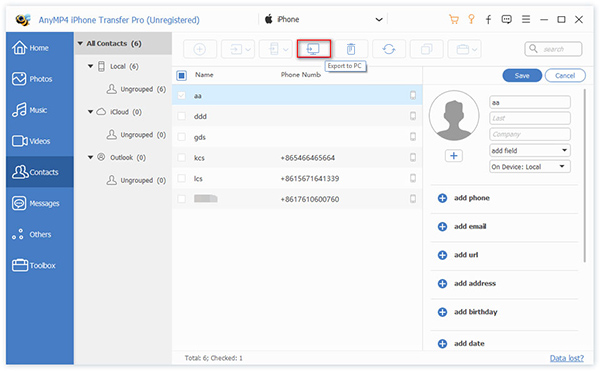
Transfer & Manage Contacts
Click Contact in the left pane, and all contacts will show on the interface. If you want to edit the contact, you can select one contact and click Edit button on the right area. You can add phone, email, url, address, birthday, date, related name, social profile, instant message and note.
On the top side of the interface, you can use these functions to create contact, import contacts from CSV file, vCard File, Outlook or Windows Address Book. You are able to transfer contacts to another iPhone, back up them to your computer, delete one contact or remove duplicate contacts.
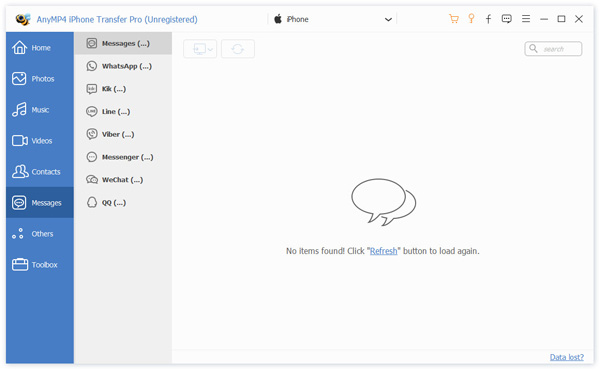
Transfer & Manage Messages
When you click Messages in the left pane, you can see all messages, WhatsApp, Kik, Line, Viber, Messenger on your iOS device. You can check and back up those messages to your computer.
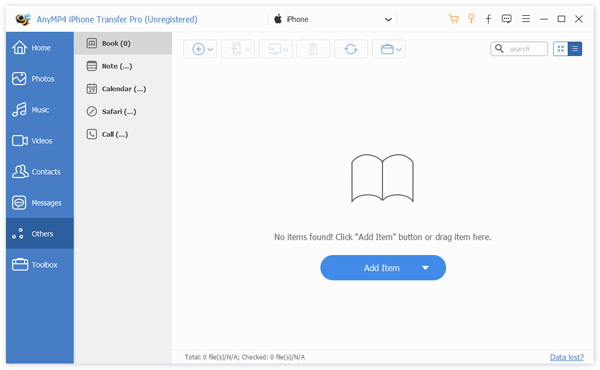
Transfer & Manage Others
There are more data you can transfer like Book, Note, Calendar, Safari and Call history in Others section. You can add them from computer, transfer to iPhone/PC/iTunes, or delete them as you wish.
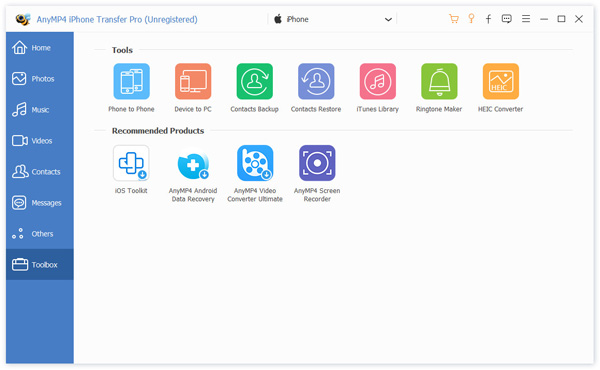
1-Click Transfer
AnyMP4 iPhone Transfer Pro makes it quite easy to transfer photos, music, videos, contacts, messages and books in 1-click. The Toolbox provides you the following tools to transfer data from iPhone to iPhone or from iPhone to PC, back up and restore contacts in 1-click.
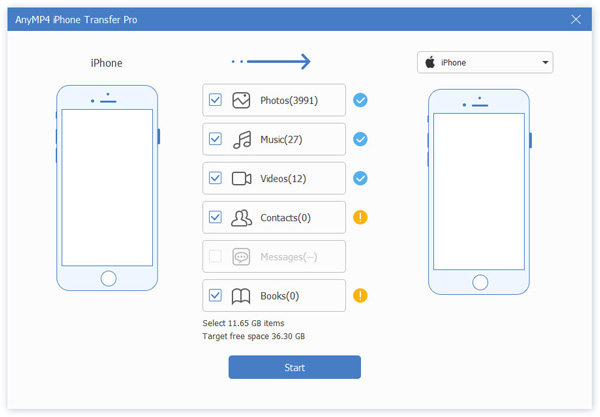
1-Click iPhone to iPhone
Click Phone to Phone tool in the Toolbox, and tick the boxes of Photos, Music, Videos, Contacts, Messages and Books. Then click the Start button to begin transferring data from one iPhone to another.
1-Click iOS Device to PC
Click Device to PC tool in the Toolbox, and choose Photos, Music, Videos, Contacts, Messages or Books for transferring. You can click the three dots icon to set the output destination folder. Then click the Start button to start transferring and back up data from iPhone to PC.

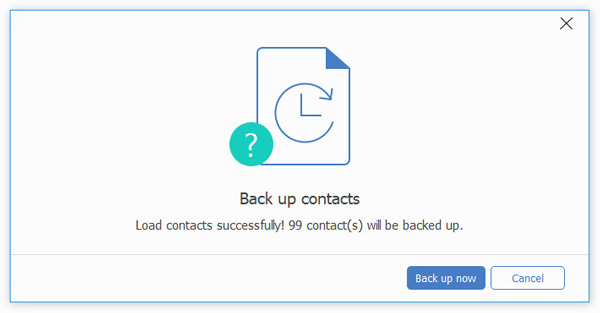
1-Click Contacts Backup & Restore
Click Contacts Backup tool in the Toolbox, and it will take a few minutes to load contacts. After the contacts have been loaded successfully, click Back up now button to back up contacts to computer.
If you have backed up contacts with Contacts Backup tool before, you can select Contacts Restore tool to restore contacts from the backup.
Toolbox
iTunes Library
The iTunes Library tool lets you sync media file to iTunes or reversely in one click. What’s more, you can view your iTunes Library.
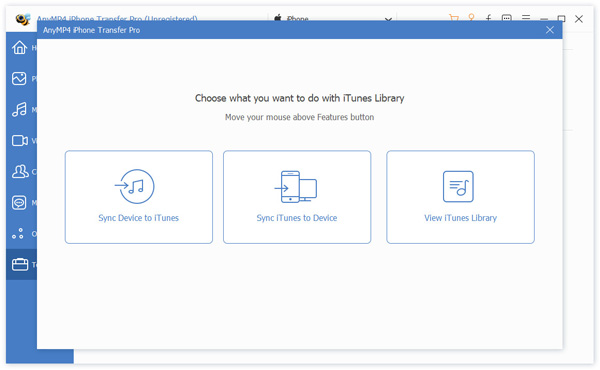
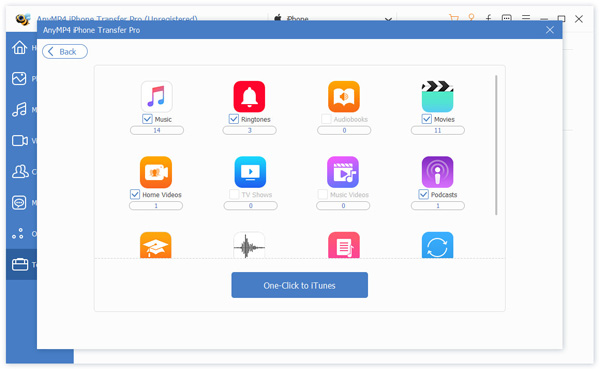
Sync Device to iTunes
Select Sync Device to iTunes option, and select Music, Ringtone, Audiobooks, Movies, Home Videos, TV Shows, Music Videos, Podcasts, iTunes U, Voice Memo or Playlist. Then click One-Click to iTunes button to sync the data from iOS device to iTunes directly.
Sync iTunes to Device
If you want to transfer data from iTunes to your iPhone, you can use Sync iTunes to Device option to move iTunes data to iPhone in one click without hassle.
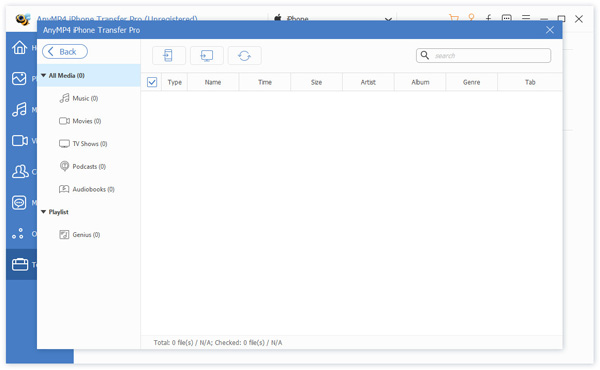
View iTunes Library
Want to check what’s on your iTunes library? Simply select View iTunes Library option to check all media data in your iTunes library. Then you can select the iTunes data to iPhone or computer.
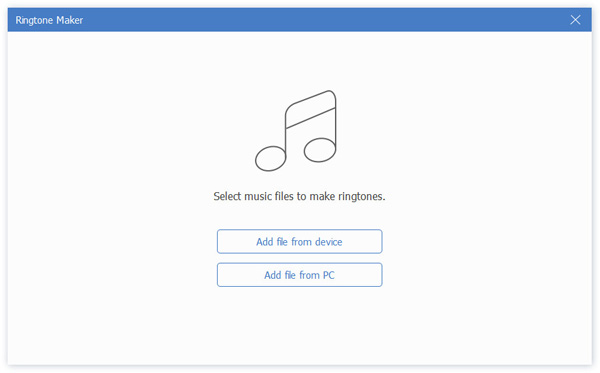
Ringtone Maker
Want to make your own personalized ringtone? Ringtone Maker gives you chances to create custom ringtones.
Step 1 As you open Ringtone Maker, you can click Add file from device or Add file from PC to add the music from iOS device or from computer.
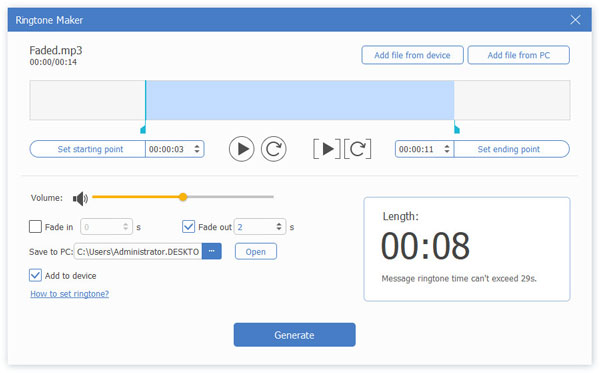
Step 2 Then select the music file to load to Ringtone Maker. You can play the audio, set starting point or ending point. It provides fade effects, Fade in and Fade out.
Step 3 Click Generate button to start making your own ringtone for iPhone.
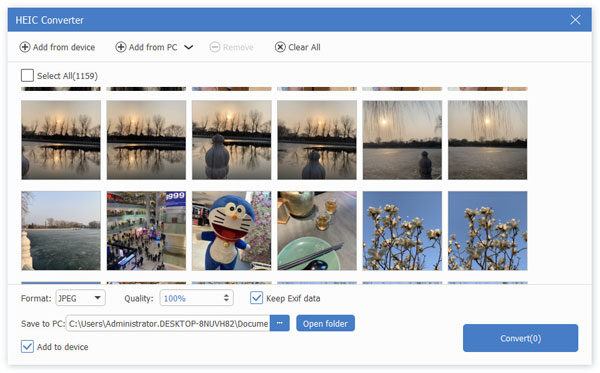
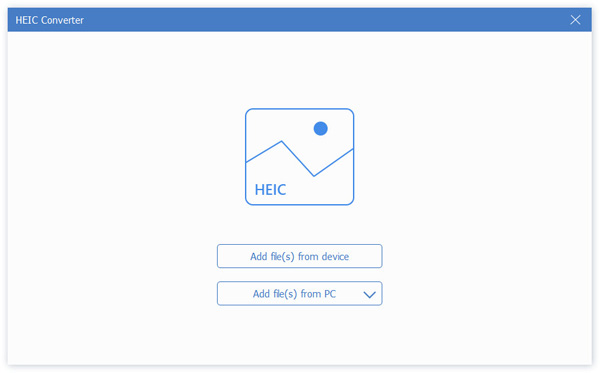
HEIC Converter
Want to view the HEIC photos on your computer? This built-in HEIC Converter makes it possible to convert Apple’s HEIC photos to JPEG/PNG format.
Step 1 Click HEIC Converter in the Toolbox. You can add the HEIC photos from iOS device or computer.
Step 2 Click the drop down button of Format to select JPEG/PNG as the output format. Besides, you can adjust the image quality or keep the original quality. Then click Convert button to start converting HEIC file to JPEG or PNG file.