 Store
Store- Multimedia
For Windows
- Converter Tools
- Video Converter Ultimate

- Video Converter
- 4K Converter
- MP4 Converter
- Audio Converter
For Mac
- BD/DVD
For Windows
- DVD Tools
- DVD Ripper
- DVD Copy
- DVD Creator
- DVD Converter
- DVD Toolkit
For Mac
- Mobile
For Windows
For Mac
- Utility
- Freeware

 DVD Creator for Mac
User Guide
Get Started
Introduction
AnyMP4 DVD Creator for Mac is the best Mac DVD creating software to convert general video and HD video to DVD disc, and make DVD folder and DVD ISO file with MP4, AVI, MKV, M4V, WMV, M2TS, MOV video, and more. Users can enjoy the DIY DVD with family and friends on Mac. Check this tutorial and learn how to create DVD with AnyMP4 DVD Creator for Mac.
Download & Install
If you don’t have AnyMP4 DVD Creator for Mac yet, click the button above to download it. Then, follow the on-screen instructions to install the program on your computer.
Register
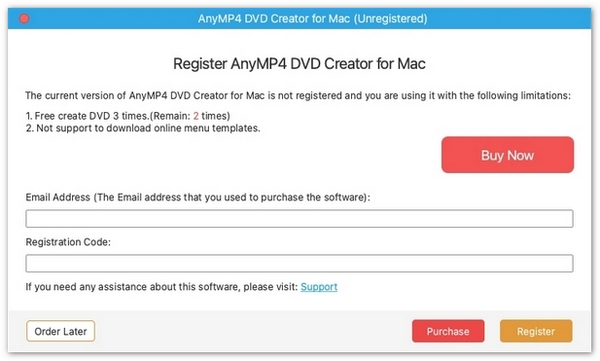
After installation, open the program and then you will see a window pop up where you can enter your email address and license code to activate the program.
Update
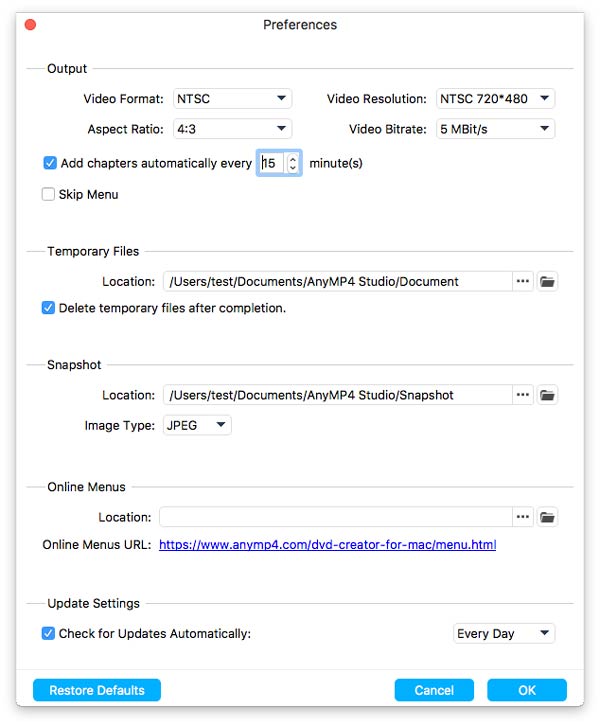
There are two ways to keep AnyMP4 DVD Creator for Mac up to date: checking for updates automatically and checking for updates manually. You can go to Help from the top menu bar and click on Check Updates… to have a check. If there is an update, you can download the new version of AnyMP4 DVD Creator for Mac. Or you can open the Preferences window to tweak the update settings.
Burn Video to DVD
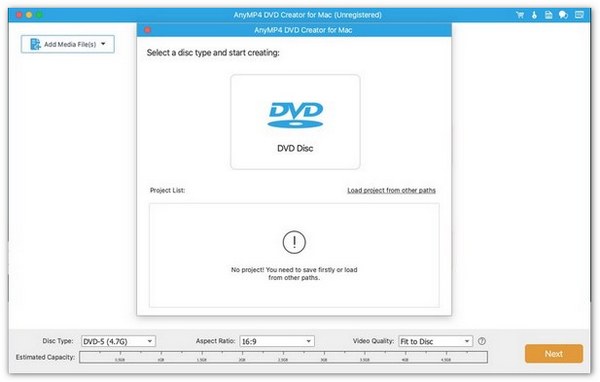
Step 1. Launch the program on your Mac and then you will see an interface as below. You can select "DVD Disc" as your disc type.
Step 2. Click the "Add Media File(s)" button on the main interface or in the upper-left corner to import videos for burning.
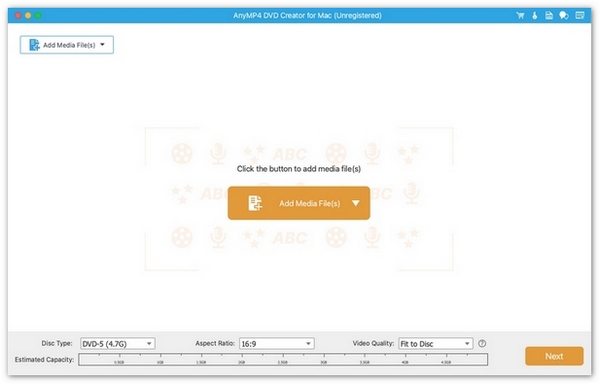
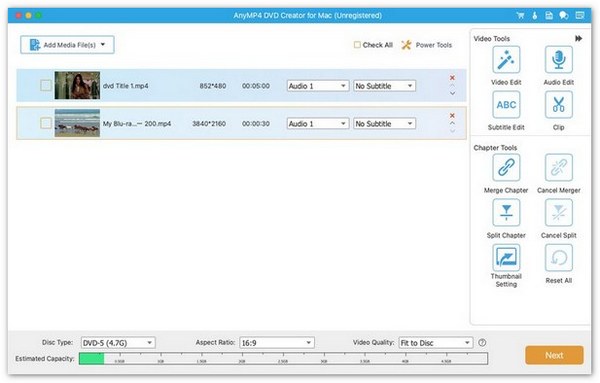
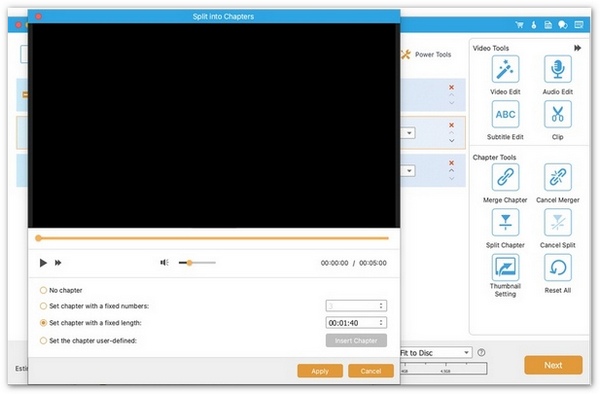
Step 3. Then you can adjust the disc type aspect ratio and video quality according to your needs. You may also click Power Tools on the right sidebar — including video tools and chapter tools — to edit video audio subtitles merge or split chapters. Then click "Next" to continue.
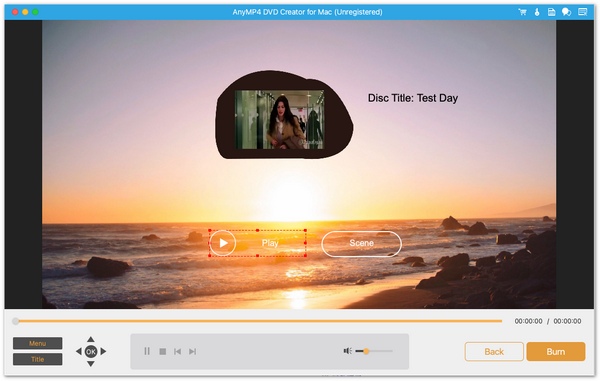
Step 4. Now, you can select your preferred menu template from a variety of themes, including holiday, family, wedding, and more. You can also customize the template manually. If you don't need a menu, select the "No Menu" option at the bottom.
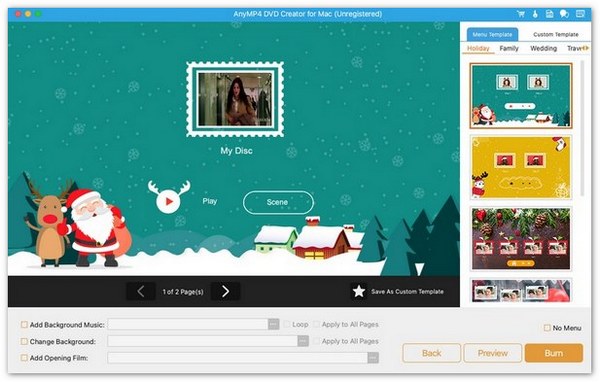
You can add background music, change the background, add an opening film, and make other adjustments. You can also edit the button names on the menu and change the DVD title by double-clicking it. To customize the title, right-click the text to change its font style, size, or color, or to make it bold, underlined, or italicized. You can also drag and drop the text to reposition it anywhere on the menu.
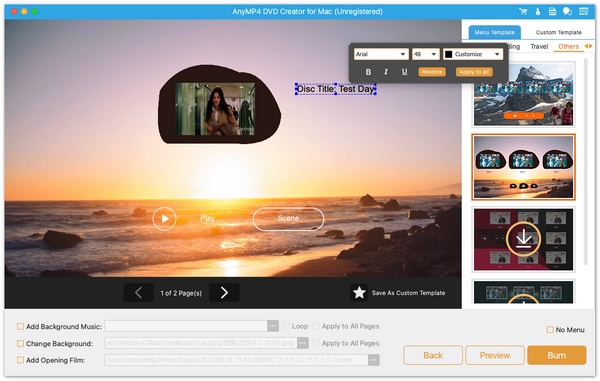
After finishing further edits, preview your project by clicking the "Preview" button. Once satisfied, click "Burn" to start creation.
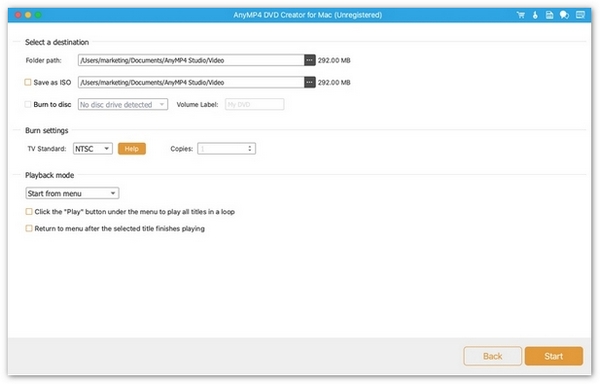
Step 5. Select a destination folder and choose either "Save as ISO" or "Burn to disc". You can adjust burning settings including TV Standard disc copies and playback mode. Click "Start" to starting burning.
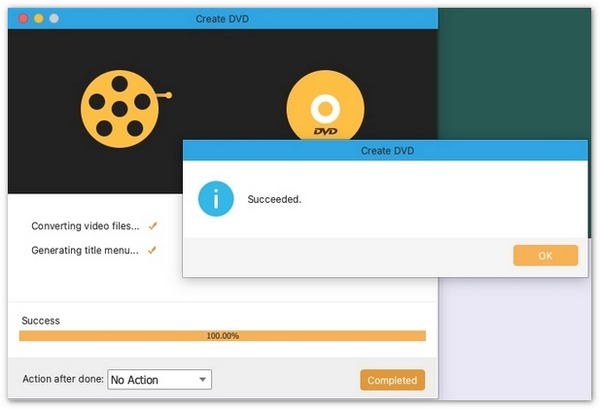
Step 6. Then your DVD creation will begin. Once completed a pop-up menu will appear showing the prompt "Succeeded".
Power Tools
After adding video you can use Power Tools on the right sidebar to customize your video project with the editing functions below.
Video Edit
Step 1. Click "Video Edit" in the "Video Tools" panel.
Step 2. Here you can:
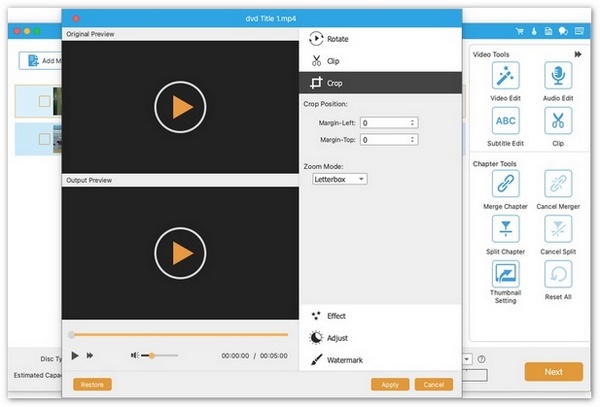
Rotate your video 90° clockwise or counterclockwise and flip the video horizontally or vertically.
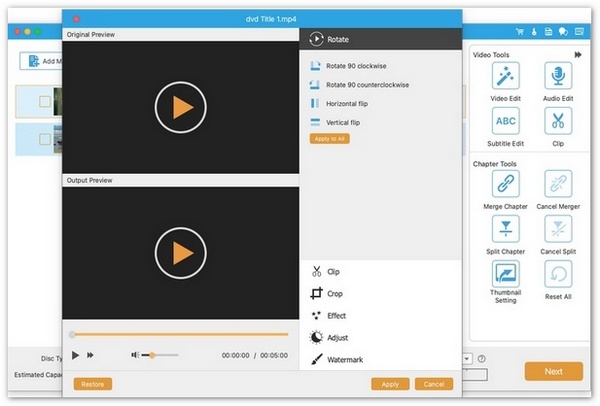
Clip the video by setting its start time and end time.
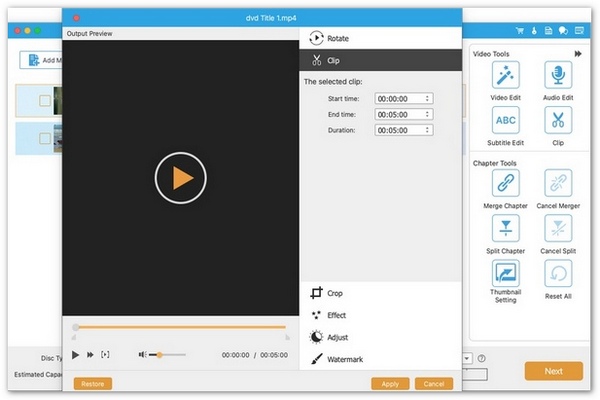
Crop the video by adjusting left and right margin values.
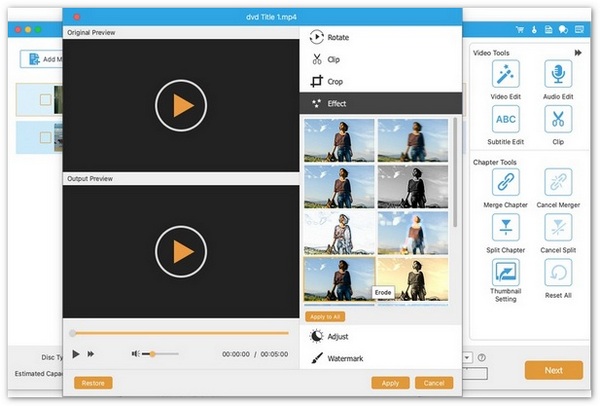
Add video effects such as oil paint black & white and more.
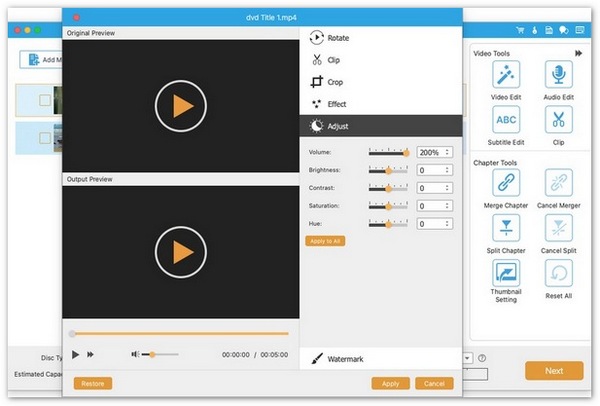
Adjust video volume brightness contrast saturation and hue.
Add image or text watermarks and adjust their position and transparency.
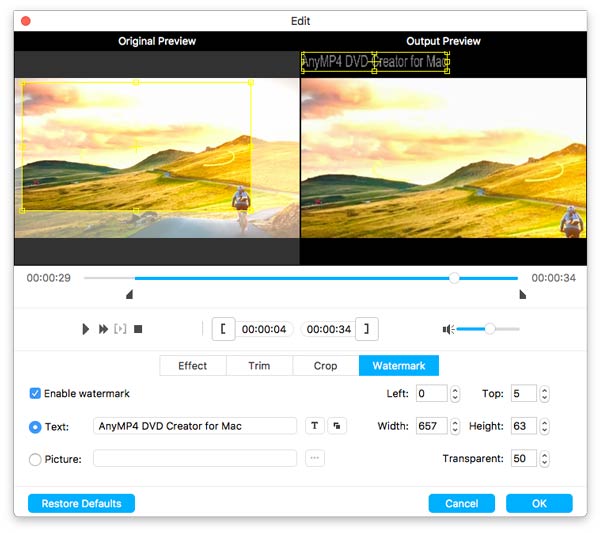
Step 3. Click "Apply" to save your video adjustments.
Audio & Subtitle Edit
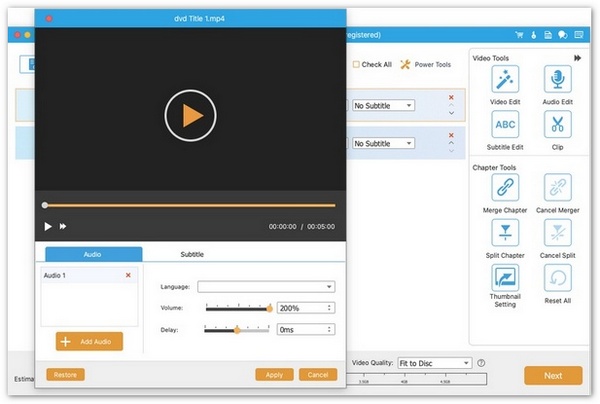
Step 1. Access the "Audio Edit" or "Subtitle Edit" module in "Power Tools".
Step 2. Under the "Audio" tab you can add audio tracks and adjust audio volume and delay time.
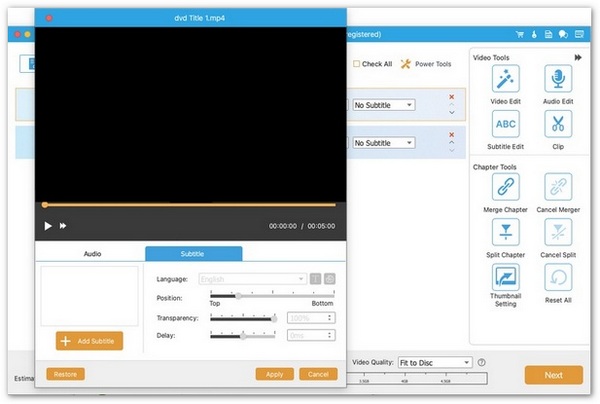
Step 3. You may also switch to the "Subtitle" tab to add subtitles adjust the subtitle language position transparency and delay time.
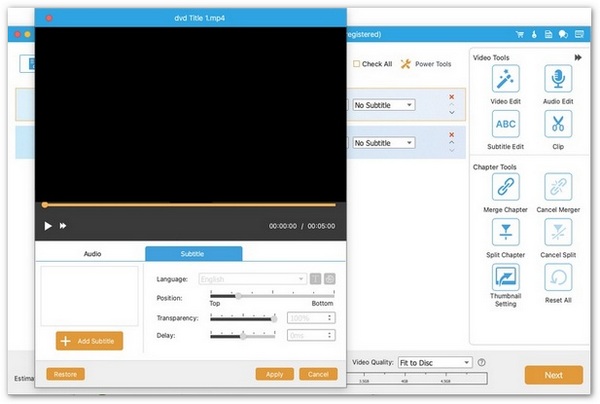
Step 4. Click "Apply" to confirm your changes.
Chapter Tools
Step 1. To merge chapters add multiple videos and click "Merge Chapter". Click "Cancel Merger" if you want to revert to the previous step.
Step 2. You may also click "Split Chapters" on the right toolbar. You can set chapters by a fixed quantity duration and more. Then click "Apply" to apply your changes.
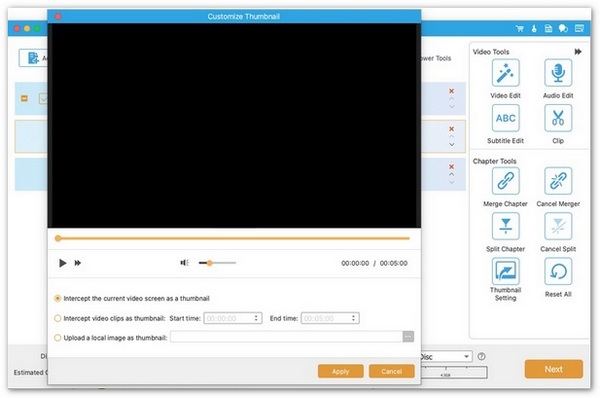
Step 3. Capture a video frame as your thumbnail by opening "Thumbnail Settings". You can select a video segment by setting its start time and end time for the thumbnail or upload a local image to use as the thumbnail.