 Store
Store- Multimedia
For Windows
- Converter Tools
- Video Converter Ultimate

- Video Converter
- 4K Converter
- MP4 Converter
- Audio Converter
For Mac
- BD/DVD
For Windows
- DVD Tools
- DVD Ripper
- DVD Copy
- DVD Creator
- DVD Converter
- DVD Toolkit
For Mac
- Mobile
For Windows
For Mac
- Utility
- Freeware

User Guide
Introduction
AnyMP4 Data Recovery is a professional data recovery software for PC. It can recover deleted and lost photos, videos, music, emails, documents and other data from computer internal drive and external drive like USB flash drive, SD card, and more.
Install
Step 1 Before you begin installing this software, you need to free download the installation package by the link: https://download.anymp4.com/data-recovery.exe.
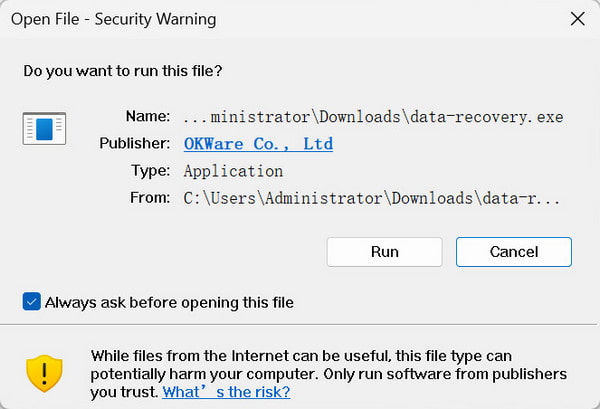
Step 2 Double-click the downloaded File. Then, a window will pop up asking if you want to run the file. Click Run to continue.
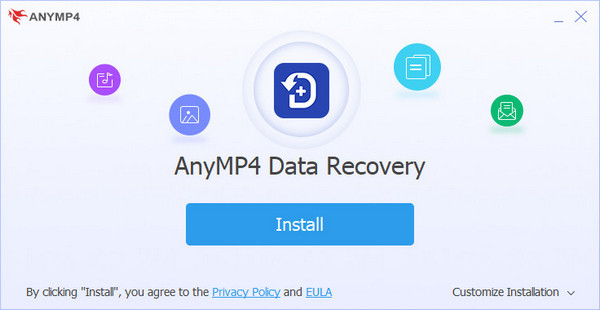
Step 3 In the following window, click Customize Installation to read the Privacy Policy and EULA and select the installion path and language. Then, click Install.
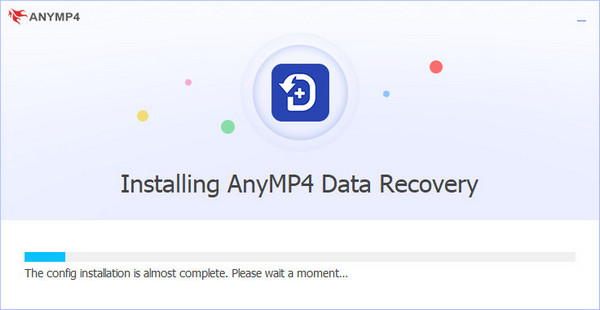
Step 4 Wait a moment for the configuration installion to complete. A pop-up window will appear to remind you that the installion is complete, and the program will launch automatically.
Register
Step 1 When you open this software, you will see a pop-up window to remind you to register.
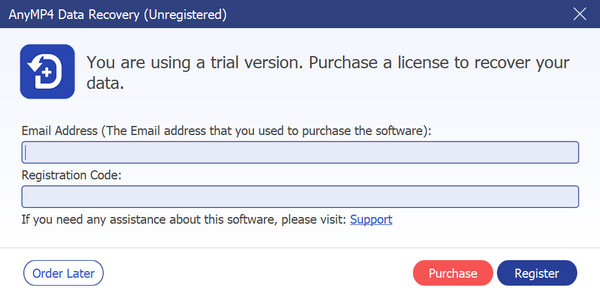
You also can click the menu button to find the register option. Or click the key icon on the top bar.
Step 2 Enter the email address and registration code to complete the registration of AnyMP4 Data Recovery.
Recover Data on PC
As the professor of data recovering, it is easy to recover various files, like images, audio, videos, Email, document and others. Actually, the steps of recovering different type files are the same. Here we just list the detailed steps of recovering images.
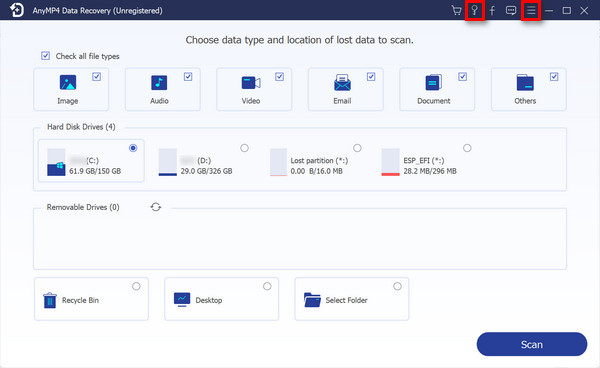
Step 1 In the beginning interface of Data Recovery, you can clearly see the all file types and the hard drive of you PC. Tap the files you want to recover and the hard drive you want to recover from.
Then click “Scan”.

Step 2 Actually, the first time of scanning is quick scan. If you can not find the files you need, just click “Deep Scan”. And our product will find the files second time more detailedly.
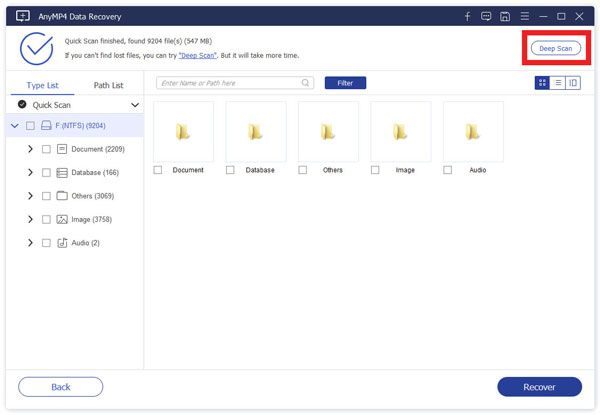
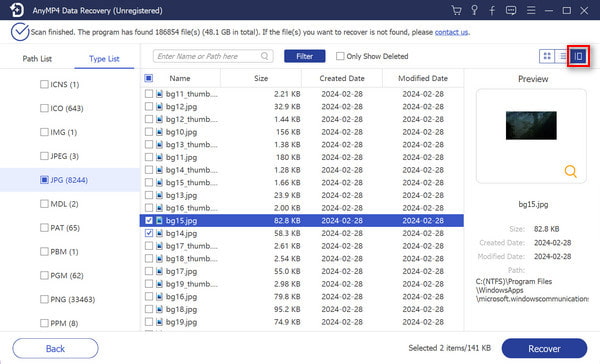
Step 3 In few seconds, you can see the data sorted by type on the left bar. You also can see them by click “Path list” in the order of the path.
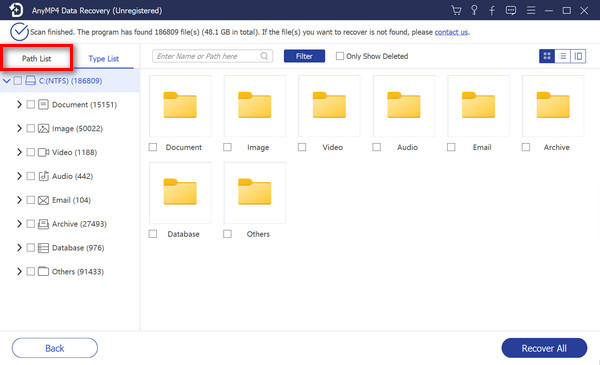
It is also OK to select folder by clicking “Filter” in the middle of the top to find out the file.
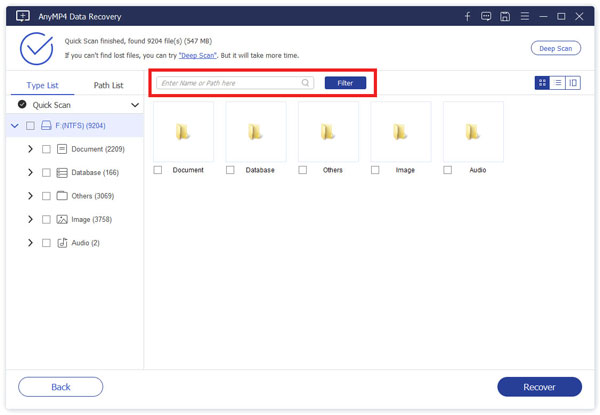
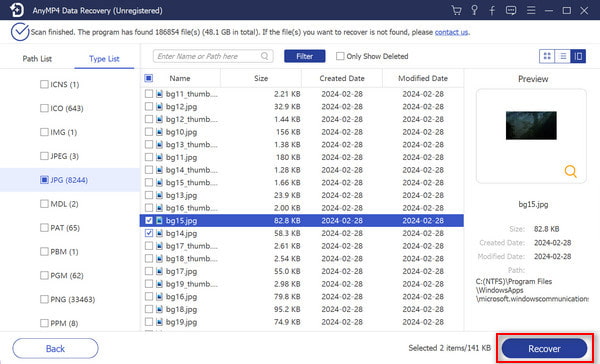
Find the data. To see the information of the data, you can click the third icon on the top right corner of the interface.
Step 4 After you make sure the files you want to recover, click "Recover" to retrieve the files to your computer.
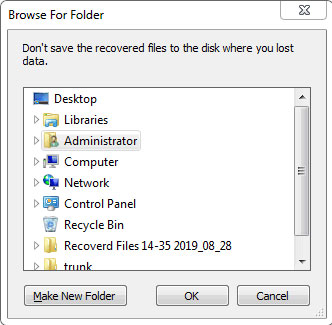
Then you will see a pop-up window. Select the save path in it.
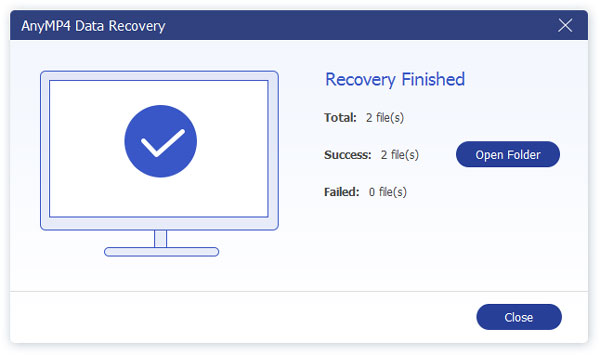
After finished recovering, the software will show you the recovered data automatically.
Recover Data by SPF
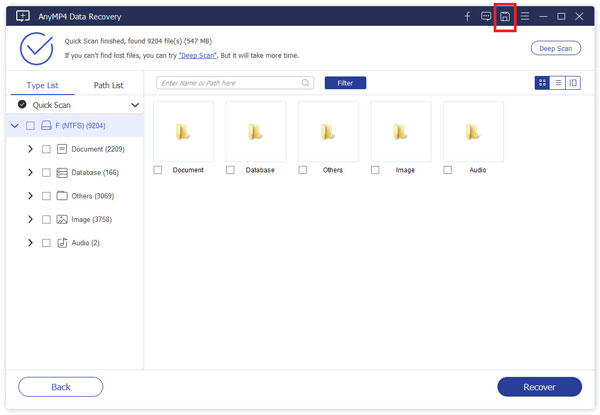
After scanning, the software will show you the result.
If you do not recover the files immediately, you can click the disk icon on right corner of the top blue bar to save the scan project. Then you can recover the lost files anytime by adding the .spf file into this software.
Step 1 After the software finished scanning, click the disk icon on right corner of the top blue bar.
Step 2 When you want to recover the files, open the software and click the plus icon on right corner of the top blue bar to add the scan project (its location is the same as the location of the disk icon).
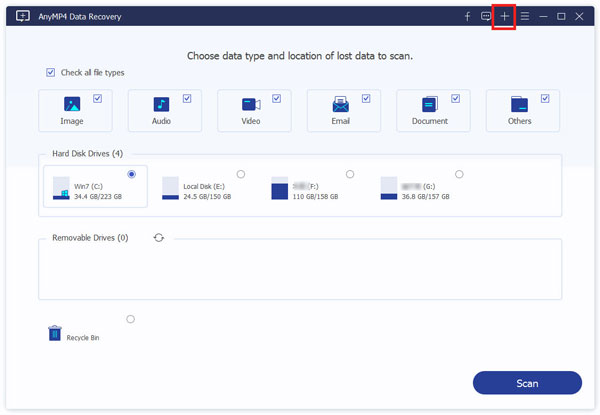
Select the SPF file, then the software will show you the previous scanned result you saved.
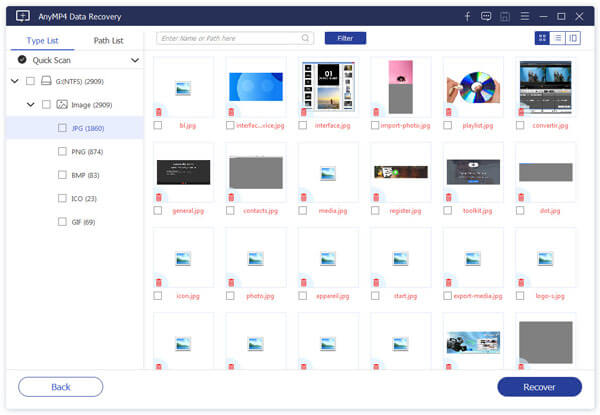
Step 3 In few seconds, you can see the data sorted by type on the left bar. You also can see them by click “Path List” in the order of the path.
Find the data. To see the information of the data, you can click the third icon on the top right corner of the interface.

It is also OK to select folder by clicking “Fliter” in the middle of the top to find out the file.
Step 4 After you make sure the files you want to recover, click "Recover" to retrieve the files to your computer.
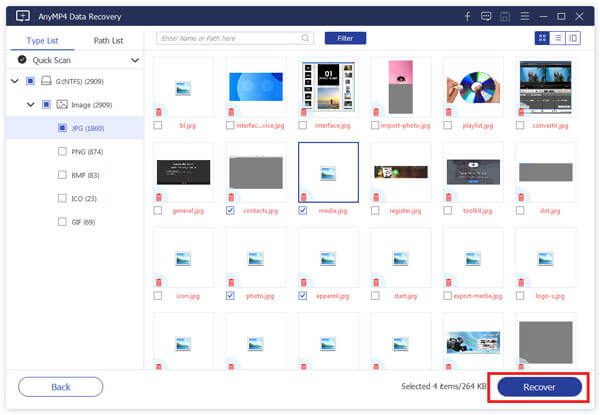
Then you will see a pop-up window. Select the save path in it.
After finished recovering, the software will show you the recovered data automatically.