 Store
Store- Multimedia
For Windows
- Converter Tools
- Video Converter Ultimate

- Video Converter
- 4K Converter
- MP4 Converter
- Audio Converter
For Mac
- BD/DVD
For Windows
- DVD Tools
- DVD Ripper
- DVD Copy
- DVD Creator
- DVD Converter
- DVD Toolkit
For Mac
- Mobile
For Windows
For Mac
- Utility
- Freeware

User Guide
Get Started
Download & Install
Click the Free Download button to download the .dmg file of AnyMP4 Blu-ray Ripper on your Mac computer. Then open the file and install this software according to the on-screen guide.
Register
If you want to use AnyMP4 Blu-ray Ripper for Mac without file length limitations and times limitation, you can register this software.
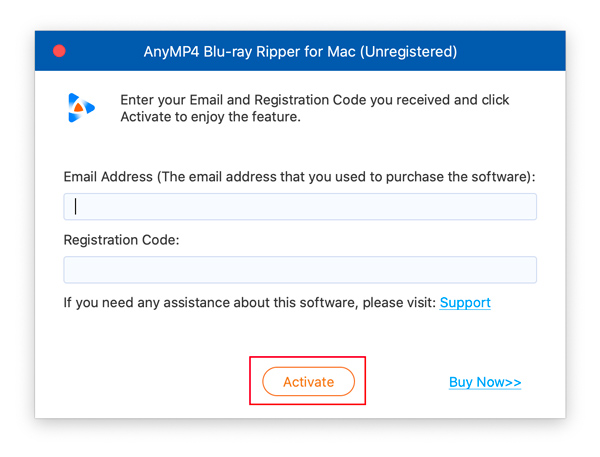
After purchasing this software and getting the registration code, please launch this software and click the Register icon.
Then you need to enter your email address and the registration code you receive and click the Activate button to use all features of this program without any limitation.
Preferences
To enter the Preference window, you should click the software name at the top left corner of the computer screen and choose Preferences.
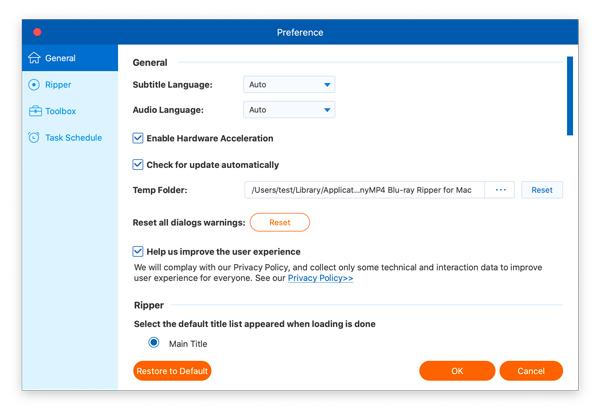
General
In this window, you can select the language of subtitle and audio. You also can adjust the update settings of your software. Besides, you can enable or disable this software's hardware acceleration.
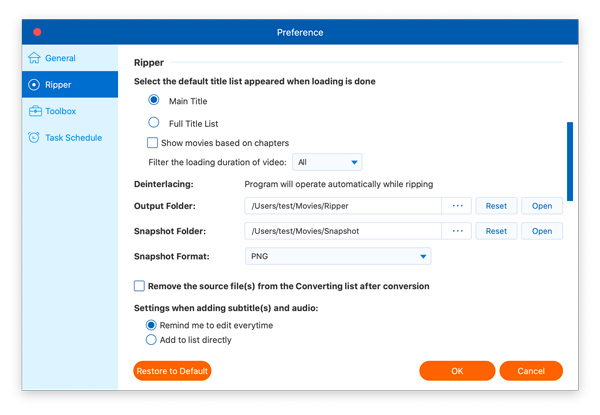
Ripper
You can select the default title list after loading Blu-ray discs in this program. And you can choose the output folder, snapshot folder, snapshot format, and more.
Toolbox
You can set the saving path of each tool in the Toolbox tab here.
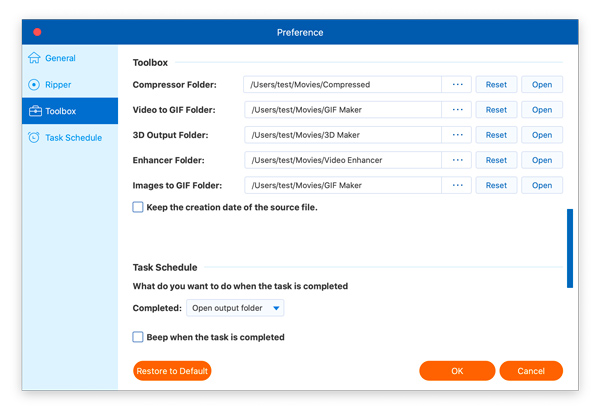
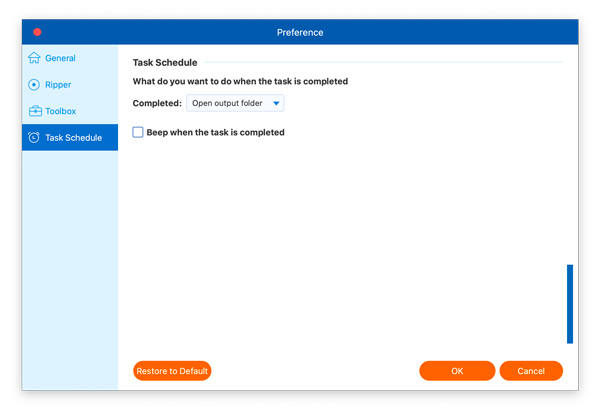
Task Schedule
If you want to adjust the behavior of AnyMP4 Blu-ray Ripper for Mac after completing the task, you can do it in this window.
Rip Blu-ray Disc
Step 1 Open Blu-ray Disc/Folder
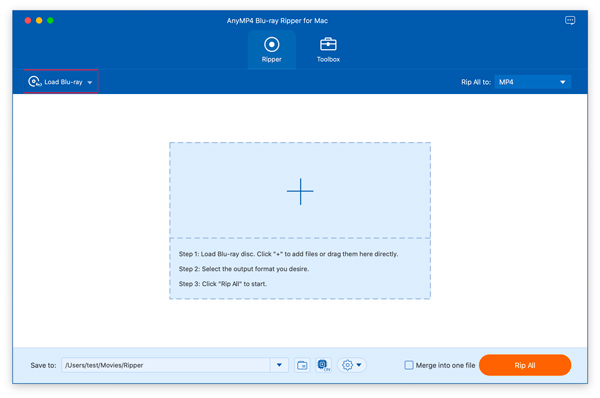
In the beginning, please click the Load Blu-ray button to select and open the Blu-ray disc or folder you want to rip in this software.
Note: During the whole process, the Internet connection is required to handle the encrypted Blu-ray files.
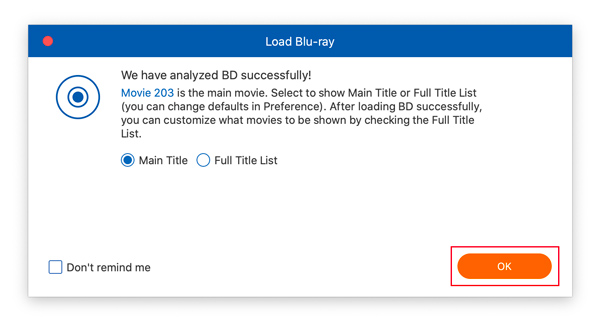
Step 2 Set Title Shown
Once the loading succeeds, a pop-up window will come out, and you can choose to let your Blu-ray disc show Mail Title or Full Title. Then click OK.
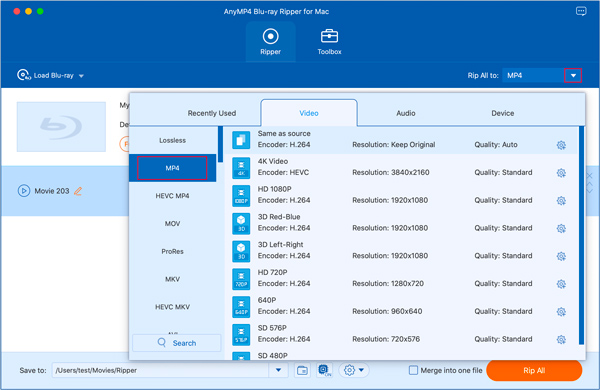
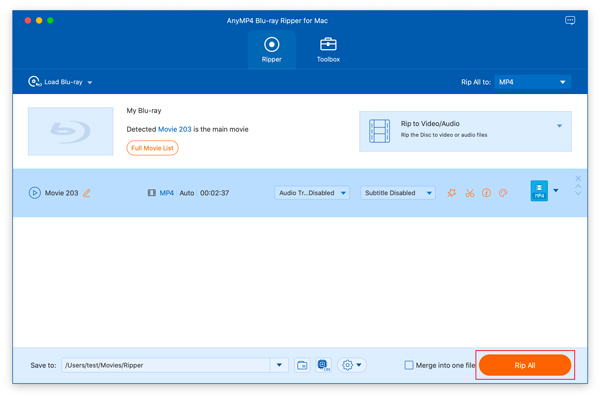
Step 3 Choose Output Format
Then you can click the pull-down icon after Rip All to and select the format you want to rip your Blu-ray disc to.
Step 4 Rip Blu-ray Disc
After selecting the output format, you can click the Rip All button to complete the Blu-ray ripping.
Edit Blu-ray Disc Before Ripping
Except for ripping Blu-ray discs, you can use several editing features to modify your Blu-ray disc before ripping.
Trim Video
Step 1 After loading your Blu-ray disc, you can enter the trimming window by clicking the Cut icon.

Step 2 You can keep the clip in this window by dragging the bar under the video. You also can split the video into several segments by clicking the Split icon and the Fast Split button.
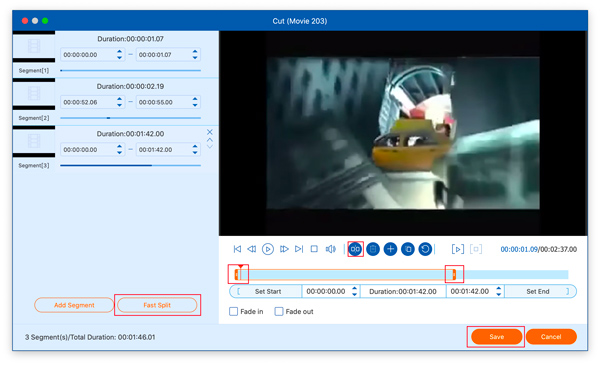
Step 3 Later, click the Save button to save these video clips.
Rotate/Crop Video
Step 1 Click the Edit icon to enter the editing window.
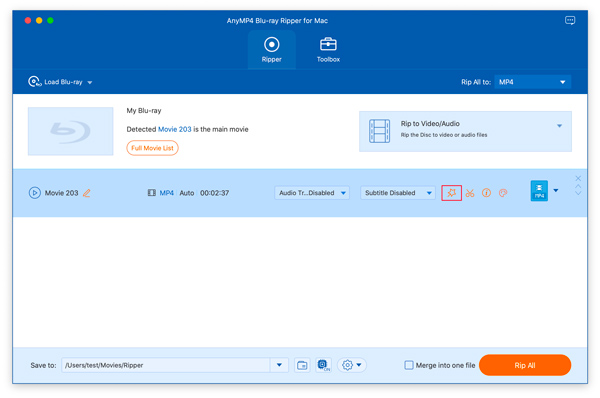
Step 2 Then you will be on the Rotate & Crop feature.
If you need to change the orientation of your video, you can click four icons next to Rotation to rotate or flip your video.
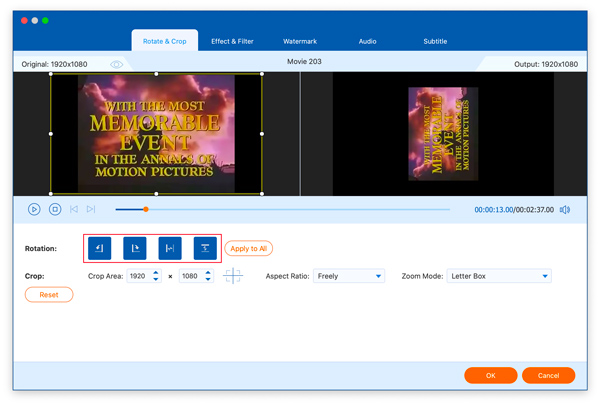
If you are tired of the black borders of your Blu-ray movies, you can crop your movie screen by moving the yellow line freely as you like.
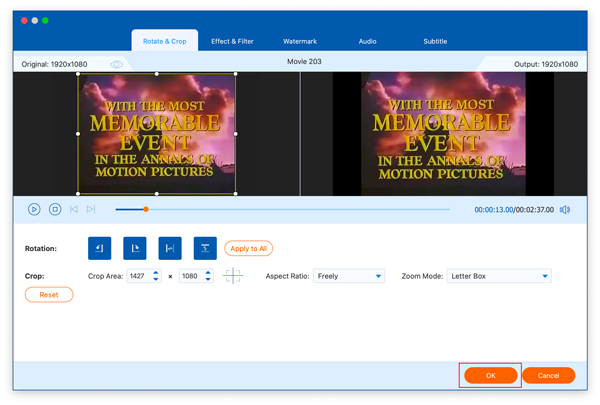
Step3 Then you can click the OK button to save these changes.
Adjust Effects/Filters
Step 1 Firstly, you should click the Edit icon and switch to the Effect & Filter tab.
Step 2 You can move the bar at the left to adjust your video effects, including Contrast, Saturation, Brightness, and Hue. You also can select a suitable or beautiful filter for your video by clicking on the filter on the right.
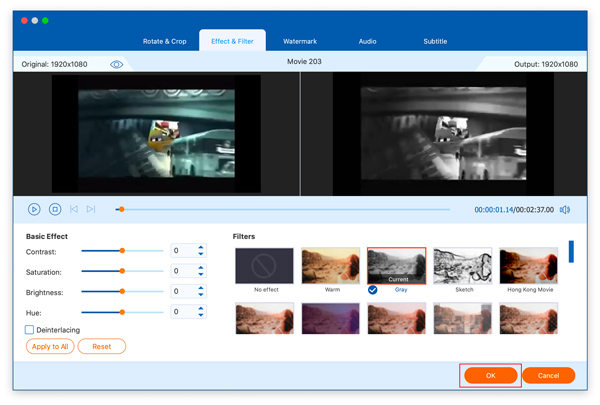
Step3 Then you can click the OK button to save these changes.
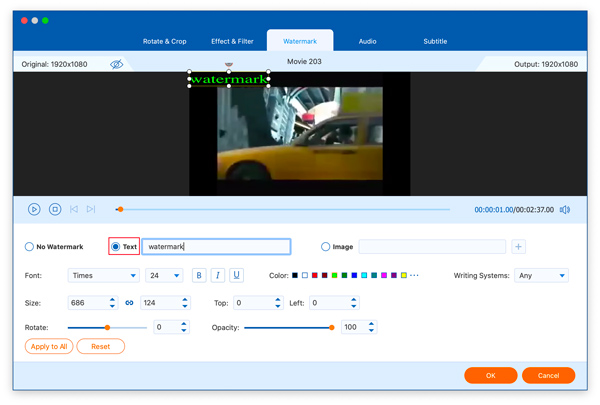
Add Watermarks
Step 1 If you want to add watermarks to your videos, click the Edit icon and choose the Watermark tab.
Step 2 With this feature, you can add the Text Watermark or the Image Watermark to your Blu-ray disc.
If you need to add text watermarks to videos, you can choose Text. Then you can input the text based on your needs and adjust the color, font, size, position, orientation, and opacity of your text watermark.
If you need to add image watermarks to videos, you can choose Image. Then you can click the plus sign icon to select the photo. You also can adjust the size, position, orientation, and opacity of your image watermark.
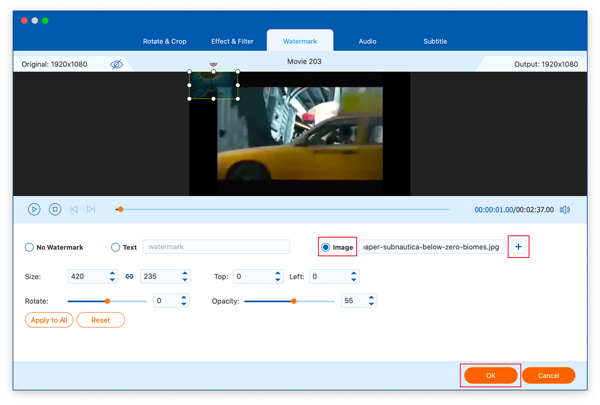
Step3 Then you can click the OK button to save these changes.
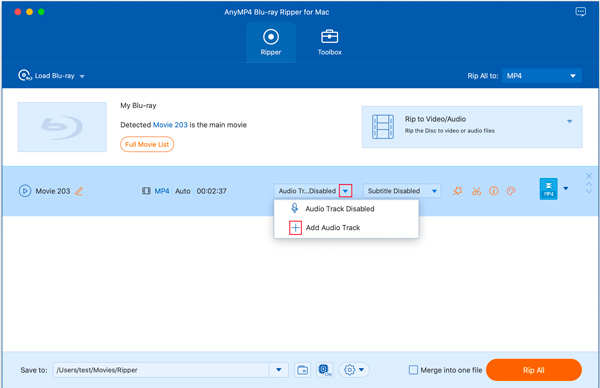
Adjust Audio
If you want to enable or disable the audio track of your Blu-ray disc, you can click the pull-down icon of audio. If there is no audio in your video, you can choose Add Audio Track to add your audio to the Blu-ray Disc.
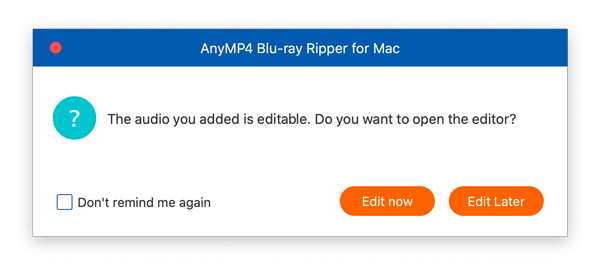
After adding the audio, you can select whether to edit it or not by clicking the Edit Now button or the Edit Later button in the pop-up window.
If you choose the Edit Now button, you will enter the Audio feature window. To enter this window, click the Edit icon and choose Audio. Here you can add another audio and control the volume of the audio.
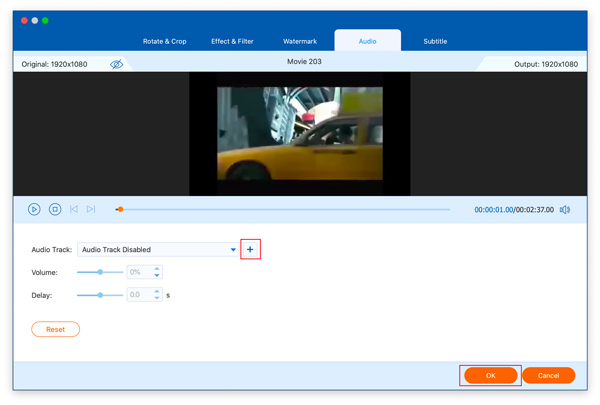
Then you can click the OK button to save these changes.
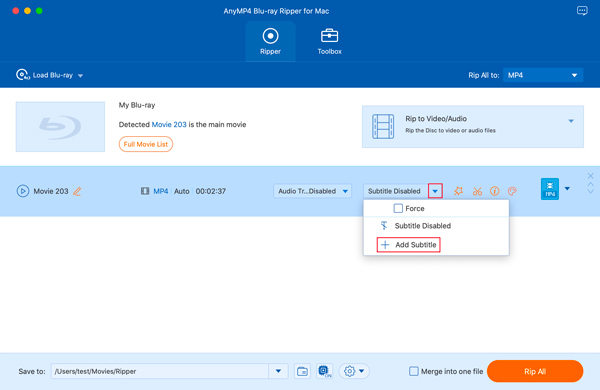
Adjust Subtitles
If you need to enable or disable subtitles on your Blu-ray disc, you can click the pull-down icon of subtitles. If there is no subtitle for your video, you can choose Add Subtitle to add subtitles to the Blu-ray Disc.
To adjust the subtitles of your Blu-ray disc, you can click the Edit icon and choose Subtitle. Here you can select the color, font, position, opacity, etc., for subtitles.
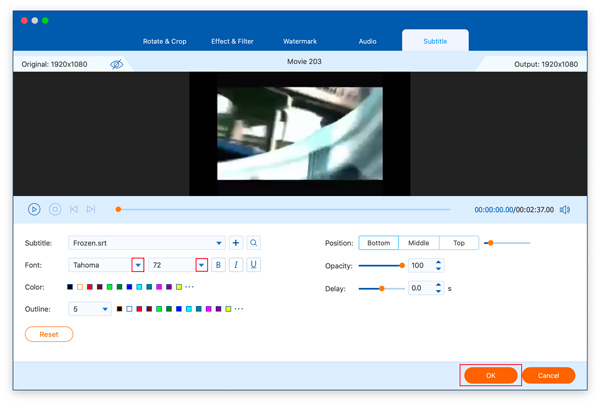
Then you can click the OK button to save these changes.
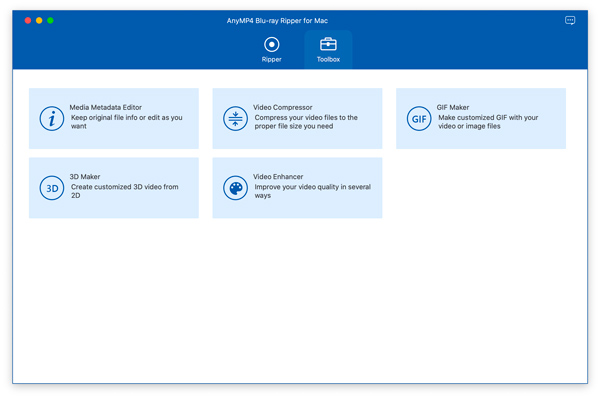
Toolbox
There are many helpful tools in the Toolbox window, including Media Metadata Editor, Video Compressor, GIF Maker, 3D Maker, and Video Enhancer.
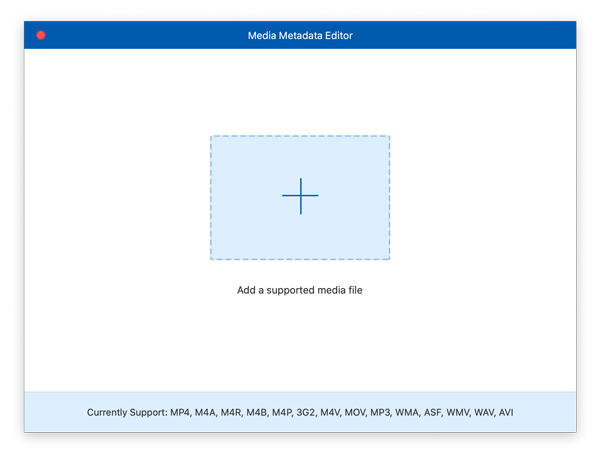
Media Metadata Editor
Step 1 Choose Media Metadata Editor in the Toolbox window.
Step 2 Click the big plus sign to add the media file you want to edit its media metadata.
Step3 Next, you can edit the Title, Artist, Album, Composer, Genre, Year, Track, and Comments of your file.
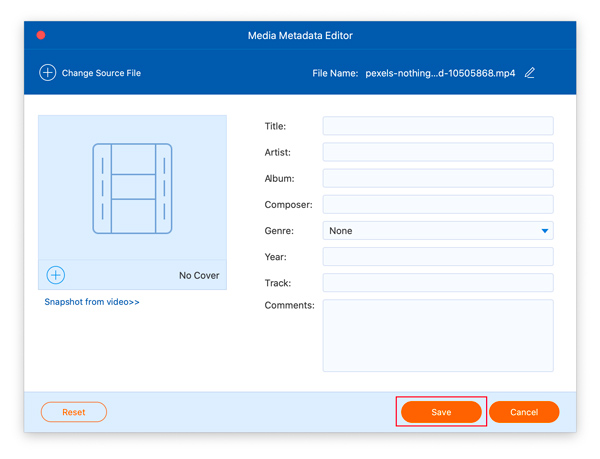
Step4 Then you can click the Save button to export your edited file.
Video Compressor
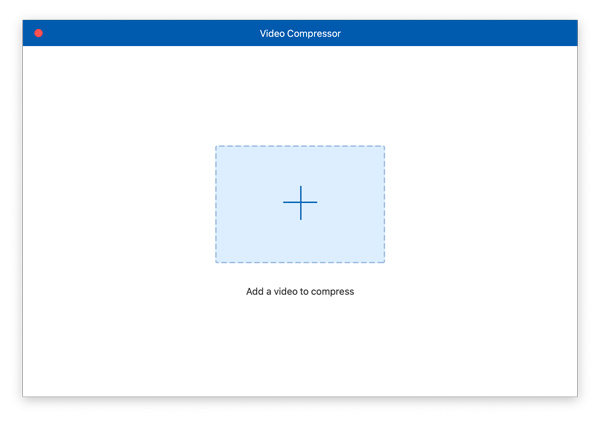
Step 1 Choose Video Compressor in the Toolbox window.
Step 2 Click the big plus sign to import the video you want to reduce its size.
Step 3 Then you can choose the percent of compression by moving the bar.
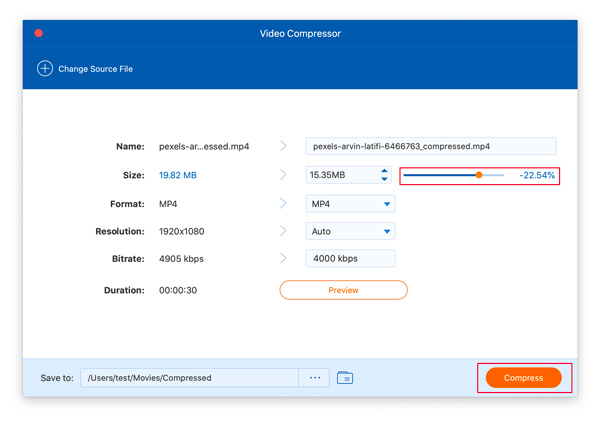
Step 4 Then you can click the Compress button to export your compressed video.
GIF Maker
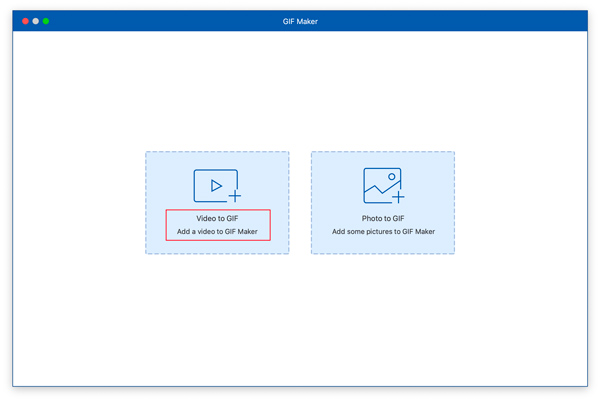
Step 1 Choose GIF Maker in the Toolbox window.
Step 2 Then you can make a GIF from videos or photos with this tool.
If you have a video and want to use it to make a GIF, you can choose Video to GIF to import your video.
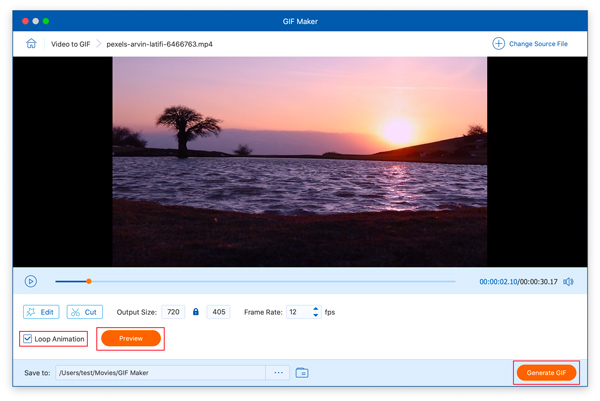
After adding the video, you can edit and cut your video. And you can check the box of Loop Animation to make your GIF loop playback. You also can click the Preview button to view the GIF before generating it.
If you have a photo and want to use it to make a GIF, you can choose Photo to GIF to import your video.
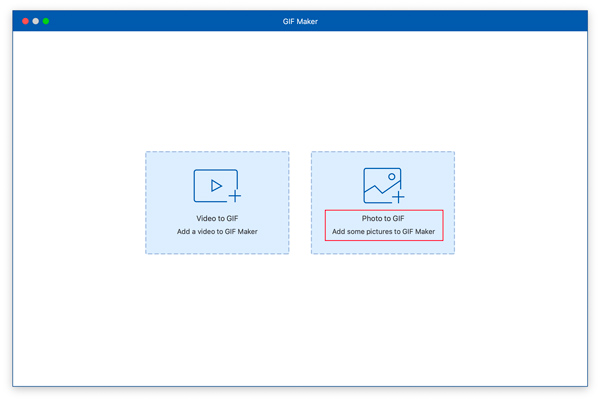
Next, you can click the plus sign to add more pictures.
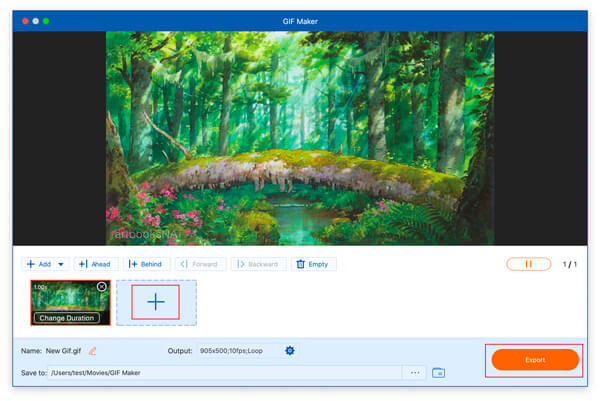
Step 3 If you make a GIF from the video, you can click the Generate GIF button to export the GIF. If you make a GIF from photos, you can click the Export button to save the GIF.
3D Maker
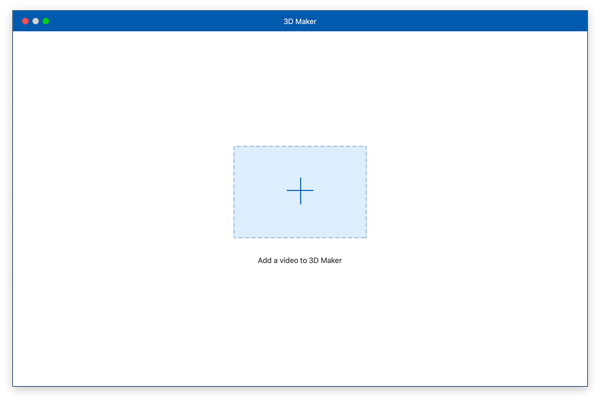
Step 1 Choose 3D Maker in the Toolbox window.
Step 2 Click the big plus sign to import the video.
Step 3 There are two main 3D effects in 3D Maker.
You can choose Anaglyph to add effects like Red/Cyan anaglyph, full color to your video.
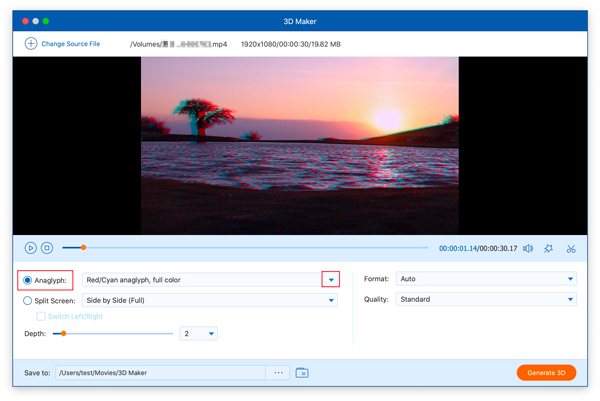
You can choose Split Screen to add effects like Side by Side (Full) to your video.
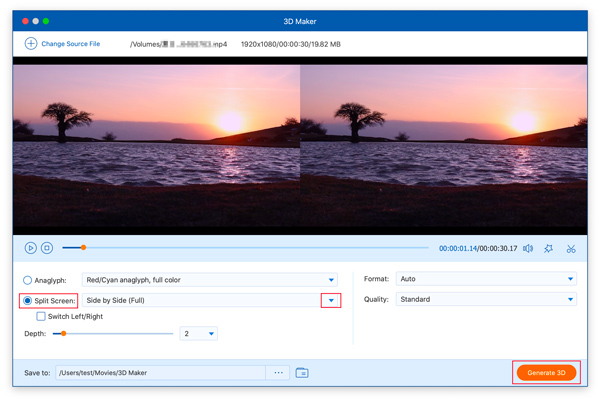
Step 4 Then you can click the Generate 3D button to export your 3D video.
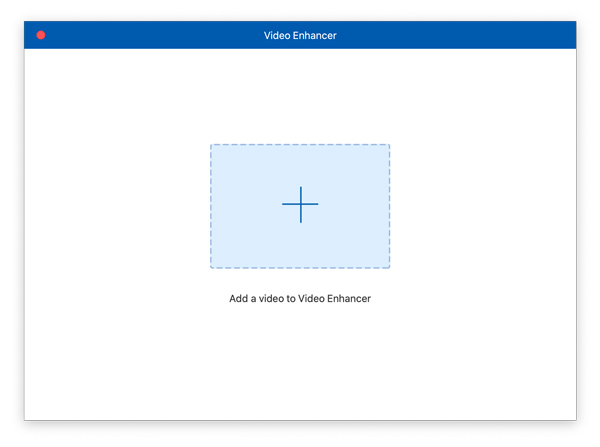
Video Enhancer
Step 1 Choose Video Enhancer in the Toolbox window.
Step 2 Click the big plus sign to import the video you want to impro quality.
Step 3 Next, you can choose Upscale Resolution, Optimize Brightness and Contrast, Remove Video Noise, and Reduce Video Shaking to enhance your video quality.
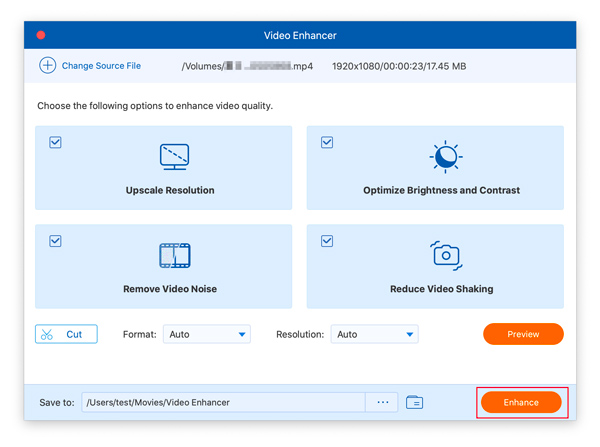
Step 4 Then you can click the Enhance button to export your video.