Store
Store- Multimedia
For Windows
- Converter Tools
- Video Converter Ultimate

- Video Converter
- 4K Converter
- MP4 Converter
- Audio Converter
For Mac
- BD/DVD
For Windows
- DVD Tools
- DVD Ripper
- DVD Copy
- DVD Creator
- DVD Converter
- DVD Toolkit
For Mac
- Mobile
For Windows
For Mac
- Utility
- Freeware

User Guide
Introduction
AnyMP4 Audio Recorder is the leader of the audio recording software in today. It can record any your voice and other audio using a microphone. With it, you can record music, audio calls, lessons and audio track easily. And it supports various output audio format, like MP3, M4A and AAC. You can use its clip feature to cut the unwanted pats out of the audio. It’s hotkey and Task Schedule function vastly save operating steps and time in recording for users. Here are the details of Audio Recorder.
Register
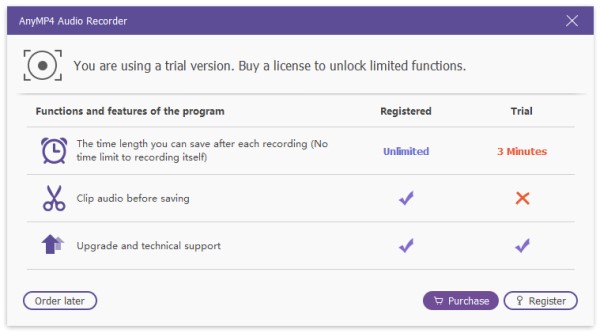
If you want to record over 3 minutes audio or clip unwanted parts of audio before saving, you would need to register the software.
When you open the software each time, it will pop up a window to remind you of registering. Click Register on the bottom right corner to register.
You can also find the register window by clicking the Key icon on the top bar.
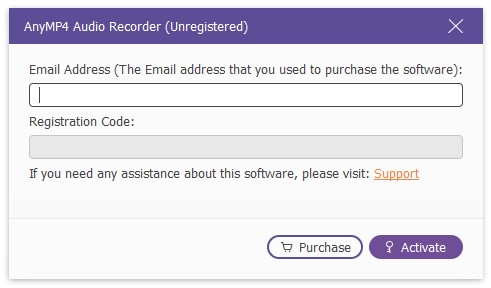
After clicking the "Register" button, it will show you the little window to input your email address which you use to receive the registration code and registration code. Then click "Register" to register this software.
Email Address: The email address is the email you used when you bought the program.
Registration Code: Copy and paste the registration code you received after the successful purchase in your email inbox.
Record Audio
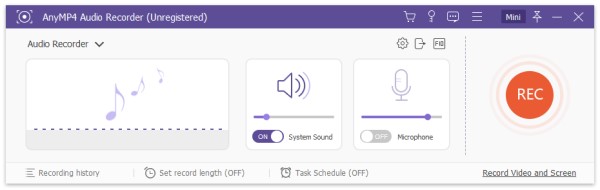
Step 1 Launch Audio Recorder on your Windows computer.
Step 2 Tap on the system sound or microphone to record the voice. It is up to you.
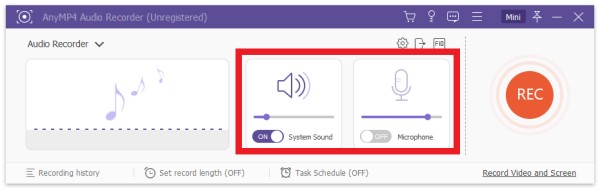
Step 3 Click "REC" on the right side to begin recording. And it will show you the hotkeys. You also can change them.
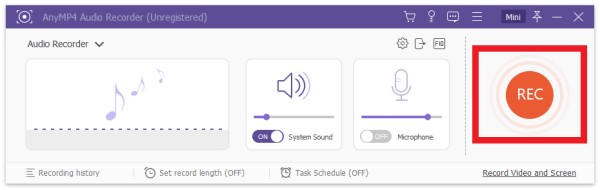
Step 4 While recording, you can adjust the volume. If you want to finish recording, click the red square on the left to finish recording.

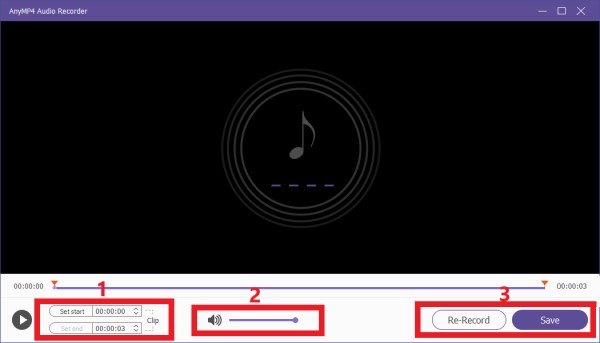
Then it will show the audio you have recorded. In this window, you can preview and edit the recorded audio.
1. Clip the audio by inputting the start time and the end time.
2. Adjust the volume.
3. Re-record and save the audio.
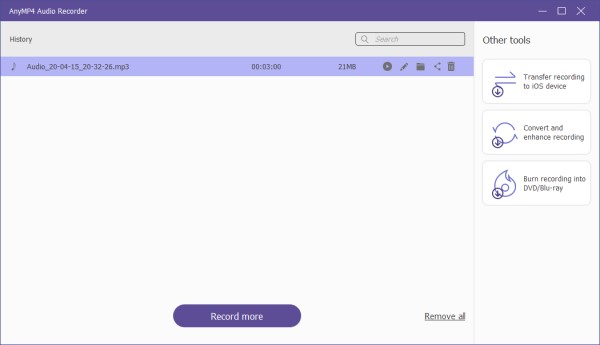
After clicking "Save", it will remind you to set the save path and show all recorded files to you in a few seconds.
Task Schedule
In the main interface of Audio Recorder, you can see the "Task Schedule" on the bottom.
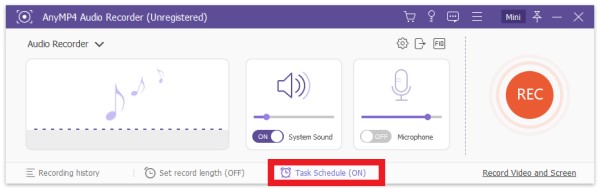
You can add new tasks and edit the settings of it.
Set the time of the beginning, record length and frequency, etc.
Then this software will record automatically for you according to your settings.

Set Record Length
In the interface of Audio Recorder, you can see Set Record Length on the bottom.
By setting the length of recording, you do not need to look the screen constantly and decide when to stop. The software will automatically stop recording for you.
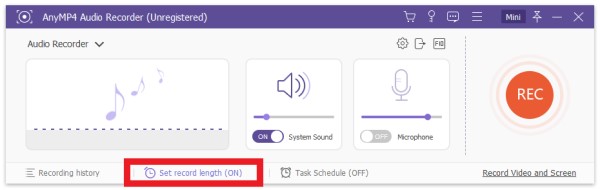
You can also set the record length in the recording process.

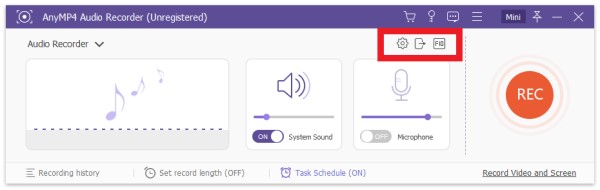
Set Preferences
There are various preferences to make the recording. On top right corner of the interface, here are three little icon for you to set preferences.
Recording
Click the Gear icon and you will see the window of the recording settings.
In this pop-up window, you can seven choices. These are show countdown before recording, beep on start recording, hide float bar while recording, and auto open preview window when ending recording.
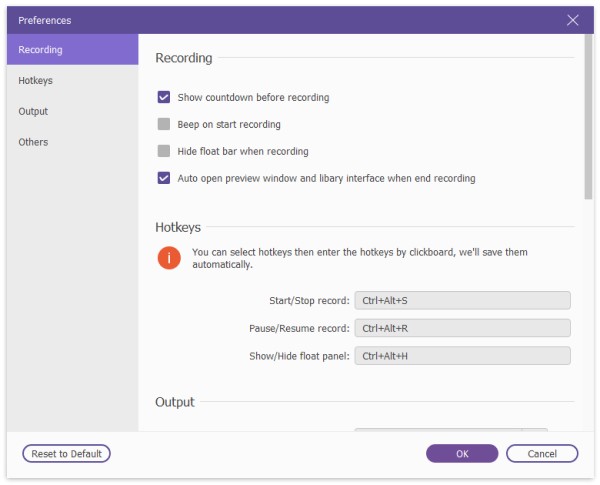
Hotkeys
By clicking the FIQ icon or rolling your mouse on the preference interface, you can see the hotkeys settings
Start/stop record
Pause/resume record
Show/hide float panel

Output
Click the Out icon of the interface or click "Output" option on the preference interface. Then you can see the output settings.
In this option, you can set video format and codex, frame rate, etc.
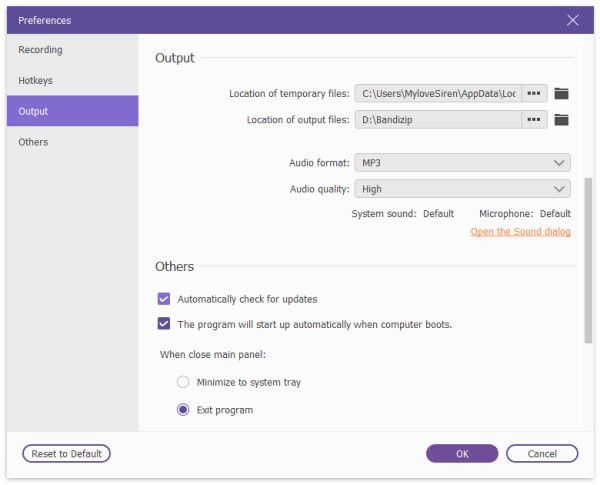
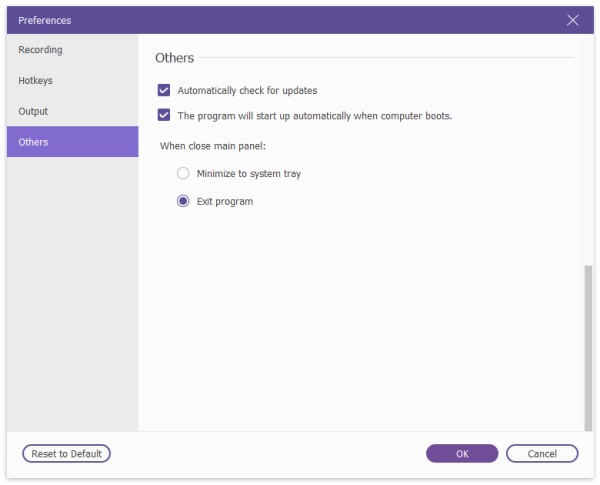
Others
To get in this part, you need open one of the other four preferences and click "others" option on the right bar.