Cropping a screenshot on a Mac can significantly enhance your ability to communicate ideas, highlight important details, and create visually appealing content. Whether crafting tutorials and presentations or simply sharing information, cropping screenshots empowers you to focus on the most relevant parts of your captured screen. In this post, we’ll highlight how to crop a screenshot on Mac using the built-in tools available. We’ll also touch upon the potential use of AnyMP4 Screen Recorder for Mac as a versatile solution for capturing and enhancing screenshots.
Cropping a screenshot on Mac can be useful to focus on particular portions of an image or remove unwanted elements. This process is relatively simple and can be accomplished using the Photos app. It is a pre-installed app on Mac that offers cropping features. Also, this photo crop editor provides other editing features, like adjusting effects, adding filters, and more.
Here’s how to screenshot on Mac and crop it using the Photos app:
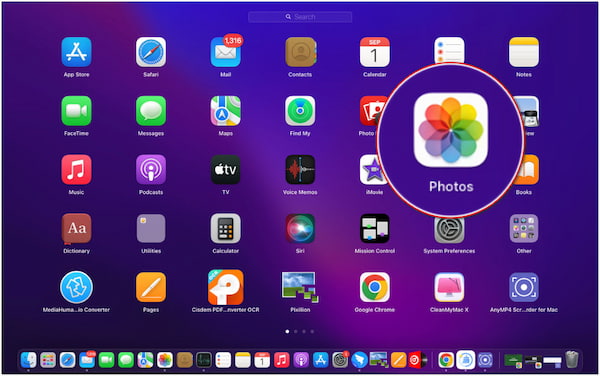
1. Click the Photos app in your Dock or find it in the Applications folder.
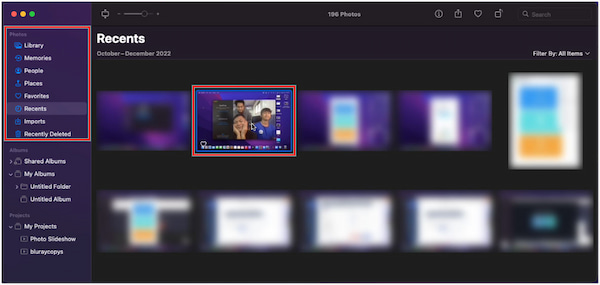
2. In the Photos app, locate and select the screenshot you want to crop by clicking it.
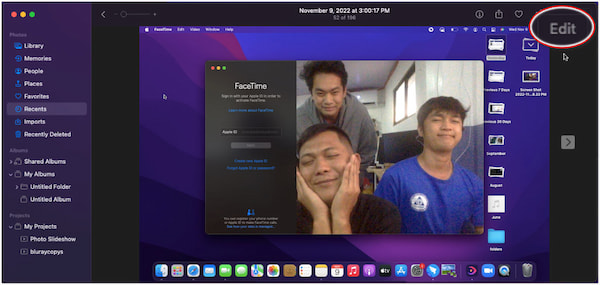
3. Click Edit in the Photos window to open the editing tools.
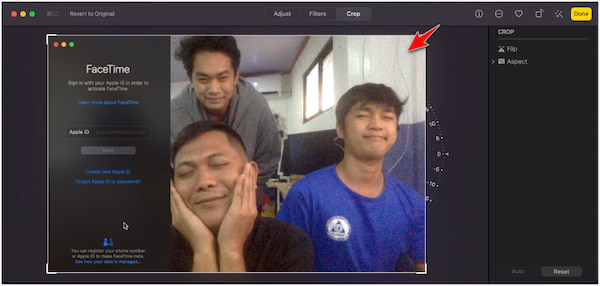
4. Select the Crop tab in the set of editing tools at the top of the window.

5. Click and drag the edges of this box to adjust the crop area.
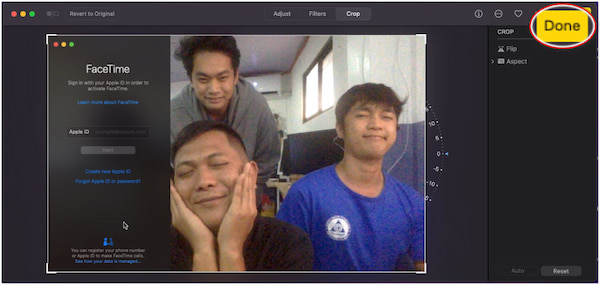
6. After adjusting the crop to your liking, click Done to apply the crop.
The cropping process on the Photos app is straightforward and beginner-friendly, making it accessible to most Mac users. However, the Photos app’s editing features are somewhat basic compared to professional image editing software.
Taking the specific area of the cropped screenshot on Mac using hotkeys is a quick and convenient way to capture exactly what you need. Hotkeys make the process fast and efficient, allowing you to capture screenshots quickly. This method provides more control over your screenshot than capturing the entire screen.
Here’s how to take a cropped screenshot on Mac using hotkeys:
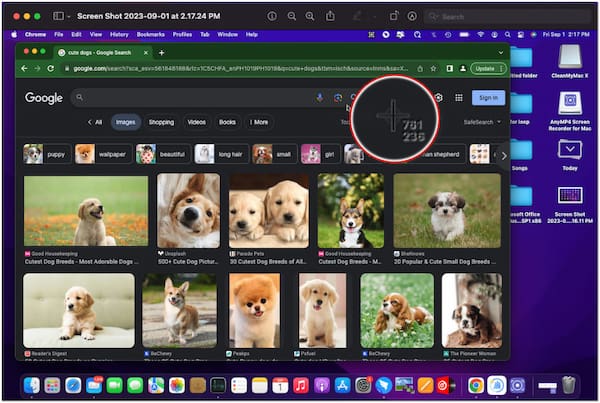
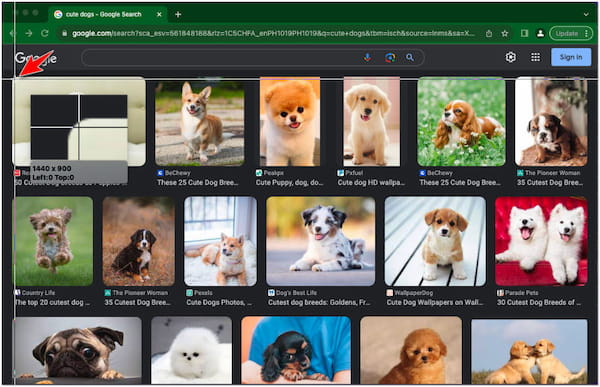
1. To capture the cropped screenshot, press Shift + Command + 4. This key combination will turn the cursor into a crosshair or selection tool.
2. Once you have activated the Crosshair cursor, the screen will dim, and you will see coordinates as you move the cursor.
3. Click and drag to select the specific area of the screenshot you want to crop. After selecting the area, release the mouse button to take the screenshot.
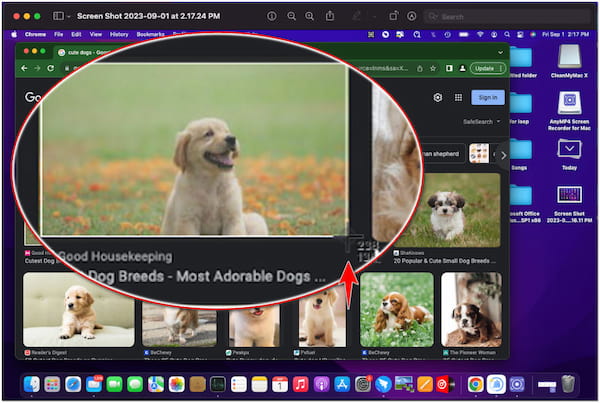
You will hear a shutter sound if your sound is enabled, and the screenshot will be saved to your desktop by default. (Screenshots cannot be saved on Mac?)
AnyMP4 Screen Recorder for Mac is a well-known screen recorder software offering a screenshot feature. The Screen Capture feature provides a simple and convenient way to capture screenshots of your computer screen. It is included as part of the software’s screen recording capabilities, making it a versatile tool for capturing both static images and dynamic recordings.
Here’s how to screenshot and crop on Mac using AnyMP4 Screen Recorder for Mac:
1. Get started by clicking the Free Download button below to obtain AnyMP4 Screen Recorder for Mac. Launch the software on your computer after installing it.
Secure Download
Secure Download
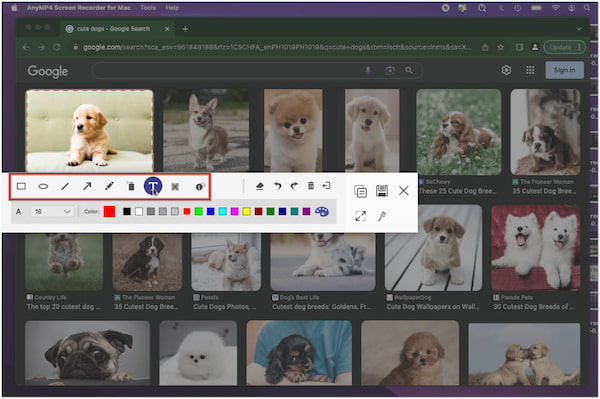
2. In the AnyMP4 Screen Recorder for Mac interface, look for the Screen Capture option. An adjustable frame will be displayed on your screen, enabling you to capture a screenshot.

To crop a particular screenshot, click and drag the pointers to define the region you wish to capture in the screenshot.
3. Optionally, before saving the screenshot, you can add annotations, like text, lines, and arrows, to emphasize the subject of your screenshot.
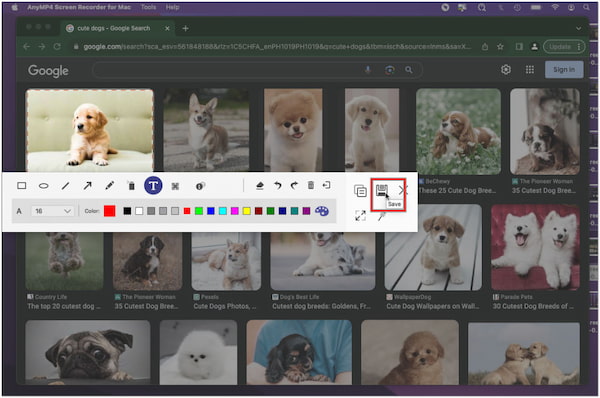
4. Once done, click the Save button, rename the screenshot, and choose a location and desired format. Finally, click Save again to keep the screenshot in the specified location.
AnyMP4 Screen Recorder for Mac allows you to screenshot your screen in full or custom region. Additionally, it provides a real-time editing feature that allows you to add shapes, lines, arrows, brushes, paint, text, blur, and callouts. On top of that, it has multiple options to save the screenshot in formats like JPG, PNG, BMP, etc.
Why can’t I crop a screenshot on Mac?
Mac’s built-in screenshot tools do not include a direct cropping feature. When you take a screenshot using the keyboard shortcuts, the screenshot is captured and saved as is without the ability to crop it directly within the screenshot tool itself.
How do I crop a specific size on a Mac?
As mentioned, Mac doesn’t offer a direct way to crop to a specific size using the built-in screenshot tool; you can achieve this by using separate image editing software. Open the screenshot in an image editor like the Photos app, choose the Crop tool, and manually resize it into the desired dimension.
Does cropping affect screenshot quality?
It depends! Cropping a screenshot may or may not affect its quality, depending on the original resolution and how much you crop. If you crop a small portion of a high-resolution image, the impact on quality might be minimal. However, excessive cropping of low-resolution images can lead to pixelation and reduced quality.
Does cropping screenshots save space?
YES! Cropping a screenshot can save space, especially if you remove a significant portion of the image. You reduce the file size by eliminating unnecessary elements, as fewer pixels need to be stored.
Does cropping reduce screenshot size?
YES! Cropping can reduce the screenshot’s size since you’re eliminating portions of the image. However, the extent to which the size is reduced depends on the original resolution, the amount of cropping, and the image compression settings.
Mastering the skill of cropping screenshots on a Mac unlocks a world of possibilities for effective communication and impactful visuals. By trimming away the unnecessary elements and emphasizing crucial details, you can create content that engages, educates, and resonates with your audience. Whether you utilize the native tools within the Photos app and hotkeys or explore additional options like AnyMP4 Screen Recorder for Mac, the ability to crop a screenshot on Mac empowers you to craft content that stands out, leaving a lasting impression on viewers. So, next time you capture a screenshot on your Mac, remember that a little cropping can go a long way in elevating your visuals.
 Posted by Riley Mitchell to Screenshot
More readings
 5 Best Ways to Crop a Video on Mac with QuickTime and More
This tutorial shows you how to resize a video clip on Mac with or without QuickTime for beginners and advanced users. Read and learn more to start cropping.
 How to Screenshots on your iPad for All Models
Taking screenshots on iPad will become accessible after learning all the methods we need to take for iPad Pro, Mini, and Air. Please click here for more.
 4 Ways to Take Scrolling Screenshot on Mac to Save the Page
Learn how to take scrolling screenshots on Mac effortlessly. Capture web pages, documents, and content beyond the screen with simple methods and hotkeys.
 3 100% Working Ways to Screenshot on Toshiba in Various Situations
If you need to capture an image of your Toshiba laptop's desktop, you'd better read this guide since you can find multiple ways to do the task in various cases.