Quick Answer:
To unblur an image, the most efficient method is to use an AI image enhancer, which automatically restores lost details. For professional results, use Photoshop’s Smart Sharpen filter. For casual users, you can rely on the built-in 'Sharpness' settings in Google Photos for mobile or AnyMP4 Image Upscaler Online.
When people search for 'how to unblur,' they’re usually dealing with one of four common frustrations: Out of Focus, where the camera locks onto the background and leaves the subject soft; Motion Blur, caused by hand shake or a moving subject; Low Resolution, where old photos look pixelated and lack detail; and Unreadable Text, when screenshots or documents turn out too fuzzy to decipher. These situations naturally lead to the same goal: finding a reliable way to unblur images and recover as much clarity as possible.

Sometimes you take a picture, but then your hands shake a little. As for the result, you have captured a blurry picture. You might wonder what application you can use effectively to unblur your pictures or at least make your photos less blurry. Fortunately, there are a lot of online apps that you can use easily to make an image less blurry.
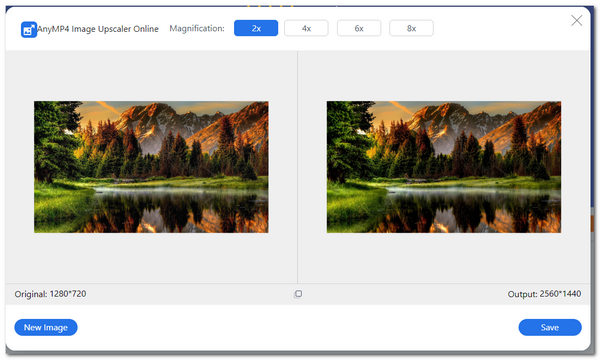
AnyMP4 Image Upscaler Online is a web-based photo-upscaling tool that can fix blurry pictures within seconds. The tool is known for photo enhancement because of its features and functions. Similarly, it utilizes Artificial Intelligence (AI) technology to help reduce noise and enhance image sharpness. This tool can be used for image deblurring by selecting magnification levels ranging from 2X, 4X, 6X, and 8X. In addition, it also supports the most standard image formats, including JPG, JPEG, and BMP.
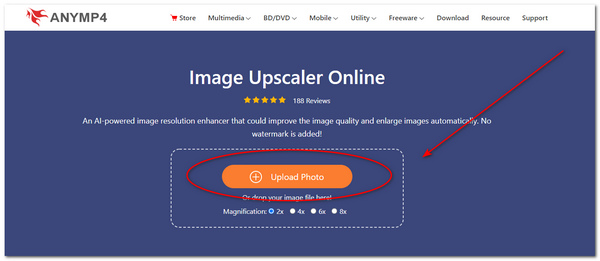
1. Visit AnyMP4 Image Upscaler Online's official site via your browser on your iPhone, Android or computer.
2. Import your blurry image file on the tool's main interface by clicking Upload Photo.
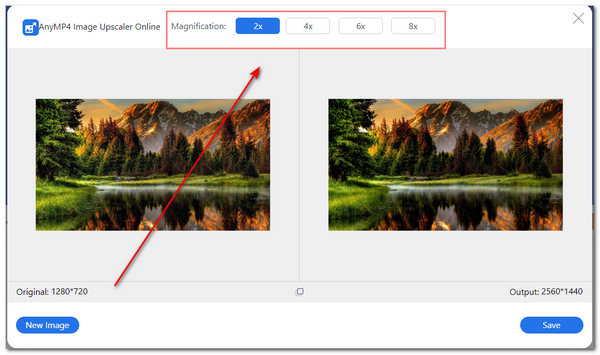
3. Select any magnification level at the top of the dialog box, including 2X, 4X, 6X, and 8X times. This feature will automatically unblur the image you have chosen.
Note: When an image is too far gone, the AI might add strange textures, distorted facial features, or 'waxy' skin tones that look unnatural.
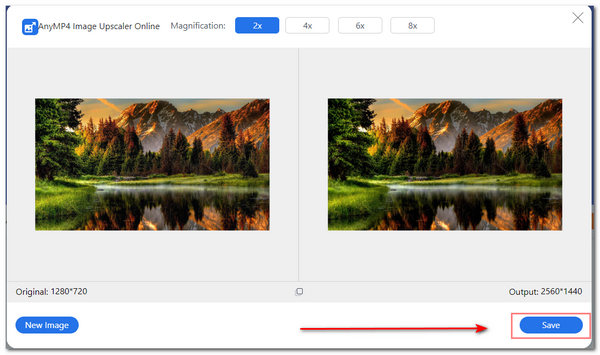
4. To finalize fixing the blurry picture, click Save on the lower right part of the dialog box.
The benefits of using this tool is that it is free and has easy-to-use interface. Also, it can unblur images quickly. Another is you can see the initial resolution and output resolution of your image. Finally, it is accessible online. On the other hand, it does not have an offline version, and has limited features to explore.
Using GIMP is one of the most common ways to unblur an image easily on Windows. GIMP, or GNU Image Manipulation Program, is an open-source graphics and photo-editing platform that many professionals widely use. It doesn't have a 'one-click' AI unblur tool. However, you can use various plugins and external integrations to achieve this, such as the OpenVINO plugin, the G'MIC plugin, etc. Moreover, the tool is known for its image manipulation features and functions like resizing an image, changing photo resolution, and more. Furthermore, the tool can denoise and unblur images using the sharpen tool.

1. Download and install GIMP on your Windows PC.
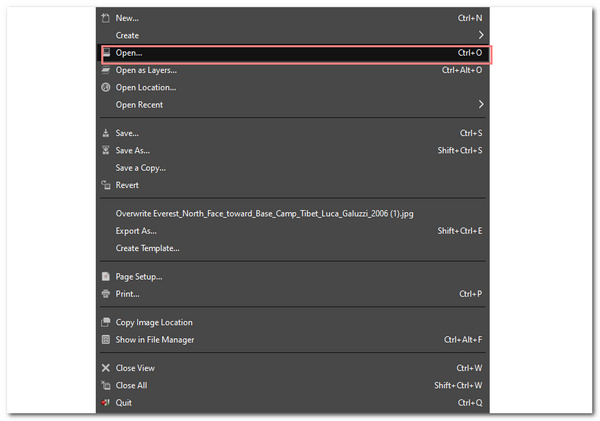
2. To import your photo, click File on the menu toolbar. Drag down your cursor, then click Open. Select your image file to unblur.
3. On the toolbar on the app's left pane, select Blur/Sharpen Tool with a drop icon. You can also do the shortcut of Shift+U. You can set the tool's settings on the box on the left. Drag the cursor across your photo to unblur the image. You can selectively deblur the image.

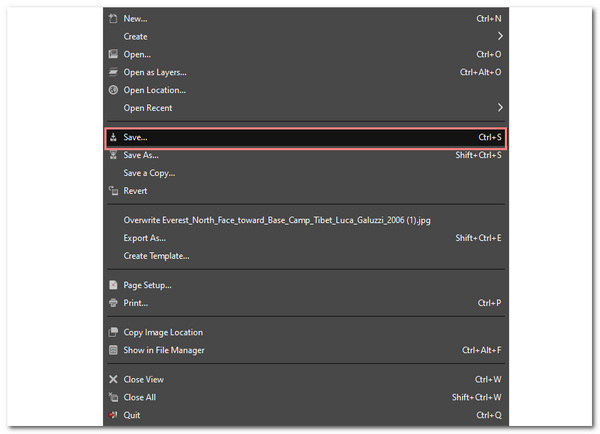
4. For the last part, you can now save the image by clicking Save under File.
The tool is reliable when it comes to additional photo-enhancement tools. You can selectively blur or unblur a part of the photo. In addition, it works similarly with Photoshop because of its advanced functions. However, there are some disadvantages when using this tool. The first thing is that since it is an open-source software, there are continuous changes in the performance of the tool. Some functions may not work accurately.
In this portion, you will discover how to fix blurry pictures on a Mac. It has built-in settings on the Photos App of Mac. By integration with Apple intelligence, it has several AI-driven tools to help unblur images, like the clean-up tool. Similarly, you can edit your existing and stored photos on your Mac through this app. The Photos App can make significant changes to your stored images. It has filters, adjustment tools, and auto-enhance tools as well.
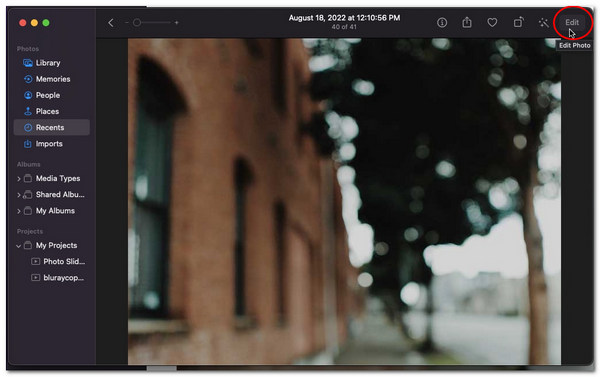
1. On your Mac, open the Photos App. Select any image file you want to unblur. Double-click your chosen image file.
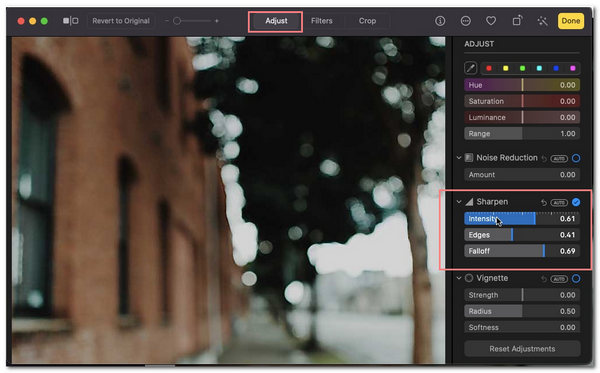
2. After you have opened an image to unblur, click Edit on the upper right part of the screen.
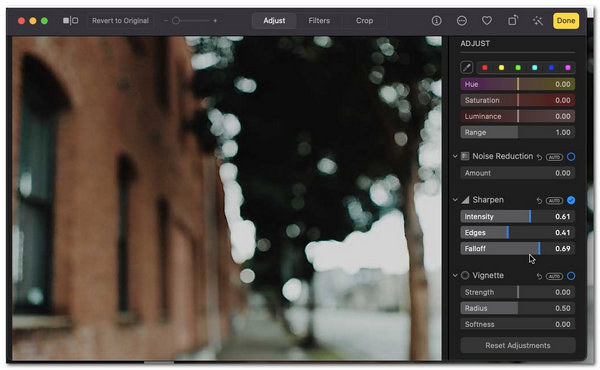
3. Under Adjust tool, you can edit the photo to unblur. Scroll down the options, then select Sharpen. You will need to adjust the Sharpen slider on the following options; intensity, edges, and falloff. The Sharpen tool can be used to lessen the blurriness of the photo.
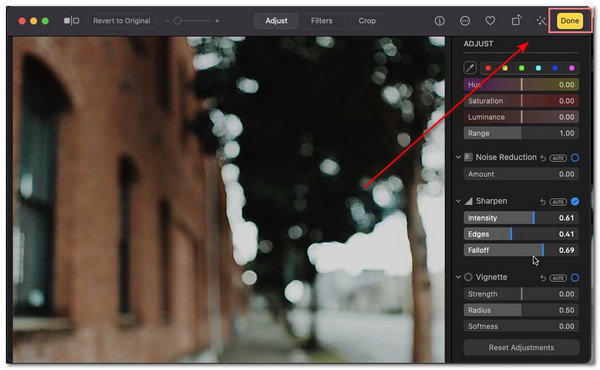
4. To finalize in image deblurring, click Done, located on the upper right part of the interface.
When you are a photographer, a professional photo editor, or a graphic designer, you will always use your Mac to edit, organize and store your photos. With the abovementioned application,you can unleash your creativity extensively and widely. Aside from fixing blurry pictures, you are also given options to enhance your photo. On the other hand, there is no preview of the before and after look of your image. This means you cannot see the visible comparison of your image output. Secondly, there is no specific tool to unblur an image. In addition to that, you cannot selectively unblur your photo.
Adobe Photoshop has revolutionized the process of restoring blurry photos by integrating sophisticated AI-driven features powered by Adobe Sensei. Instead of traditional sharpening methods that often introduce unwanted grain, Photoshop leverages machine learning algorithms and the Generative Fill engine to intelligently analyze pixel patterns and reconstruct missing details. Tools like the Shake Reduction filter and the newer AI Upscaling capabilities can distinguish between intentional motion blur and focal issues, effectively 'guessing' what the sharp edges should look like based on vast datasets.
So, how to use this tool to fix blurry images?
1. Prepare the image and enable Smart Filters
Open your photo in Photoshop, select the image layer, and convert it to a Smart Object so any edits remain non-destructive.
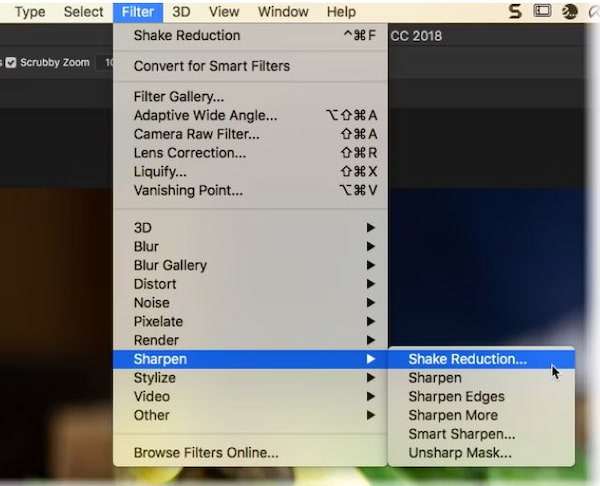
2. Apply Shake Reduction
Go to Filter > Sharpen > Shake Reduction. In the dialog box, select the blurry area of the image and let Photoshop analyze it.
3. Refine with Blur Traces and Additional Sharpening
In the Advanced panel, use Add Suggested Blur Trace to target the most blurry regions. Adjust the settings until the result looks best, then optionally enhance further with Sharpen or Smart Sharpen before saving.

It is a professional tool for you to unblur images with precision. When we try it, we are surprised by its powerful AI-driven features. However, its cost is high, and it is not friendly for beginners.
There are ways how to unblur an image on an iPhone. With the Photos app on iPhone, you can easily store, organize and edit your photos. Also, the built-in settings of the iPhone in photo-editing come in handy because it won't require you to install an application from the AppStore. The tool is indeed perfect for your photo-editing convenience.
1. Open the Photos App on your iPhone.
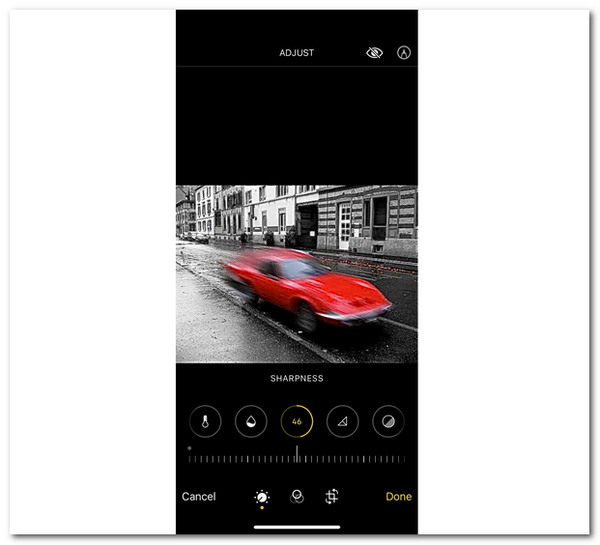
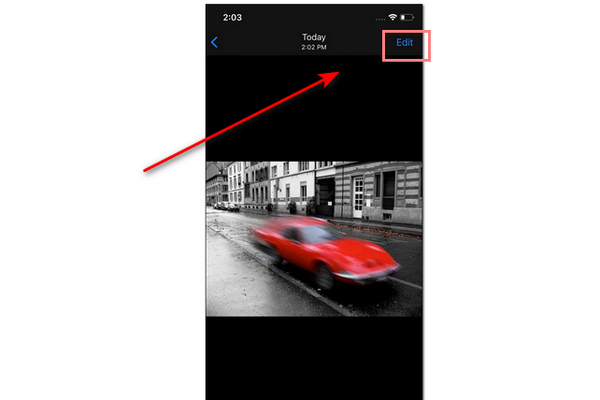
2. Select an image you want to deblur, then click Edit on the screen's upper right.
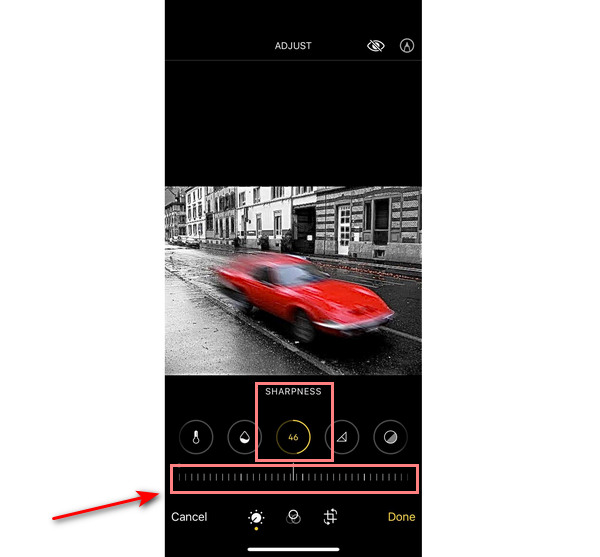
3. After clicking Edit, you can see many photo-editing parameters on the lower part of the photos app, including brightness, contrast, saturation, sharpness, and many more. Select the Sharpness tool. Adjust the sharpness tool to unblur the image. You have the option to set the contrast of the picture.
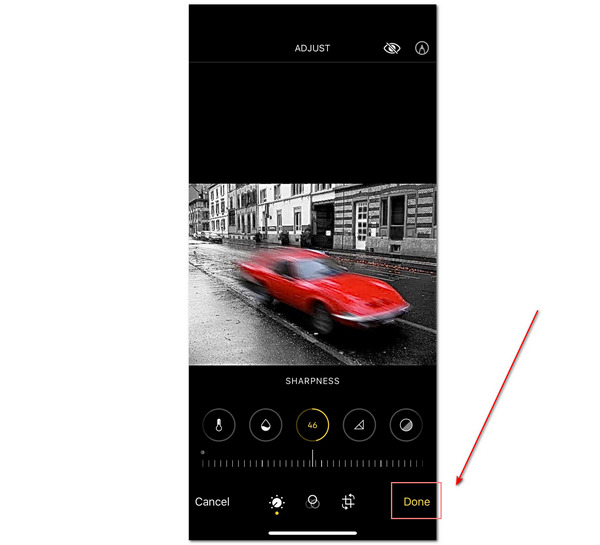
4. After you add clarity to the photo, you can now click Done to finalize the image deblurring.
The tool is reliable when it comes to additional photo-enhancement tools. You can selectively blur or unblur a part of the photo. In addition, it works similarly with Photoshop because of its advanced functions. However, there are some disadvantages when using this tool. The first thing is that since it is an open-source software, there are continuous changes in the performance of the tool. Some functions may not work accurately.Having built-in settings in editing your image, especially in image deblurring, is a great experience. If you use an iPhone, you will no longer worry about what app you should use. The Photos app has many extensive features to fix your blurry picture. Also, you enhance your photo by adjusting the iPhone image's resolution and image format as HEIC.
However, there are some problems when using the Photos App on the iPhone. The functions of deblurring an image are limited. You can only adjust a few settings before you achieve a less blurry photo. Moreover, there is no specific tool to unblur the image directly.
Most people will worry about how their pictures will turn out if they capture an image or scenery with a shaky hand. It is a fact that these images will be blurry after being captured. Furthermore, Android smartphones have built-in settings on their Photos app.
1. Open the Gallery on your Android smartphone.
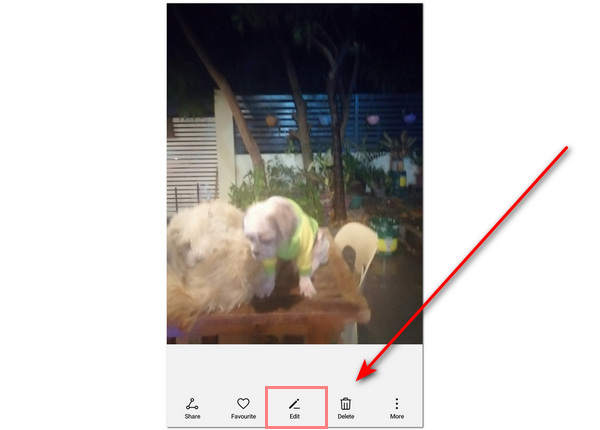
2. Select a photo you want to unblur. Then click Edit on the lower part of the screen.
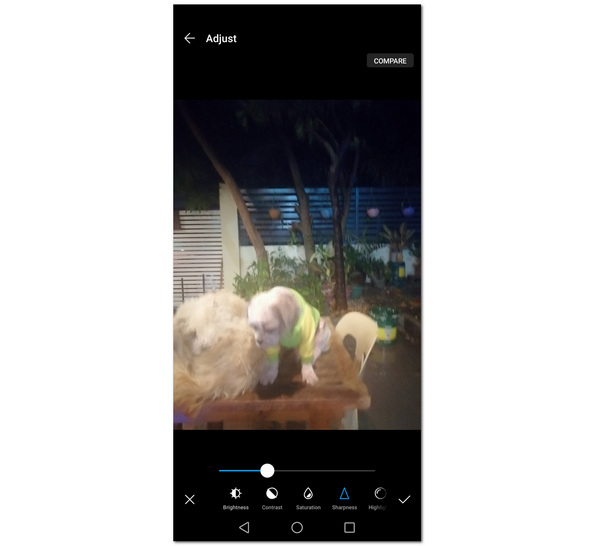
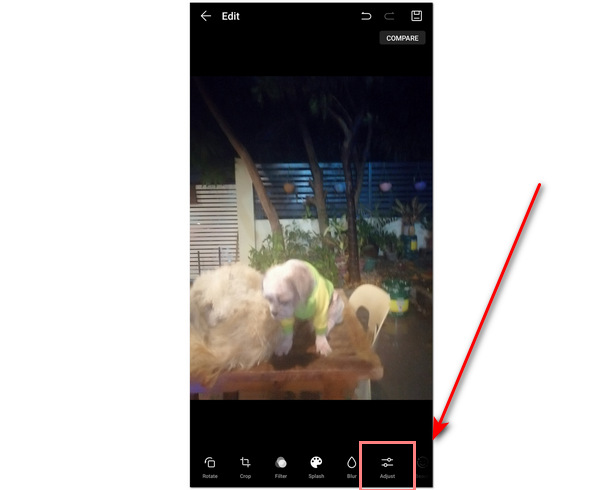
3. Select Adjust with the slider icon. This feature will let you enhance some photo parameters like sharpness.
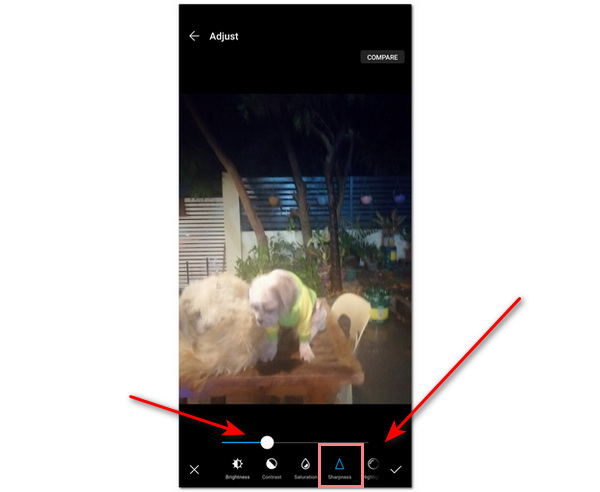
4. Select the Sharpness tool. Then you can now adjust the slider bar as you prefer. Select the check icon if you are satisfied with the clarity of the picture.
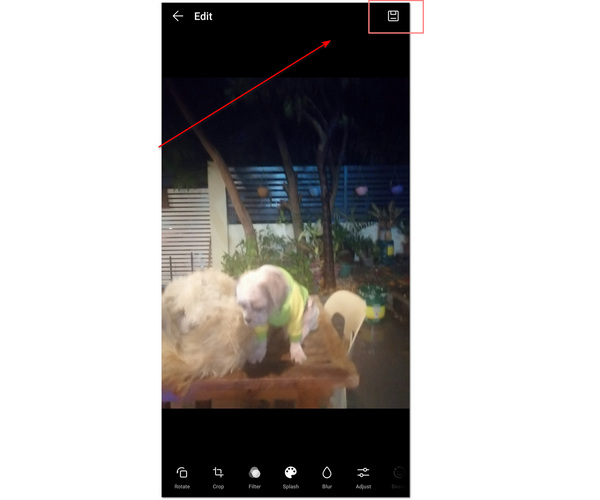
5. Finally, you can now click Save with a diskette icon to finalize enhancing the photo's clarity.
These built-in photo-editing settings on enhancement to add clarity to photos have been commonly found on most smartphones nowadays. Undoubtedly, the platform where you store and organize your photos is the same platform you use to edit your photos.
Nevertheless, the gallery app on Android smartphones isn't reliable in some ways. The features to selectively unblur some parts of the image are not available. Also, its function to enhance and add clarity to the photo is limited and not extensive. The blurriness is not entirely removed when you edit on this gallery app.
1. How to increase the clarity of photos in Photoshop?
To know how to unblur an image in Photoshop, start by opening your image file by clicking File. Drag down, then choose Open. Select your desired photo to unblur. After that, go to Window on the menu toolbar of the screen. Then select Layers. You can right-click the layer you want to unblur. Then choose Convert to Smart Object. You can now select Filter, then select Sharpen, then click Unsharp Mask. You can see Amount, Radius, and Threshold adjustment sliders in this function. After you finish image deblurring, you can now click OK to finalize.
2. Why does Facebook upload blurry pictures?
Facebook optimizes photos to meet the minimum file size required to upload. Also, when you upload a picture, it will try to stretch the image to change the image resolution to suit for the screen, making the images blurry. Furthermore, it can also be because of the image file format.
3. What makes pictures blurry?
There are several factors why your pictures get blurry. One of the factors is when you misuse the shutter speed. There is more chance for blurry images to be captured. Another is when the subject of your camera has sudden movements. Lastly, when your camera is out of focus or your subject is out of focus.
4. Is Photoshop better than AI tools for unblurring images?
Photoshop offers more manual control, but AI tools like AnyMP4 are superior for adding lost details and fixing low-resolution blur automatically without complex settings.
5. Can AI fix a completely out-of-focus photo?
AI can improve it, but it can’t fully restore details that were never captured.
6. How to avoid blurry photos next time?
• Use a faster shutter speed.
To conclude, there are a lot of the best photo clarity tools for you to unblur images online and offline. It depends on the user's preference. Moreover, you also learned the tools and the features of built-in settings to unblur images. In addition to that, you can try out these apps to make the experience worth it.
 Updated by Mark Cristobal to Edit Photo
More readings
 Top 3 AI Picture Retouching Tools to Enhance Old Photos
Restoring your old photos is a possible thing to do these days. Enhance those old vintage photos of yours to preserve memories. Discover these easy steps.
 Best 10 AI Image Enhancer Tools to Improve Photo Quality
Here are the top 10 AI image enhancer tools you can use. Try the best app to increase the picture resolution. Check out their features, pros, and cons.
 What is and How to Use it in Photo Editing
What is image noise? How to remove noise from a picture? Can I add image noise? Get the full information about image noise here.
 Best 4 Tools to Sharpen Blurry Photos Online and Offline
Sharpening an image is an excellent photo-editing technique to use. Discover steps on how it is done on the 4 image upscalers to sharpen blurry images.