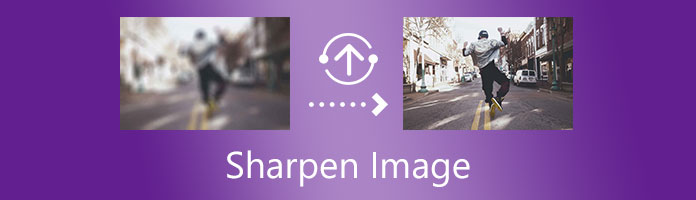
It is a fact that people will always want a high-quality photo. Especially when you are the photographer, you will not like the photos you have taken with your camera to be blurry and hazy, right? Having blurry and hazy images is the most common problem that can be faced in photography. Worry no more because you will learn how to sharpen images in this post. Sharpening a photo can emphasize an image's details, lines, and edges. There are plenty of options and techniques to learn how to sharpen an image. Moreover, sharpening a photo can significantly affect the outline and gradient of the picture. Learn more about this by keeping reading this article.
AnyMP4 Image Upscaler Online is an online photo-upscaling tool that can resize a picture and sharpen an image. It uses Artificial Intelligence (AI) technology to enhance the photo by increasing the sharpness of an image. Moreover, the tool can improve the image by strengthening the lines, edges, and other picture details. Furthermore, it supports the most standard image file formats, including JPEG, JPG, and BMP. Since it is accessible through a browser, this tool comes in handy with any smartphone and computer. In addition, you can sharpen an image online with this app.
1. You can visit the official site of AnyMP4 Image Upscaler Online.
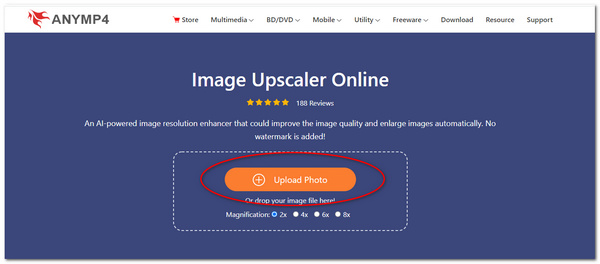
2. To upload your image file on the app's main interface, you can click Upload Photo. Choose any image file you want to sharpen. Then click Open.
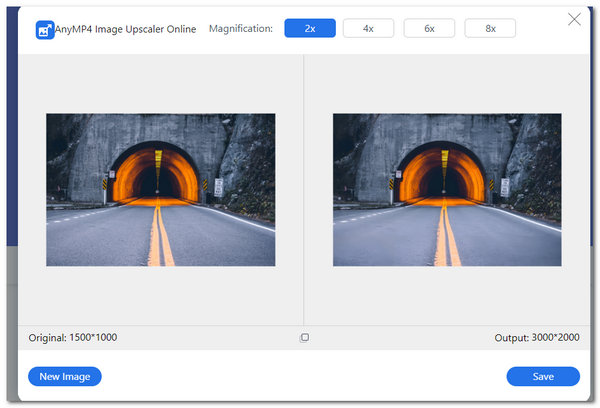
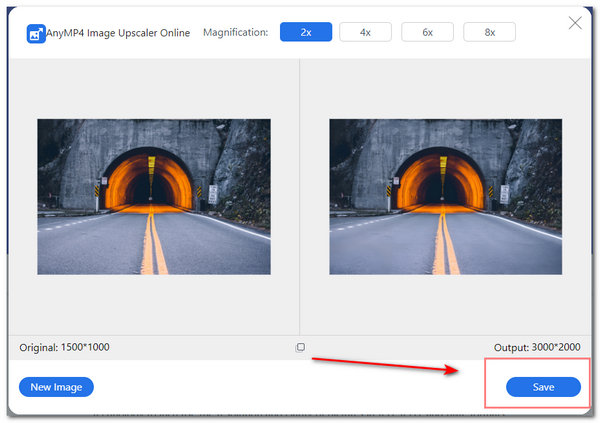
3. Start sharpening your blurry image by selecting a magnification level from 2X, 4X, 6X, up to 8X times. By clicking any of these, you can also see the preview of the output of the photo. See the difference between the original photo and the output of a sharpened photo. Similarly, you can notice that clarity and details are improved here.
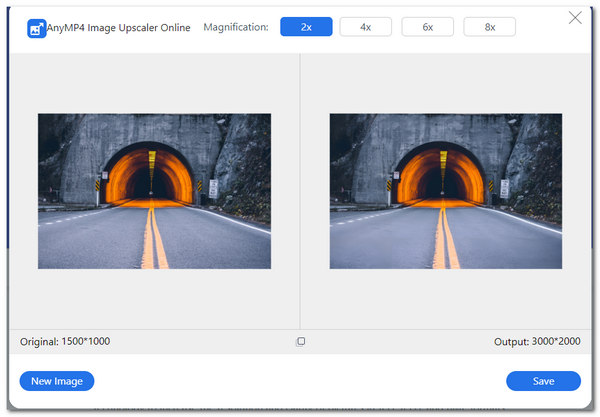
4. For the final step, click Save to save and download your sharpened image onto your PC or any device.
GIMP or GNU Image Manipulation Program is a powerful photo-editing tool focusing on image manipulation. It is widely used by many professionals globally because of its advanced photo-retouching features and tools. GIMP has been in the digital world for years and has been improving at the hands of many volunteers. Moreover, this tool can sharpen an image with the help of the Sharpen filters.
1. You have to download and install the latest GIMP on your PC.
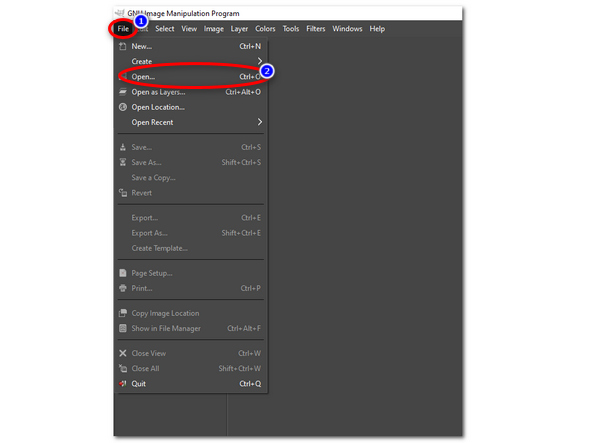
2. To open an image file, select File from the menu toolbar. Scroll down, then click Open. It will allow you to browse for the image you want to sharpen.
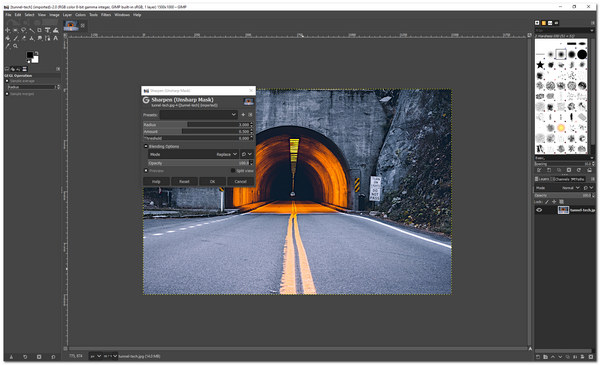
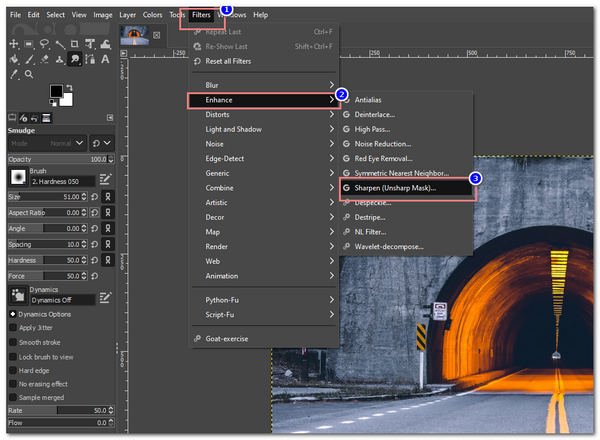
3. After importing your preferred image, on the menu toolbar, select Filters. Drop down your cursor, then click Enhance. Select Sharpen.
4. The Sharpen(Unsharp Mask) dialog box will appear on your screen. This feature allows you to set specific values for its radius, threshold, amount, and blending options like the image's opacity. Click OK to see if you are satisfied with the sharpened image.
Pixelied is a photo-editor tool that can sharpen your images online. It is a powerful online graphics designing tool that can provide free templates for posters, flyers, and presentations. Moreover, it is also a multipurpose editor that can edit photos with various filters available on the app. Furthermore, it enhances images by adjusting the sharpness of the photos, thus emphasizing the lines and edges of the pictures. In addition, it has a good workspace capable of featuring different editing tools.
1. Go to the official website of Pixelied.
2. Upload your image file by clicking the Upload Your Image on the application's main interface.
3. Under Effects & Filters, you can adjust the slider bar of Sharpen according to your preference. This function will sharpen your blurry image and emphasize your photo's color intensity.
4. For the final step, you can save and download your image by clicking Download, located on the upper right of the interface.
Adobe Express is an online graphics designing and photo-editing tool developed by Adobe Photoshop. Also, it is a multipurpose editor available online. Moreover, you can create impactful images with better quality. Furthermore, the app has many AI toolkits to explore. In addition, it has a sharpening tool that you can use to improve the clarity of blurry pictures. However, it is necessary to log in with your account to use the app.
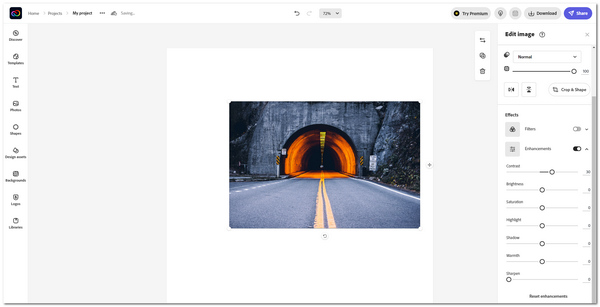
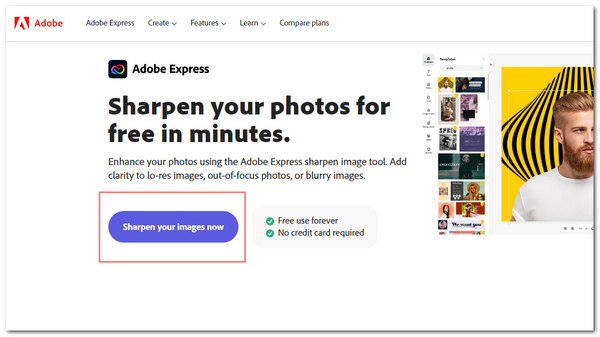
1. Go to Adobe Express Sharpen Image's official website. Then click Sharpen your Images now.
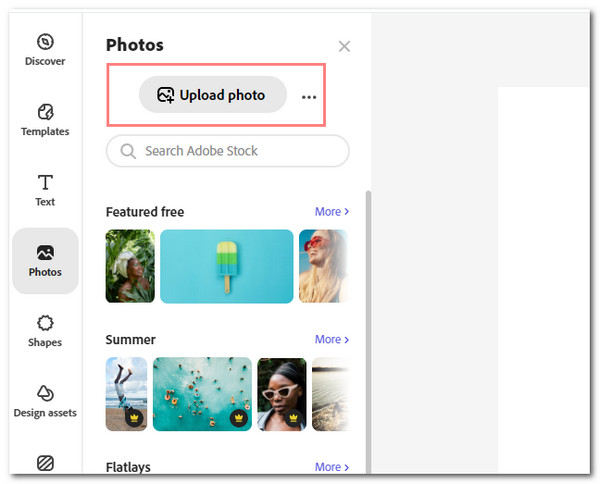
2. On the app's main interface, click Upload Photo to import your photo on the tool.
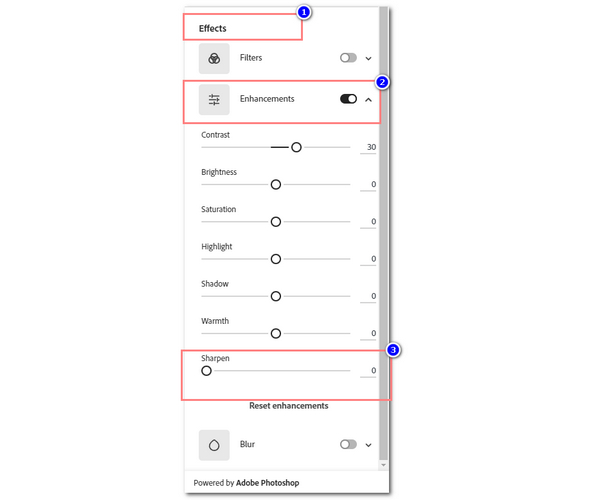
3. Located on the right part of the app, under Effects, toggle on Enhancements. Then in its lowest position, adjust the slider bar of Sharpen. This feature will sharpen a blurry image.
1. What is the purpose of Artificial Intelligence (AI) in sharpening images?
Artificial Intelligence, also known as AI, uses deep learning networks for image recognition. It interprets images to be organized on visual information. This technique is applied to many applications because it helps produce an advanced image output.
2. How to sharpen an image in Photoshop?
To sharpen an image in Adobe Photoshop, you can use Unsharp Mask. First, open the image file. Then go to Filter on the menu toolbar of the app. Scroll down, then click Sharpen, and select Unsharp Mask. A dialog box will show, and you can adjust the image's amount, radius, and threshold. Select OK to finalize. Cherck the details here to sharpen an image in Photosop.
3. What is selective sharpening?
Selective sharpening means sharpening a specific area or subject of your image. This sharpening technique makes the subject of the image emphasized and its background unchanged.
4. What will happen if you sharpen an image too much?
Since sharpening an image increases the intensity of contrast and color of pixels, sharpening an image too much may wear away the effect you are aiming for. The way someone sharpens an image must be done in moderation.
5. How does sharpening an image work?
When you sharpen an image, it makes the light pixels of the image lighter and the dark pixels lighter. To sharpen an image intensifies the contrast between colors of pixels. That will make your image resolution higher than the original one.
To sum it up, now that you have learned how to sharpen a blurry image online and offline, you can try to do it yourself. Sharpening an image may bring several benefits. It brings an emphasis on minute details and the color of the photo. Also, it brings clarity to a blurry image. However, if sharpening is done too harshly, you might not want the result it can produce. Therefore, sharpening an image must always be done in moderation and caution.
 Posted by Angelica Liwanag to Edit Photo
More readings
 Top 3 Ways to Increase Image Resolution to HD/4K/8K
Enhancing the resolution of your images is a great way to produce better photos. Discover the 3 photo resolution upscaler to make images high quality.
 Top 3 AI Picture Retouching Tools to Enhance Old Photos
Restoring your old photos is a possible thing to do these days. Enhance those old vintage photos of yours to preserve memories. Discover these easy steps.
 Best 10 AI Image Enhancer Tools to Improve Photo Quality
Here are the top 10 AI image enhancer tools you can use. Try the best app to increase the picture resolution. Check out their features, pros, and cons.
 What is and How to Use it in Photo Editing
What is image noise? How to remove noise from a picture? Can I add image noise? Get the full information about image noise here.