Whenever you take an image using your iPhone, you will mind the resolution that your iPhone can give. Of course, you will want your pictures to be clearer and more visible to look at. Additionally, making your photos presentable is part of capturing the precious moments in your life. Today, you will learn how to change iPhone photo resolution easily. Take pictures without blur by improving your image resolution on your iPhone. Read more below.
AnyMP4 Image Upscaler Online is an online-based tool that can upscale the resolution of the photos for iPhone. It uses Artificial Intelligence (AI) technology that enhances the image resolution without losing the quality. Moreover, it enhances the photos' lines, edges, and other details. Also, there is no watermark added when you use this tool. In addition, it can support the most common formats, including JPG, JPEG, and BMP. In addition, it serves as a photo enlarger and offers a high-quality resolution. In line with that, you can choose any magnification level from 2X, 4X, 6X, up to 8X times. This particular feature can change your iPhone image resolution to be better.
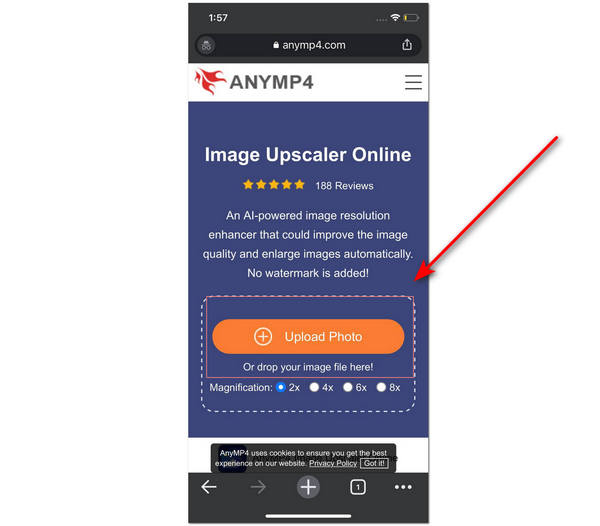
1. Visit the official site of AnyMP4 Image Upscaler Online to increase the resolution of images on your iPhone.
2. To import your photo on the main interface, click Upload Photo to browse for your photo or have the option to drag and drop the image file.
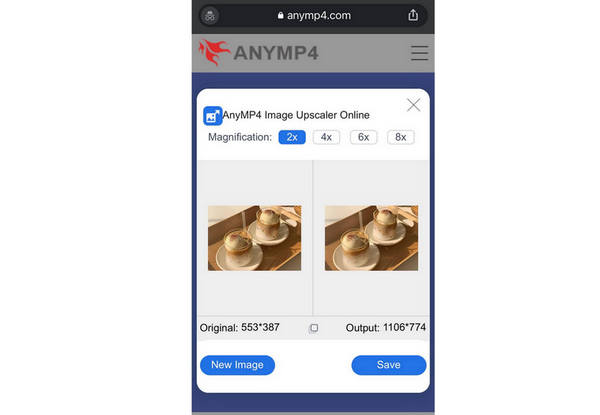
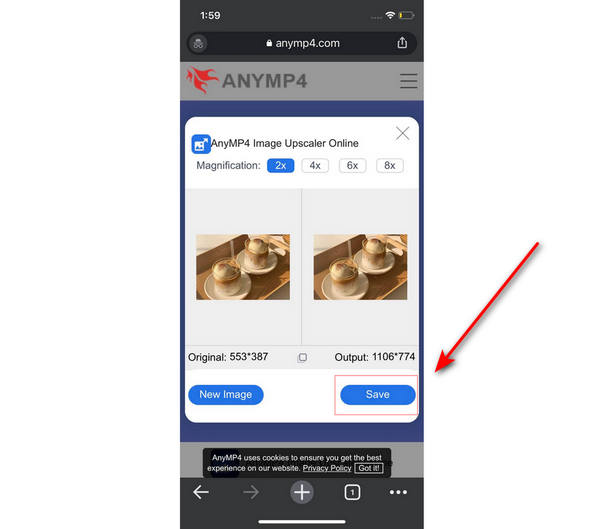
3. You can choose a magnification level between 2X, 4X, 6X, and 8X times. This feature can upscale and increase the resolution of iPhone's images.
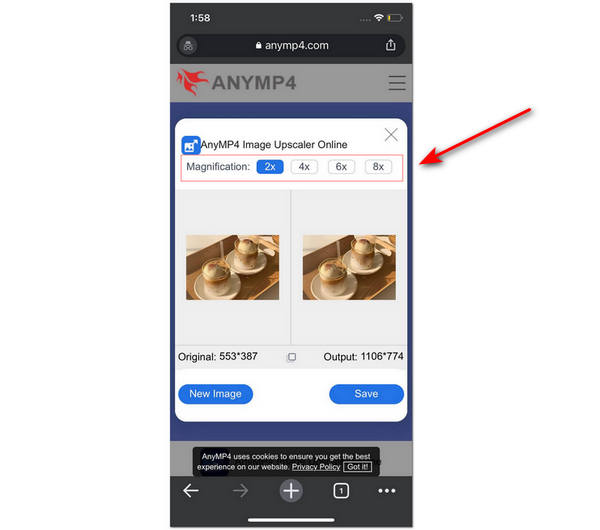
4. After changing the resolution of your photo on your iPhone by selecting the magnification level, you can now click Save to save and download the picture on your iPhone.
The tool has been helpful to many users already. Since it is accessible online with any browser, you can improve the resolution of your photo by simply uploading it on the tool and selecting a magnification level that can make your blurry photos clearer than before. Additionally, the tool helps in reducing the noise, making your pictures smoother.
Have you ever tried capturing a photo and realized you are not satisfied with the settings your iPhone camera has? Although the iPhone is known for having a good camera and taking clearer photos than any smartphone, you still have the option to adjust the camera settings. Some things need to be modified, like the lighting and the camera mode. Thus, you will discover how to increase iPhone photo resolution.
1. To start changing the resolution of your images on your iPhone, open Settings on your iPhone. Go to your avatar, then click iCloud. Select the Photos option.
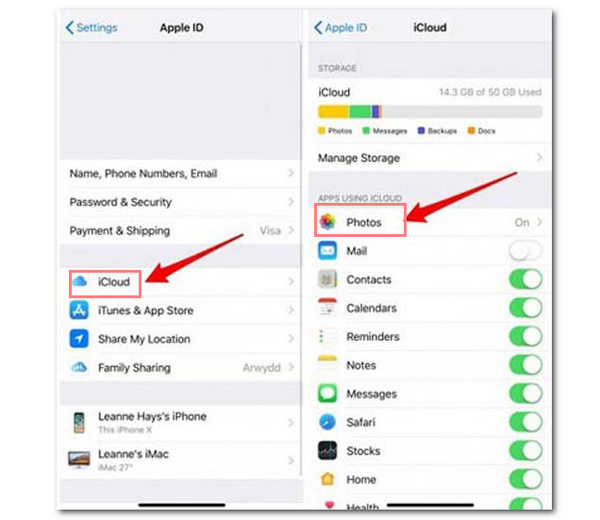
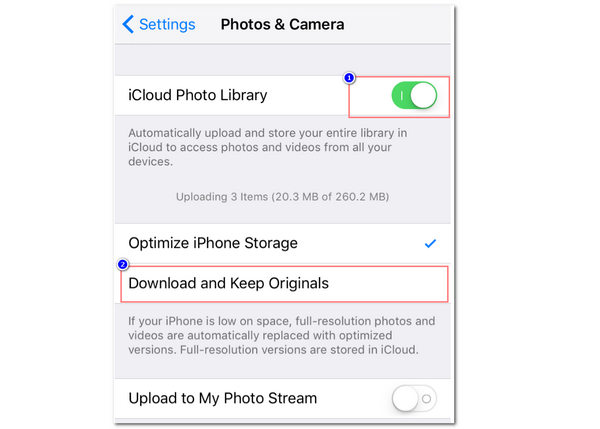
2. Toggle on iCloud Photos and select the Download and Keep Originals option. To ensure that there would be no reduction in the resolution of your stored photos, you must save all the images to your iPhone Camera App and its local access.
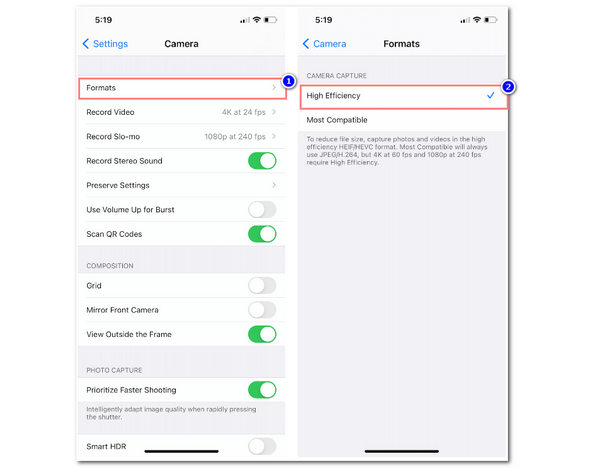
3. On the Settings app, scroll down, then select the Camera tab. Click the Formats option, then select the High-Efficiency option. This feature will save the photos in HEIC file format and increase the photo resolution on iPhone.
Then all the images uploaded to iCloud from iPhone will be saved in a higher resolution.
Using the built-in settings of an iPhone is the easiest way to increase your photos' resolution on your iOS device. In a few steps, you can set up the default settings of the Camera app. It automatically captures your pictures on your iPhone in high-efficiency format.
Remini is an offline photo-editing app you can download and install on your iPhone. The iPhone photo editor can increase and enhance the resolution of your images. Similarly, it can transform old and blurry photos into clearer ones. Additionally, it uses Artificial Intelligence (AI) technology that can enhance lines, edges, and other photo details without quality loss. Furthermore, it focuses more on the enhancement of selfies and portraits. Hence, it has many excellent features that you can use to improve the quality of your images. This post will show you how it is done using the Remini app.
1. Download and install the Remini app on AppStore on your iPhone.
2. Open the newly installed Remini app on your iPhone, and then you can now click Import Photo to add your chosen photos to be edited.

3. To increase your photo's resolution on your iPhone, you can now click Enhance to begin the process.
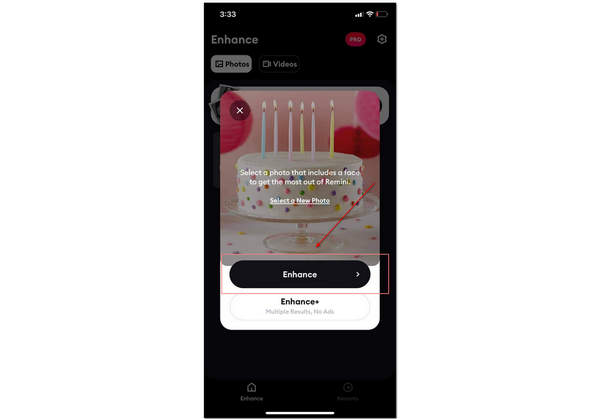
4. A circular progress bar will appear while enhancing and increasing the photo's resolution. The feature will sharpen and add pixels to your images. Please wait for it to finish then. You can now save and download the finished file on your iPhone.

Using the iPhone photo editor app can bring more value to the photo's resolution. It means you are exploring what more features can contribute to the photo's enhancement process. Furthermore, a third-party app has extensive features like crop, rotate, or flip. Moreover, it lets you adjust the photo's saturation, contrast, and brightness.
1. What is image resolution?
Image resolution is the number of pixels per inch of the image. It means that the higher the resolution, the more pixels are present. While having a lower resolution means there are fewer pixels present in the picture. Higher resolution refers to having crisp and more detailed images.
2. How to adjust the lens of my iPhone's camera?
Open your Camera app on your iPhone; you can see the 1x above the shutter button. Click 1x to change it into 2x. This camera feature zooms in closer to the subject you are capturing. Take note that this will result in lower-quality photos.
3. Can I improve my photo's low quality?
Yes, you can improve the quality of your photo by using a photo editor tool. You can change the appearance of your image by adjusting the contrast, brightness, sharpness, and pixel size. There are different photo editing tools available offline and online. Also, you can use them accordingly.
4. What is HEIC?
HEIC, defined as High-Efficiency Image Format, is Apple's version of HEIF. This new image file format makes your images smaller while maintaining high quality. Similarly, it compresses images without huge quality loss.
5. Which is better, HEIC or JPEG?
If it depends on the compression process and image quality the format brings, HEIC is better than JPEG. HEIC can compress image files into smaller ones without compromising the image quality. But you need to convert HEIC to JPG for opening the HEIC files on non-Apple devices.
To conclude, many ways to change your iPhone's photo resolution exist. It includes the built-in settings of your iPhone. The feature can change the photo format to high efficiency file format, increasing the resolution of an image on the iPhone. There are also third-party apps that you can use. These apps have extensive features that you can explore. Now that you have learned the simple steps in increasing the resolution of your photos on your iPhone, you can try them out yourself.
 Posted by Angelica Liwanag to Edit Photo
More readings
 Top 3 Easy Methods to Lock Photos on iPhone without Losing Quality
How to hide some sensitive or private photos on your iPhone from your friends or family? The article shares 3 easy methods to lock photos on your iPhone.
 Top 2 Ways to Change the Image Resolution on Android
To change the resolution of your photo on your Android phone is a possible thing to do. Through this post, you will learn and discover its steps.
 How to Increase Image Resolution in Photoshop Instantly
Having a low-quality image will possibly bother you. Learn how to increase the resolution of your images using Photoshop with these simple steps.
 Best 10 Photo Resizer Tools To Change/Crop ImageSize
Here are the best 10 photo resizer apps to use. Find the best one to change and crop the size of your pictures with the tools.