The demand for convenient screenshot options has steadily increased in importance since it became a regularized feature among smart devices. The same can be said about laptops and computers as well. Because of that, learning how to screenshot on Acer laptops has increased both in popularity and importance over the years. With that in mind, this article aims to provide a detailed guide for our readers to help them learn how to take a screenshot on Acer computers using three of the most convenient options available in the hardware. We will provide a clear step-by-step guide for each option, together with a recommendation on what is the best use of each option.

Best Used For: Taking screenshots instantly without additional editing options.
We will start this article by featuring the fastest way to learn how to take a screenshot on an Acer laptop using keyboard screenshot shortcuts. Although this option can be considered the most convenient, it is far from perfect since it has a learning curve-you have to learn the keyboard combination that you will use, depending on how you want your screenshot to be saved.
Fortunately, this article will provide you with everything that you need. The guides below discuss the keyboard combination for taking a full-screen screenshot, an auto-saving screenshot, an active window screenshot saved to the clipboard, and a partial screenshot saved to the clipboard.
We will also include the best uses of each screenshot mode to help you decide which option to use if you want to take a screenshot.
Best Used For: Taking a screenshot of the entire screen and then applying minor editing to the captured image.
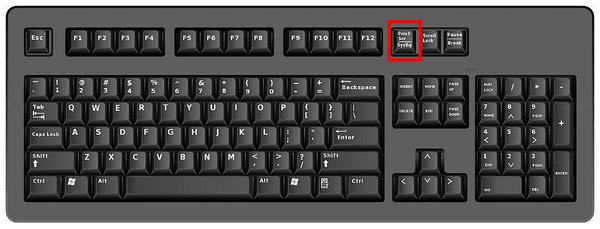
1. Find the Print Screen key on your keyboard and then press it.
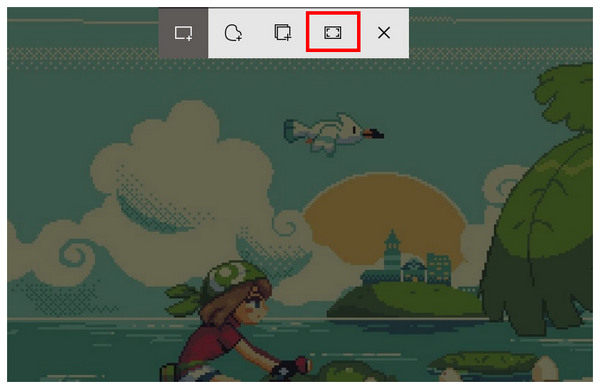
2. Pressing the Print Screen key will activate the screenshot overlay to be activated, where different screenshot modes are available. Select the Fullscreen Snip option.
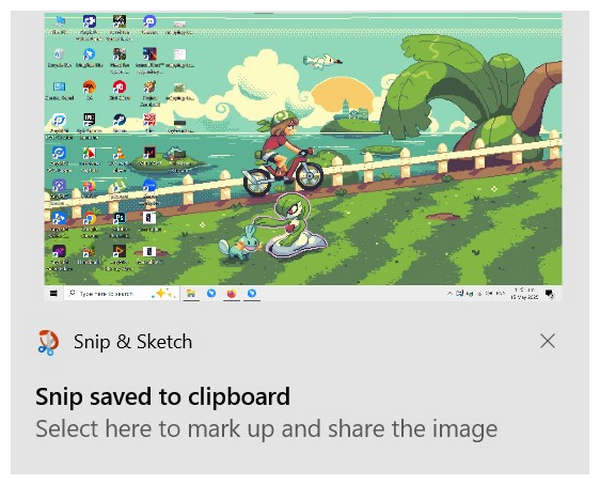
3. After clicking on Fullscreen Snip, your entire screen will be captured in the screenshot. A notification will pop up on your screen. Click on it to preview, edit, or save the screenshot.
The default full-screen screenshot is the simplest way to take screen captures from your Acer computer. This option also allows you to add minor editing to the captured image.
Best Used For: Saving raw fullscreen screenshots to the file manager without editing.
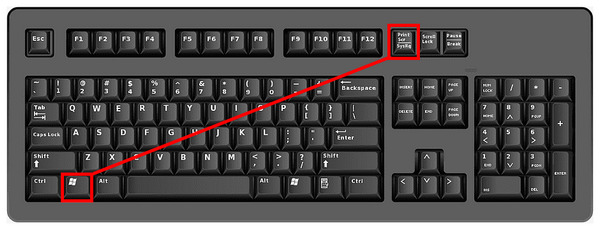
1. Press the Windows + Print Screen keys simultaneously.
2. Open your file manager and proceed to the Pictures tab, then find the Screenshots folder.
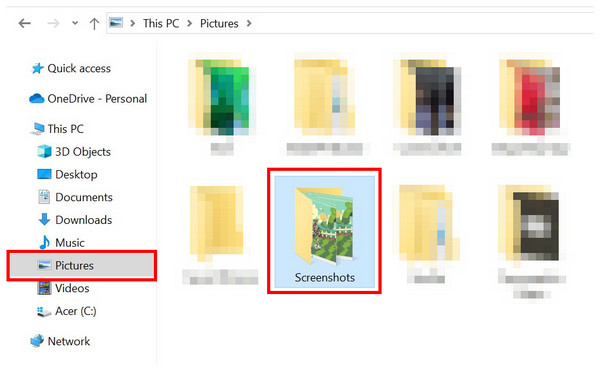
3. Open your file manager and proceed to the Pictures tab, then find the Screenshots folder.
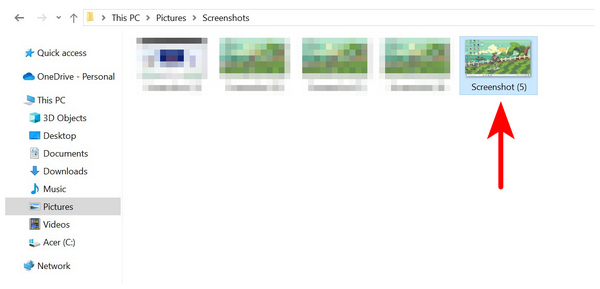
Pressing the Windows key together with the Print Screen button will allow your computer to instantly save the captured screenshot without accessing the editing window. This keyboard combination is the most advisable option for instant capture.
Best Used For: Copying a screenshot capture to the clipboard, which can be easily pasted to messaging apps or documents.
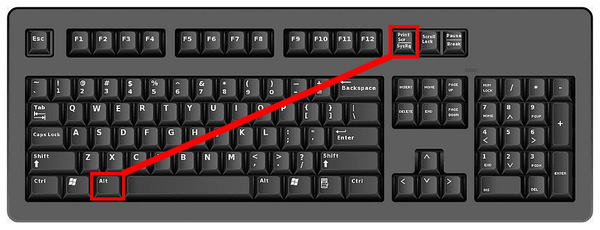
1. Press the combination Alt + Print Screen on your keyboard.
2. Find software or a website that supports pasting an image from the clipboard. In this case, we will use a blank Google Docs file.
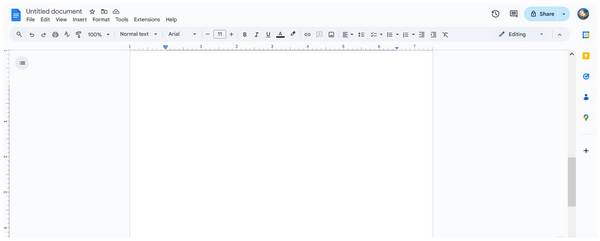
3. To paste the image from your clipboard, use the keyboard combination Control + V or right-click on Google Docs and select Paste.
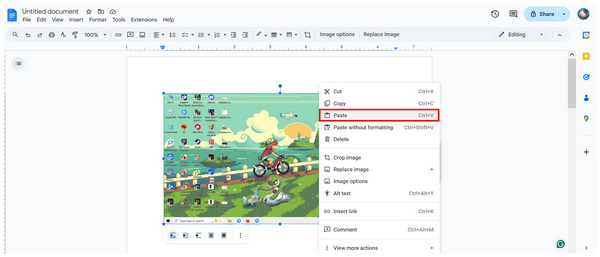
If you want to learn how to screenshot on an Acer computer and instantly share it to a messaging app, editing software, or a document, the Alt + Print Screen combination should be your choice.
Best Used For: Taking a screenshot of a specific section of your screen and saving it to the clipboard for easier sharing.
1. Press the Windows + Shift + S keyboard combination.
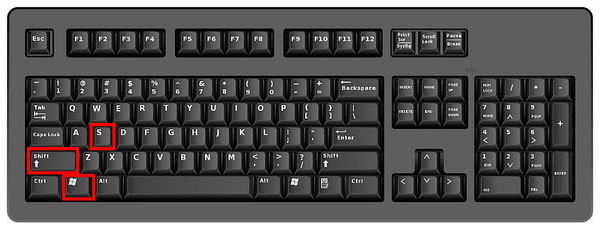
2. Capture the section of the screen that you want to screenshot by controlling your mouse cursor as a screenshot selector.

3. Go to the software where you want the partial screenshot saved. In this case, we will also use a Google Docs file. Press Control + V or right-click on the document and click Paste to paste the partial screenshot from your clipboard.
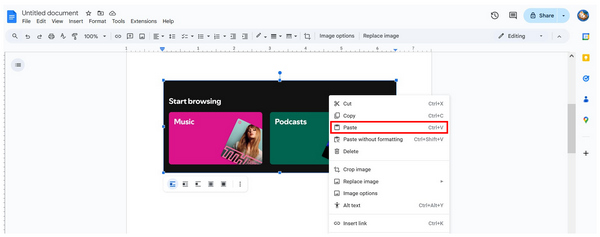
Similar to the previous option, this keyboard shortcut will also save your screenshot to the clipboard. However, this option is more customizable since you can choose the region of the screen you want to share.
Best Used For: Taking screenshots if you are unfamiliar with keyboard combinations using the Print Screen key.
If you are not used to keyboard shortcuts, you can also use the Snipping Tool, which is the built-in screenshot tool for Windows versions. This tool is also the editing software that supports the Print Screen keyboard shortcuts.
Since keyboard shortcuts require prior knowledge of button combinations, the Snipping Tool is the solution if you lack that knowledge.
To learn how to use this tool, please read our guide below.
1. Search for the Snipping Tool on your computer’s search bar. The program is not available on the desktop, requiring you to search for it manually.
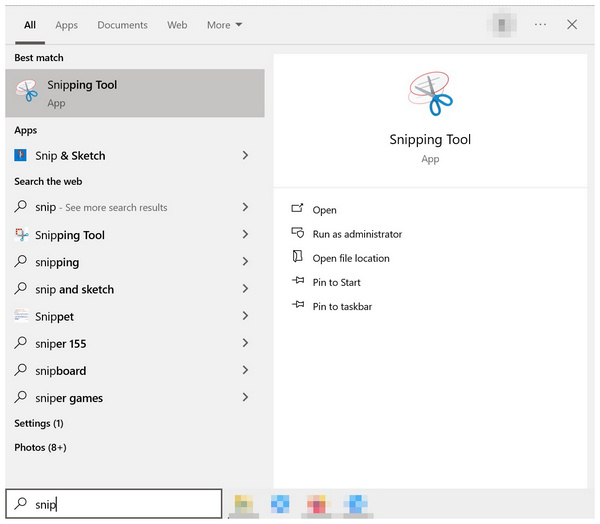
2. In the Snipping Tool’s main menu, choose the screenshot mode you want to use. Once you have selected the mode, click on the New button to start taking a screenshot.
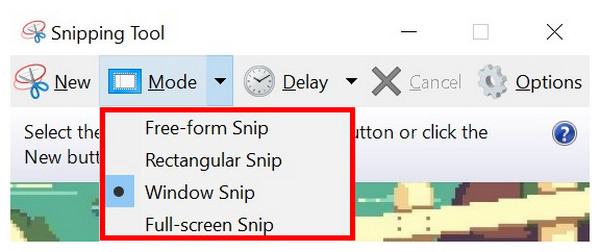
3. In the Snipping Tool’s main menu, choose the screenshot mode you want to use. Once you have selected the mode, click on the New button to start taking a screenshot.

Using the Snipping Tool method, you can now take a screenshot of your computer display even if you are unfamiliar with advanced keyboard shortcuts.
Best Used For: Adding advanced editing adjustments and using modern screen capture modes.
If you are looking for a third-party option to screenshot your Acer computer’s display, AnyMP4 Screen Recorder should be one of your top alternatives. Highly compatible with Windows 11/10/8/7, this Windows-optimized software will allow you to take more advanced screen captures from your computer with its custom area, window-specific, and scrolling screen modes.
After taking a screenshot, the program also allows its users to access its editing options using a convenient pop-up menu, which is readily available after screen capture. This editing menu will allow you to add practical editing options that are not available in Windows’ Snipping Tool, which will help you add practical editing to your screenshots.
Finally, the images captured by the program can also be saved in multiple formats, such as PNG, JPG/JPEG, BMP, GIF, or TIFF. You may save them by copying them to the clipboard, directly on your computer, or by pinning them to the screen like a digital sticky note.
Now that you have learned the most optimal features of AnyMP4 Screen Recorder for taking screenshots, we hope that the guide below will help you learn how to use it hands-on.
Make sure to download the program first for an easier time following our provided guide.
Secure Download
Secure Download
1. Open AnyMP4 Screen Recorder and select the mode selection button to find the Screen Capture mode, and click on it.
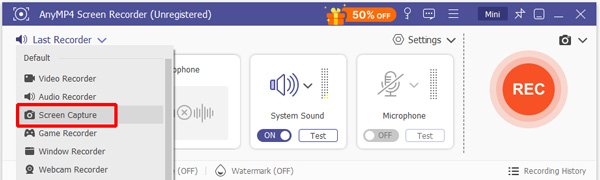
Clicking on the Screen Capture mode will automatically activate the screen capture tool. Using your mouse cursor, adjust the rectangular region your cursor controls to select the portion of the screen that will be captured.

2. After taking a screenshot, AnyMP4 Screen Recorder will now provide you with editing tools to adjust the screenshot. You can use the Rectangle tool, the Brush tool, the Input text tool, the Blur tool, Callouts, and the Add image to edit the screenshot.

3. Now that you have edited your screenshot image, you can choose to save it or use another screenshot mode. The screen capture mode of AnyMP4 Screen Recorder can save the screenshot by copying it to the clipboard, saving the image to the file manager, or pinning it to your screen. If you want to use another screen capture mode to expand the image, you can choose from scroll capture mode or full-screen screenshot in the same menu.

The versatility of AnyMP4 Screen Recorder’s Screen Capture mode will teach you how to screenshot on an Acer computer. It can also provide multiple editing options and used as a screen recorder software for more advanced uses. The tool is simply an upgrade from the built-in screenshot options of an Acer PC running Windows OS.

Since Acer tablets use the Android operating system, the default button combination to take a screenshot on these devices is the Volume Down + Power button. Depending on your tablet’s model, these tactile buttons should be located on the right side of your device when the tablet is positioned upright. Screen recorders for Android may also be used for more advanced uses.
We hope that this article has helped you learn how to take a screenshot on an Acer laptop based on your current technical knowledge about these portable computers. If you think that the default options on Windows computers are not enough for your needs, we highly recommend using AnyMP4 Screen Recorder as your optimal screen capture alternative.
Secure Download
Secure Download
 Posted by Riley Mitchell to Screenshot
Related Articles
 Tutorial to Screenshot on Lenovo Laptop/Desktop of Any Screen Size
This is the complete guide to screenshot on Lenovo laptop or desktop. You can take a full-screen, active or custom screenshot on Lenovo on Windows with ease.
 2 Ways to Take a Long Screenshot on iPhone
 Learn how to take a long screenshot on iPhone with this comprehensive guide. Discover the best methods to capture extensive content on your iPhone effortlessly.
 How to Take a Screenshot on a Motorola [4 Smooth Techniques]
If you want to learn how to take a screenshot on a Motorola, you’ve chosen the perfect location. Discover the several approaches in this instructional post.
 How to Take a Screenshot on Samsung: 4 Unique Methods
This post will cover several ways to capture the Samsung screen! From buttons to gestures and voice commands, learn how to take a screenshot on Samsung easily.