When it comes to video editing, learning how to change the direction of a video or put it in reverse is an essential editing skill. This effect is particularly useful for filming timelapses, creating unique shots, and producing advanced special effects. In this article, we provide a detailed tutorial for Apple users to help them learn how to reverse a clip in iMovie, using the software’s version for Mac computers or iOS devices. We will provide a step-by-step guide for both computer and mobile versions of the tool, along with an alternative video editing tool that allows for easy application of a video reverse effect.

We will begin this guide by featuring a tutorial on how to make a video play in reverse on iMovie Video Editor in the Mac version of the software. The desktop version of the program was selected first since it offers a dedicated video reverse adjustment tool, unlike the iOS version, which requires a third-party program to apply reverse effects.
To apply a video reverse effect in iMovie for Mac, please refer to the guide provided below.
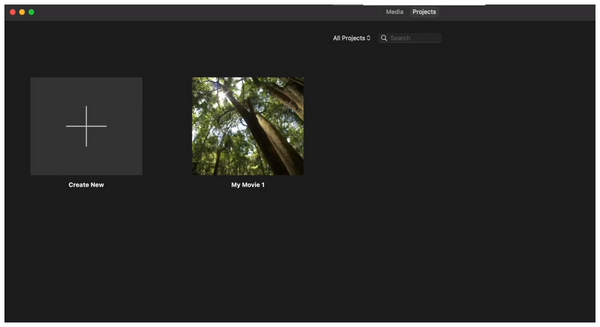
1. Open iMovie and then create a new project by selecting Create New. Then, browse your files to find the video you want to put in reverse in the editing software.
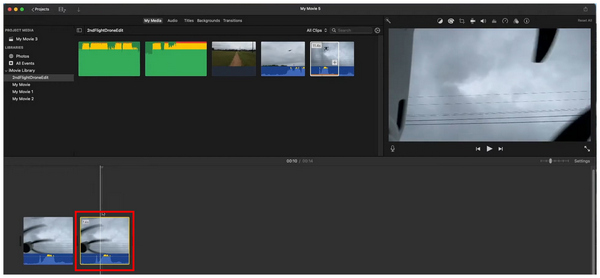
2. Once the video you want to put in reverse has been added to the editing window, click on it to select the media file. It should have a yellow outline to indicate that the media is selected.
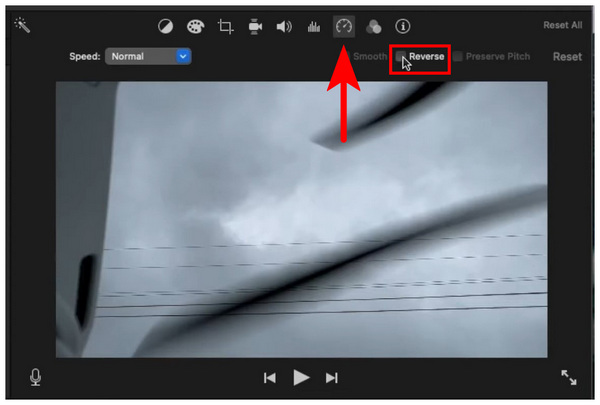
3. In the preview section, click the Video Speed button and then check the Reverse box to apply the reverse effect to the selected clip.
Once you have applied the reverse video in iMovie, you can now continue editing the video project you are creating. Otherwise, you can also export the video immediately if you only want to create a video in reverse.
Since the iMovie software is exclusive to Apple devices, it also has a version specifically designed for iOS hardware, such as iPhones and iPads. Unfortunately, the iOS version does not have a built-in video reverse feature. Despite that, the program is still a viable video editor, and using a third-party video editor tool with no watermark to reverse videos before editing them is still a good enough compromise.
To learn how to edit reverse videos on iMovie for iPhone or iPad, using iMovie and third-party options, please read the guide provided below.
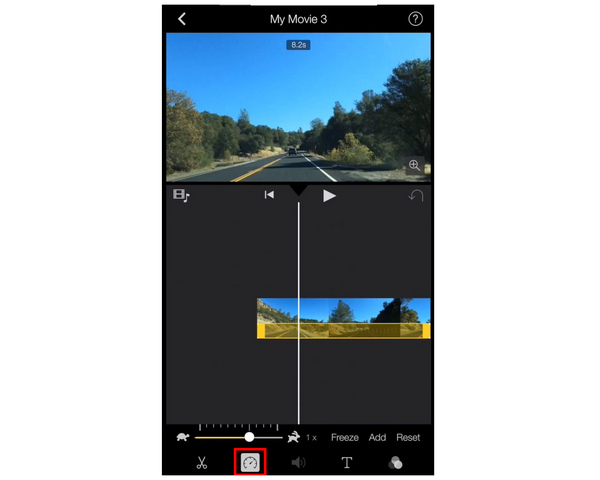
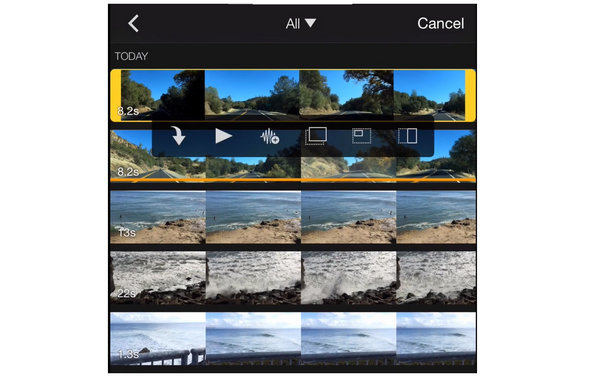
1. Open iMovie and then import the video you want to edit. Then, tap on the Video Speed button. Unfortunately, this section of the app does not have a video reverse feature. To fix that, download a third-party video reverser app.
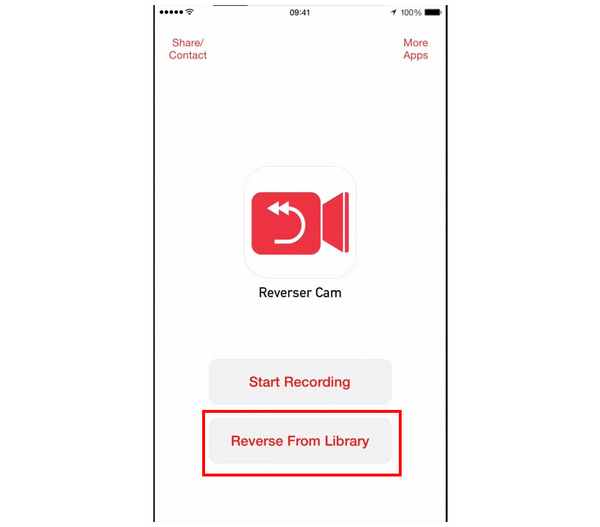
2. Choose the third-party reverse app based on your preference; however, we recommend using Reverser Cam. Open the app and then select the "Reverse from Library" option.
3.After the video you want to edit has been reversed, return to iMovie and import the reversed video to edit it using the app.
Although the reverse video option is not available in iMovie iOS by default, the presence of reliable video editor apps in the platform makes this lack of feature a minor issue. Despite this, the lack of an essential editing tool to reverse a video remains an issue for iMovie mobile.
Now that we have provided a tutorial on using iMovie's video editor to set videos in reverse, let's proceed to the best alternative on the market for applying a reverse effect to videos with AnyMP4 Video Converter Ultimate.
Compatible with both Windows and Mac, this video format converter software was developed to be versatile and equipped with advanced video adjustment tools, including a dedicated Video Reverser feature.
The mentioned video reverse feature was optimized to be as simple and user-friendly as possible, allowing users to easily apply the video reverse effect to videos imported into it with just a few clicks.
Moreover, its users can choose to either reverse the entire video clip imported into the program or set a portion of the clip where the reverse effect will be active. If you choose the latter, selecting the portion to apply the video reverse may be done using sliders or by setting definite start and end points.
For an easier understanding of the feature, we have provided a detailed guide below to help our readers learn how to change the direction of a video within a few clicks using AnyMP4 Video Converter Ultimate.
Ensure you download the software first for a smoother experience following each step.
Secure Download
Secure Download
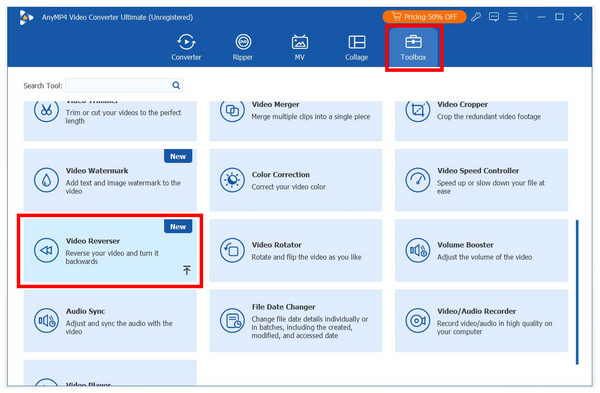
1. Open AnyMP4 Video Converter Ultimate and then proceed to the Toolbox tab. Then, scroll down among the available tools to find the Video Reverser option.
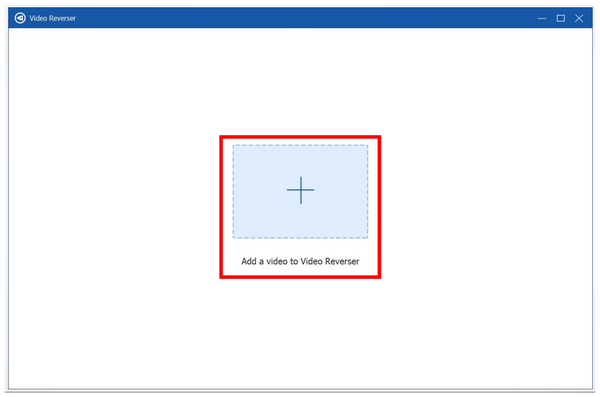
2. After selecting the tool, click on the Add File button to import the video you want to reverse.
3. Once the video has been imported into the tool, you can use the Sliders or the Set Start and Set End sections to select a portion of the video you want to reverse. Once done or if you want to reverse the entire video, simply click on the Export button.
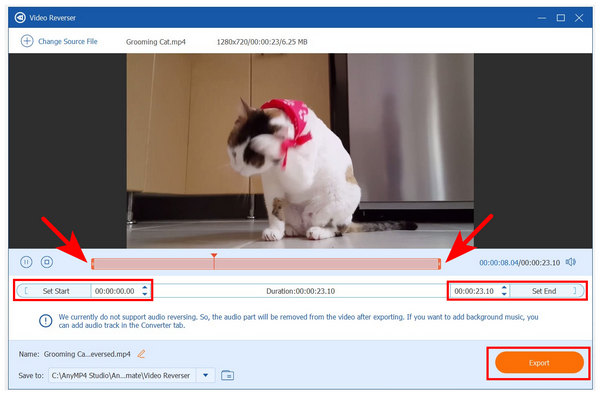
Simply wait for the exporting process to finish, once it is done, AnyMP4 Video Converter Ultimate will redirect you to the folder where the reversed video is saved. With the help of this software, you can now add the reverse video effect to clips that you want to adjust without relying on dedicated free video editing software.
Will the quality be affected if I reverse a video using iMovie?
No, it will not. Reversing a video will not diminish its quality. The video reverse adjustment will only apply its mentioned effect.
Can you reverse video on an iPhone with iMovie?
No, you cannot. iMovie for iPhone and iPad does not have a reverse video feature. You need to use third-party apps to apply the mentioned effect.
Are there any tricks in iMovie to reverse a video?
Yes, there are. However, applying a reverse video effect can be easily added using adjustment tools. Advanced tricks are not necessary.
How do you reverse a video in iMovie?
Simply use the Video Speed adjustment button. Then, check the Reverse option. The selected video will now be played in reverse.
Can I reverse a video in iMovie?
Yes, you can. However, iMove for iOS does not have the reverse effect. You can only apply it when using iMovie for Mac.
Now that we have provided you with a detailed guide on how to make a video play in reverse on iMovie, we hope that this article has answered your questions. When looking for an automated software to apply video reversal effects easily, look no further than AnyMP4 Video Converter Ultimate’s Video Reverser tool.
Secure Download
Secure Download
 Posted by Angelica Liwanag to Edit Video
Related Articles
 How to Reverse a Clip in Premiere | Rewind Clips in 2 Ways
Check this and learn how to reverse a clip in Premiere. This way, you can add a unique touch to your video projects. Plus, explore alternatives for beginners.
 Step-by-step Guide to Crop a Video Using FFmpeg for Beginners
How to crop a video with FFmpeg command line for free? You can learn the steps in our concrete tutorial and the best alternative solution.
 How to Edit Video in Clipchamp | Edit Videos Like a Pro
No editing experience? No problem! Check our guide and learn how to edit video in Clipchamp. Learn the basic and advanced editing features it offers.
 How to Split or Trim MTS/M2TS Files with 2 MTS/M2TS Cutters
Is MTS good for editing? How can I edit MTS files for free? How to cut M2TS files? You can learn 2 simple methods to trim M2TS MTS files on your computer.