There are multiple users to record iPhone or iPad screen. When you produce app tutorials or gameplay videos, for example, screen recording is a great way to give viewers a sense of what your app or game is all about. Perhaps your iPhone is doing something odd and you need to take a video of this action to show to tech support. Or you just expect to capture some online videos playing on your iPhone and save them for playback offline.
Ever since iOS 11, you are able to record your iPhone screen with the native screen recorder feature. In this tutorial, we explain how to record a video of what is occurring on your iPhone or iPad screen so you can save or share it.
| iPhone Screen Recorders | Supported Platform | Ease of Use | Recording Quality | DRM Pass | Simultaneous Audio Capture | Is it Stable During Recordings | Pricing |
|---|---|---|---|---|---|---|---|
| Built-in Screen Recorder | iOS | Easy | 1080p | Free | |||
| AnyMP4 Screen Recorder | Windows, macOS | Easy | 4K 1080p | Free - $12.45/month | |||
| DU Recorder | iOS | Intermediate | 720p | Free | |||
| TechSmith Capture | iOS | Intermediate | 1080p | Free | |||
| Web Recorder | iOS | Easy | 720p | Free | |||
| Go Record | iOS | Intermediate | 720p | Free | |||
| Screen Recorder + | iOS | Intermediate | 720p | Free | |||
| Display - Screen Recorder | iOS | Easy | 720p | Free | |||
| QuickTime | iOS | Easy | 720p | Free |
Screen recording on iPhone or iPad is easier than ever before if you have updated your handset to iOS 11 or later. As mentioned previously, Apple has realized such need and introduced a screen recorder feature into the latest iOS versions. You can follow the steps below to set up and use it simply.
iPhone models and systems that support screen recording:
| iOS System | iOS 11 to iOS 27 beta, 26 |
| iPhone 5s to iPhone 7 | Phone 5s to iPhone 7 didn't have that in the original system. It must be updated to iOS 11 to use the screen recording function. |
| iPhone 8 and later versions. | Starting with the iPhone 8, phones ship with iOS 11 pre-installed, allowing you to use the screen recording feature right out of the box. |
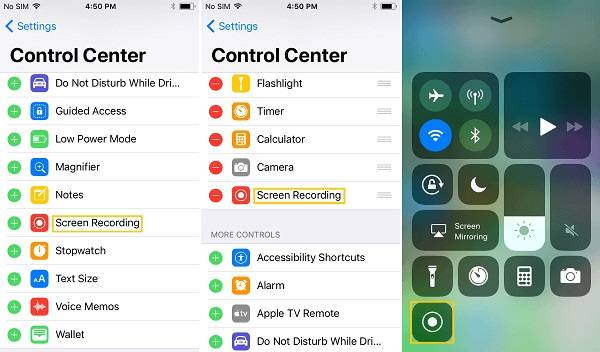
1. Open the Settings app from your home screen, tap on your name, and head to Control Center.
2. If the Screen Recording option is not in the Include area, find it in the More Controls section and tap the Plus icon. This feature is enabled on iPhone.
1. Go to the screen on your iPhone that you expect to capture.
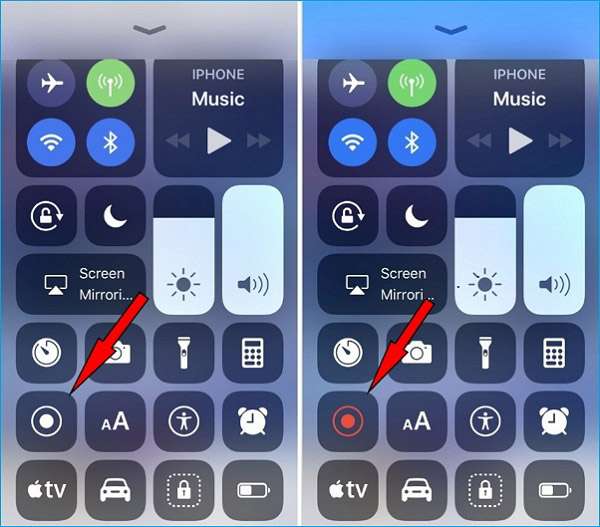
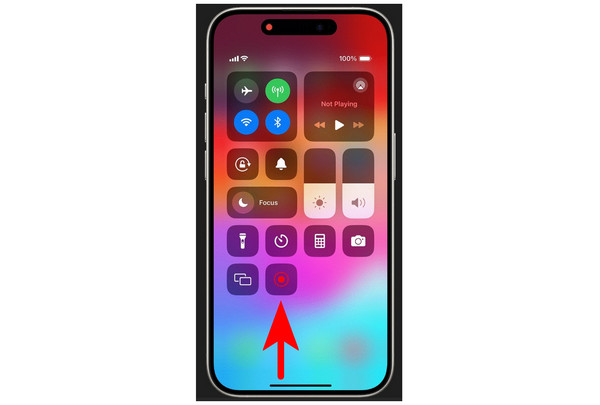
2. Swipe down from the top right corner to bring out Control Center. For iPhone 8/7/6 or earlier, swipe upward from the bottom. Find the iPhone screen recording feature and tap it.
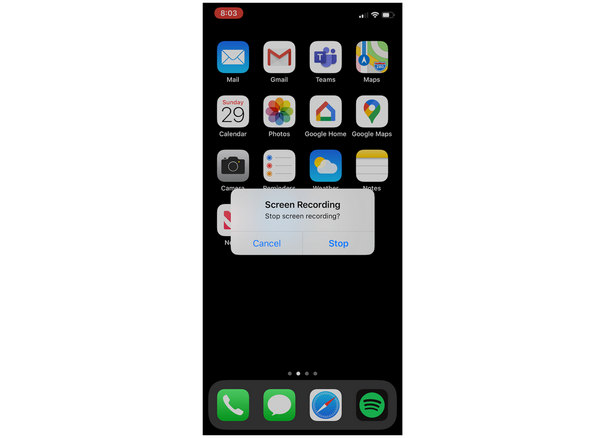
3. After the three-second countdown, everything on your screen will be captured. When recording, the feature will turn to a red bar at the top of the screen or a red blob in the status bar.
4. To end up the recording, tap the red bar or blob, and hit the button to stop it. If you cannot get the quick access of screen recording feature, just stop it in Control Center.
1. Swipe down on your iPhone screen to open your Control Center. To older iPhone models of 8/7/6 or earlier, swipe upward from the bottom. Then find the Screen Recorder button and Long-press it, instead of tapping.
2. Unlike the basic Screen Recording feature above, long-pressing the Screen Record button on your Control Center will record both your screen and the microphone audio from your device.
3. To stop the recording process, tap the red bar or blob, and click on the button to stop it. If you cannot get quick access to the screen recording feature, just stop it in Control Center.
Fortunately, capturing external audio during screen recordings on iPhone only requires one very simple change of holding the record button.
To easily locate where your recordings are, simply go to your Photos app and check the Recent or the Screen Recordings album. These recordings are saved in MOV format by default.
Unfortunately, the screen recording feature is only available to iPhone and iPad running iOS 11 and later. It means that you have to use a third-party screen recorder app if you are still using old versions of iOS. Here we identify the best iPhone screen recorder apps.
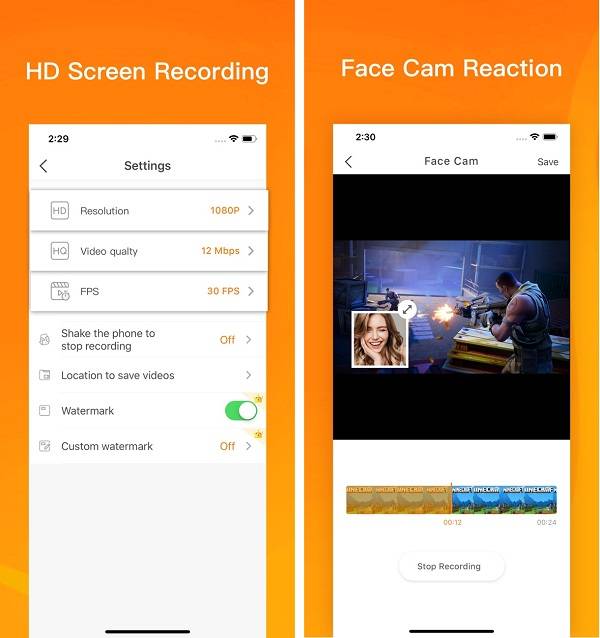
Key features
How to record screen on iPhone
1. Install the iPhone screen recorder. It is free to get in App Store.
2. When you go to the screen you want to record, open your Control Center, tap the Record button, and choose DU Recorder to start it.
3. Next, tap the Stop Recording button to save the screen recording.
https://apps.apple.com/gb/app/techsmith-capture/id1266321056
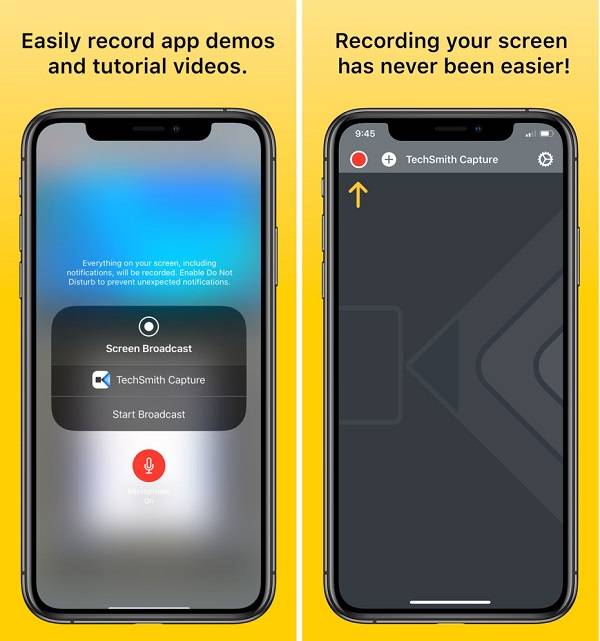
Key features
How to capture screen on iPhone 7
1. Make sure to install and set up the iPhone screen recorder to your handset.
2. Locate the screen you intend to capture, and start the recorder from Control Center.
3. Tap the round icon at the top of the screen when the recording finishes. Then preview the recording and tap Share to export it as you wish.
https://apps.apple.com/us/app/web-recorder-browser-capture/id1130835003
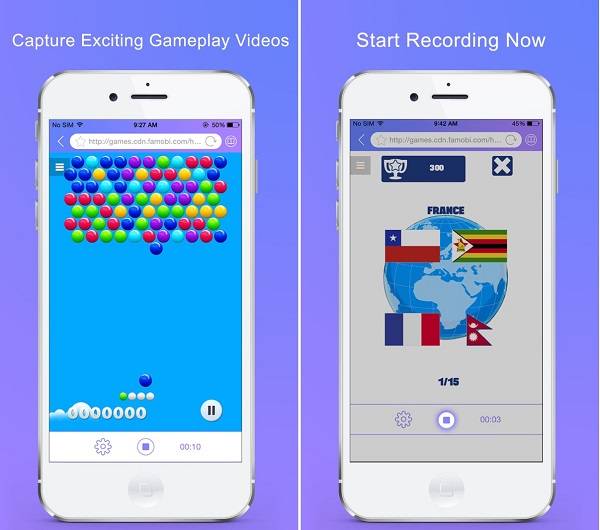
Key features
How to make a screen recording on iPhone 6
1. Run the screen recorder for iOS. It is free to download from App Store.
2. Then access the website that you want to capture, such as a game website. Play the game and tap the Record button at the bottom.
3. When you are done, tap the Stop button. Then decide to save video to your iPhone, share it via email, message or upload to Facebook.

https://apps.apple.com/us/app/go-record-screen-recorder/id1345200849
Key features
How to record your iPad screen
1. Open the online video, app or game you wish to capture. Then select Go Record from Control Center > Screen Recording.
2. Tap Start Recording to initiate screen record on iPad running iOS 11 or above.
3. When you want to end the recording, tap the Stop icon. Then tap Edit to bring the recording to editor screen. If you are satisfied, tap Share icon and select your desired destination.
https://apps.apple.com/gb/app/screen-recorder/id1463179214
Key features
How to capture screen on iPhone 8
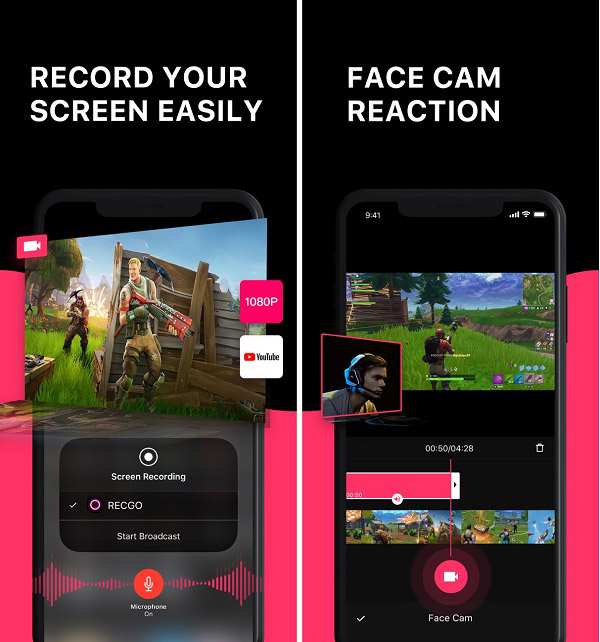
1. When you reach the screen you wish to record, head to Control Center > Screen Recording and select RECGO.
2. Tap the record icon to start shooting everything on screen and your actions. When the game or video is complete, tap stop icon.
3. Then you can explore Face Cam, and video editing features in this iPhone screen recorder app.
Key features
How to record screen on iPhone
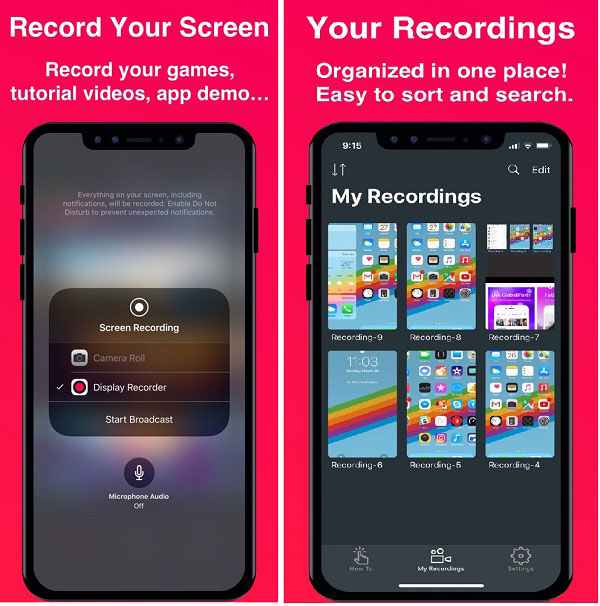
1. Open the app or game you want to record, and head to Control Center > Screen Recording and select Display Recorder.
2. When it is complete, tap the Stop icon to save the recording.
3. If you want to edit a recording, select it and tap Edit. Or tap Share to send it via email, message and more.
More screen recorders for iPhone, you can check it here.
Some iPhone users are also using Mac computers. It is well-known that the built-in media player, QuickTime Player has the capacity to record screen of your computer. It is also an iPhone and iPad screen recorder. All your need is:
Recording iPhone screen on Mac does not require jailbreak, third-party apps or extra hardware.
1. Connect your iPhone or iPad to your computer with the Lightning cable. This can be done for all iPhone models that support the Lightning connector, including iPhone 5 and later. All iPad models that support the Lightning connector or USB-C connector, including iPad Air, iPad Pro, and standard iPad.
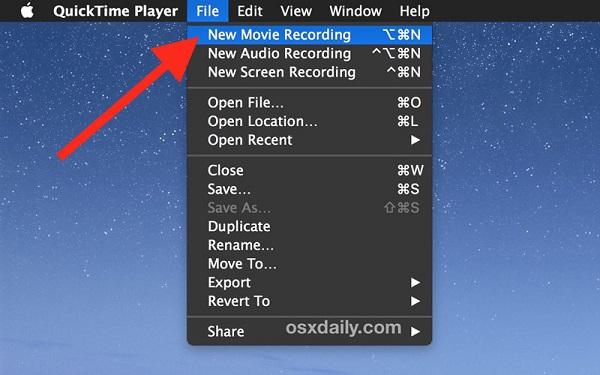
2. Run your QuickTime Player and click File > New Movie Recording to open the iPhone screen recorder window.
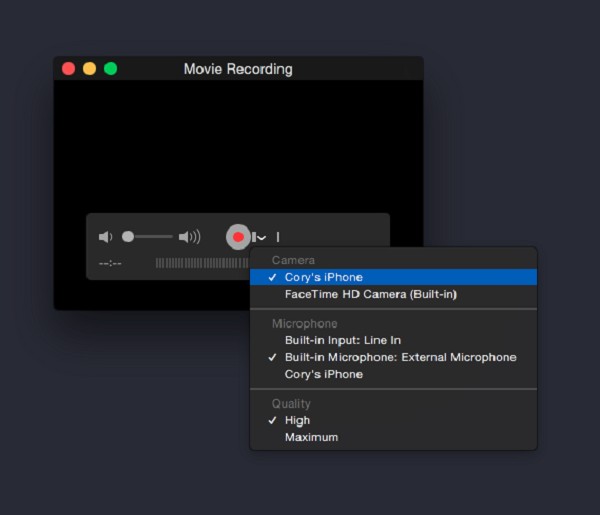
3. Click and expand the Downward button next to the Record icon, and select your iPhone or iPad under the Camera section. To capture the sound on your iOS device, select it under Microphone area too. Plus, select your favorite quality.
4. Click the Record button on the iPhone screen recorder and do what you want to record on your iPhone.
5. Once it is done, click the Stop Recording button and save the video recording to your hard drive.
In addition to QuickTime Player, there are some third-party apps allow you to produce iPhone screen recordings on Mac wirelessly.
Top 1: Reflector 2
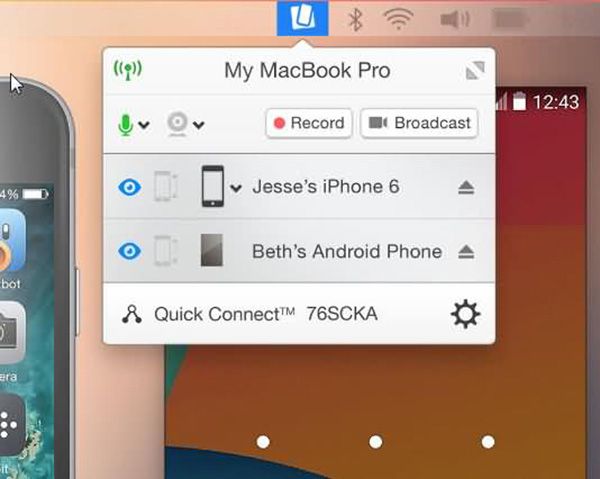
Key features
Top 2: AirServer
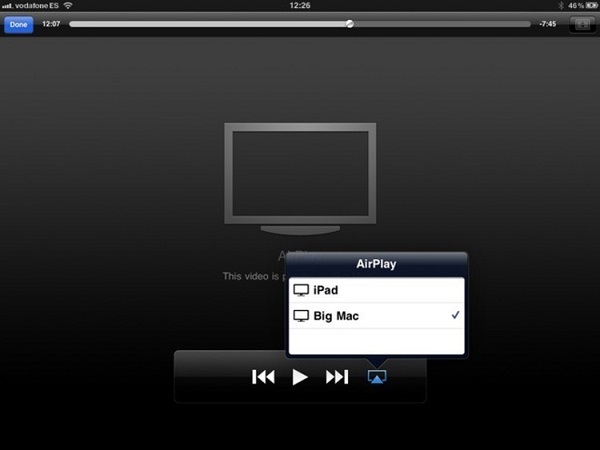
Key features
Top 3: Lonely Screen
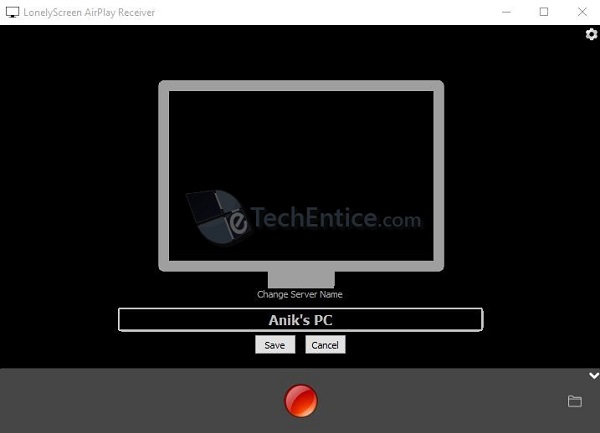
Key features
Since the biggest concern when capturing iPhone screen recordings is quality, using a desktop-based option that offers screen mirroring and external recording is the best option. In this case, we highly recommend AnyMP4 Screen Recorder and its high-quality Phone Recorder mode.
Unlike the previous options, the Phone Recorder mode of AnyMP4 Screen Recorder is designed to mirror your iPhone display and then record it through your computer’s screen. This results in a higher quality video and also has less resource consumption for your device.
It is also useful since external recording will be able to bypass app security, such as privacy black screens on several apps. To learn how to make your recordings easier and of higher quality, make sure to read our guide below.
Recommendation
All in all, it is the best option to make iPhone screen recordings on PC.
Secure Download
Secure Download
1. Open AnyMP4 Screen Recorder and then select the recording mode menu, then choose the Phone Recorder mode.
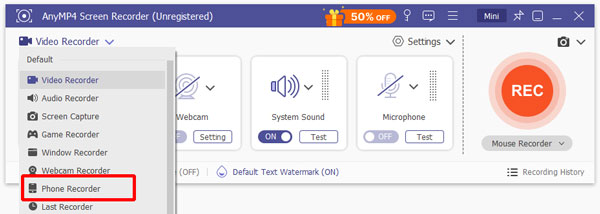
Then, choose iOS Recorder in the device type selector.
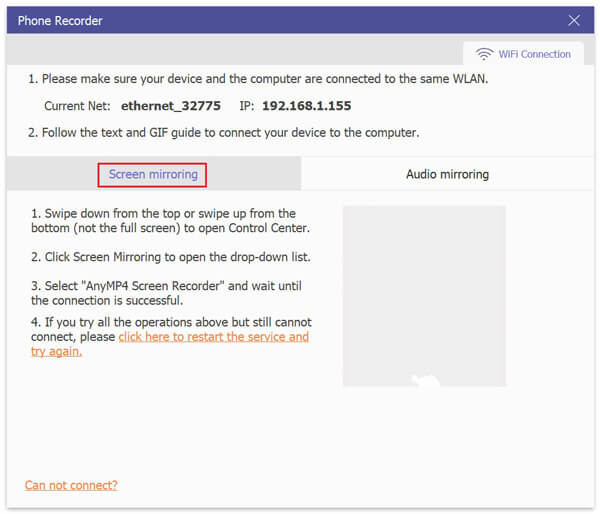
2. Make sure that your iPhone and your computer are connected to the same WiFi network. Then, in the setup menu of AnyMP4 Video Converter Ultimate, select Screen Mirroring and then follow the instructions.
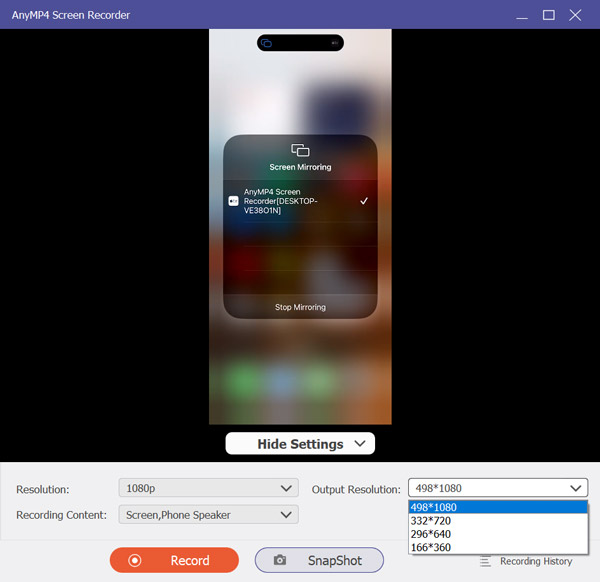
3. Once your iPhone is mirrored on AnyMP4 Video Converter Ultimate, you can now edit the recording settings from Resolution, Recording Content, and Output Resolution. Finally, click on Record to begin recording your mirrored iPhone screen.
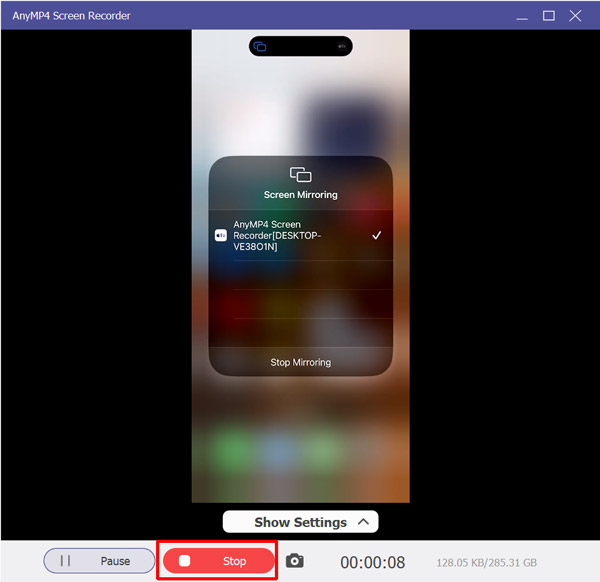
To stop recording, click Stop on AnyMP4 Screen Recorder.
Since iPhone recordings on AnyMP4 Screen Recorder is done externally, you will be able to ensure that your recording process will be smooth, high-quality, and reliable. This makes the tool the best choice for recording iPhone displays.
Why does my recording have a black screen?
Black screens during iPhone recording occur due to DRM issues. This is present for apps with sensitive information. The black screens are applied for better security.
Does AirPlay mirroring cause lag when recording gameplay?
Yes, it does. Mirroring will definitely affect phone performance. However, regular activities such as browsing and watching videos will not be affected.
Can I record iPhone calls using the built-in screen recorder?
Yes, you can. However, you need to ask the caller for permission first. This is very vital for privacy concerns.
How do I crop the mirrored iPhone screen on my PC? (AnyMP4 recording area settings)
There are two options on AnyMP4 Screen Recorder. You can use the built-in video editing tools. Alternatively, you can also set a recorded area before the recording starts.
Is recording iPhone screen hard to do?
No, it is not. There are multiple options to capture iPhone screens. You can use built-in tools, third-party apps, or desktop recorders.
This tutorial has discussed how to make screen recordings on iPhone and iPad. The convenient way to do it is the native Screen Recording feature if you are using iOS 11 or above. When it comes to old iPhone devices, you have to try the third-party screen recorder apps. Sometimes, your computer can provide much help to record the iPhone screen. Mac users, for example, can use the screen recording feature in QuickTime Player to capture everything on your iPhone. For PC, AnyMP4 Screen Recorder is the best option to produce HD iPhone screen captures. Any questions? Please leave a message below.
Secure Download
Secure Download
 Updated by Alice Thorne to Record Video
More readings
 11 Best iPhone Screen Recorder Apps
Don't know how to find a suitable iPhone screen recorder app? In this article, we list 10 best iPhone screen recorder app for you to refer.
 Top 17 Game Recording Applications for Windows and Mac
If you are looking for top game recording software for Windows 10/8.1/8/7 and Mac OS X/11/12, here is a list that helps you to make the best decision and produce high quality gameplay videos.
 8 Best DVD Recorders of Amazon to Record DVD or VHS Files
When you need to record some TV programs as DVD, what should be the best DVD recorders you should choose from Amazon or eBay? Just find the 8 recommended ones from the article.
 Top 9 Phone Call Recording Apps for Android Phones and Tablets
Phone call recorder apps have a variety of uses, but this feature is not found natively on Android. So, we share top 9 phone call recorder apps for Android users.