When it comes to video editing, Adobe Premiere Pro is one of the most well-known and popular picks across video editors of different skill levels. To serve as a guide for aspiring multimedia creators, this article aims to help with learning how to cut a clip in Adobe Premiere Pro by providing a full tutorial on three of the most popular video trimming methods in the software. We will explore different options optimal for various skill levels, ranging from beginner-friendly editing to more advanced workflow efficiency techniques.

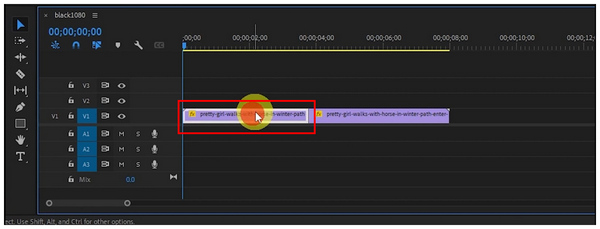
We will begin this guide by introducing the simplest option for learning how to cut video in Premiere Pro, using the Playhead and Keyboard Shortcut method. Among the options in this list, this method is both the fastest and most beginner-friendly way to use the tool as a video trimming software.
Unfortunately, this option is less accurate and requires setup up such as placing the playhead and learning the necessary keyboard shortcut keys. To learn how to use this trimming method, please read our three-step guide below.
1. Move the Playhead to the part of the video you want to cut.
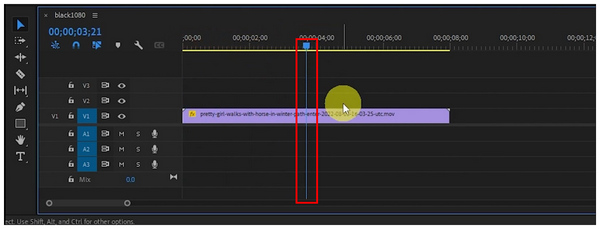
2. With the Playhead now set, click on the video in the timeline to select it.
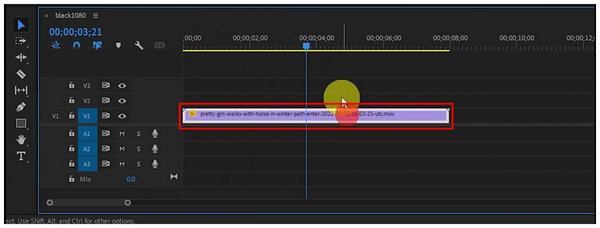
3. Now that the Playhead is set to the portion you want to cut and the video is selected, use the keyboard command Control + K (or Command + K, depending on your operating system).
If your editing timeline has a lot of media files on the stack, you may use the Command/Control + Shift + K to select the entire timeline under the Playhead. This is a faster option since you will no longer need to select the media file you want to trim.
Trimming is different from cropping, if you want to crop a video in Adobe Premiere to remove unwanted bars of a video file, just check the article here.
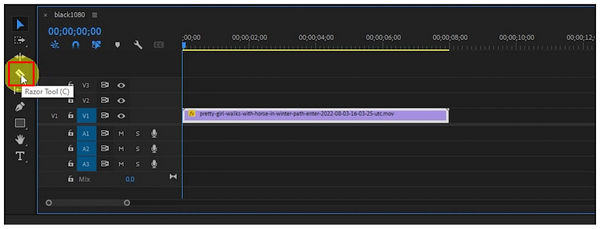
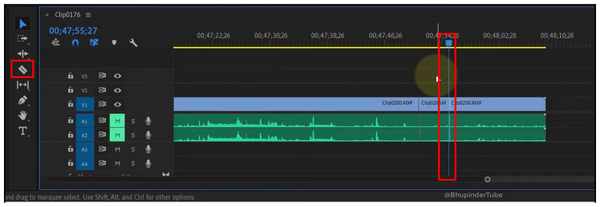
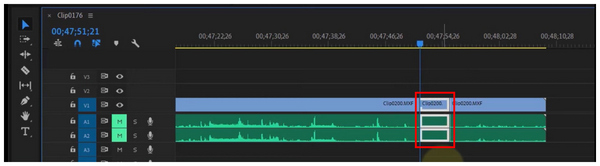
Moving forward to the more advanced selection on learning how to trim a video in Adobe Premiere Pro, we have the more traditional option of cutting using the Razor Tool. As its name suggests, this option transforms your cursor into the razor tool, which you can use to click on a point in the video that will serve as the origin of the cut.
Due to this design, selecting a single point will cut the video in half. If you select multiple points in the video, the gaps in between may be selected and deleted. To learn how to use this tool, please read the three-step tutorial below.
1. Select the Razor Tool on the tools tab of Premiere Pro. You may also press the C keyboard shortcut to activate it.
2. With the Razor Tool active, select a point in the video where you want to cut.
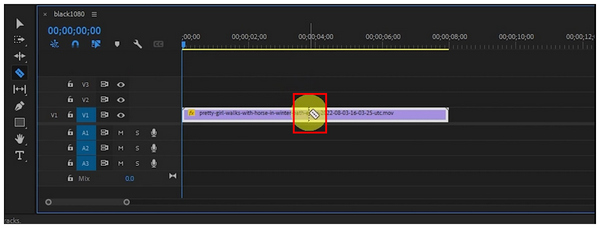
3. After selecting a point in the video using the Razor Tool, the other portions of the point will be cut based on how much you used the razor tool. If you only select one point, it will be cut in half.
Since Premiere Pro Razor Tool uses your cursor itself to cut videos, it offers more accuracy than the previous option. However, it takes more time to set up. With these benefits and limitations, you can now determine whether Razor Tool is a suitable option for your needs.
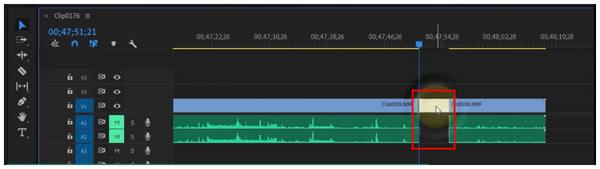
Finally, the third method in this article will be the Premiere Pro Ripple Delete option, which is more commonly used as a workflow efficiency technique than as a trimming tool. Although it is not a direct option to apply clip trimming in Adobe Premiere Pro, it works hand-in-hand with video cutting tools.
Ripple Delete works by automatically removing the gaps between two points that have been cut. This makes the workflow smoother since you will be able to skip clicking and dragging the two clips with a cut section in between.
Discover how to utilize Ripple Delete for a more efficient editing workflow with our comprehensive guide, provided below.
1. Discover how to utilize Ripple Delete for a more efficient editing workflow with our comprehensive guide, provided below.
2. Use your trim option to delete the portion of the video between the two selected points.
3. Click the gap where the deleted portion was located. Then, use the keyboard shortcut Shift+Delete for Windows or Shift+Backspace on Mac. By using these keyboard commands, the gap between the two points in the video will be closed.
Since Ripple Delete is an advanced option, the Shift+Backspace keyboard shortcut was suboptimally set. To make it more accessible, it is advisable to edit the keyboard shortcut for Ripple Delete using the software's customization options.
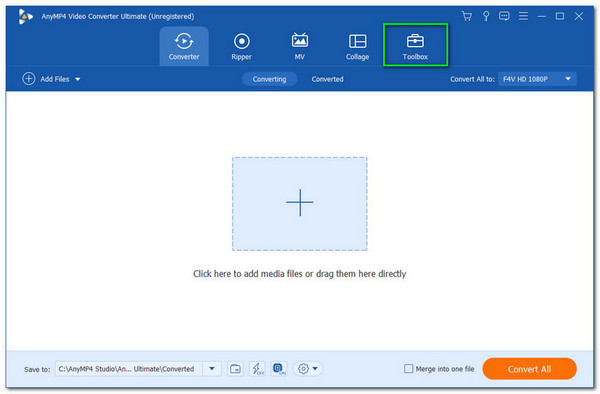
With three of the most popular video trimming options in Adobe Premiere Pro discussed, let us now proceed to the best third-party alternative for trimming videos: AnyMP4 Video Converter Ultimate. This versatile multimedia software also offers video trimming services through its exclusive Video Trimmer tool.
Also compatible with both Windows and Mac computers, AnyMP4 Video Converter Ultimate offers professional-grade video trimming using its Video Trimmer tool found within its Toolbox feature.
Also compatible with both Windows and Mac computers, AnyMP4 Video Converter Ultimate offers professional-grade video trimming using its Video Trimmer tool found within its Toolbox feature.
Moreover, the alternative to Premiere Pro also offers staple features such as video encoder settings, video channels, segment cutting, fast splits, fade-in, and fade-out.
Furthermore, it supports a much wider range of formats, as it can read over 500 file types, including popular ones such as MP4, MOV, WMV, AVI, MKV, and GIF, as well as more advanced file types.
In addition to the exclusive Video Trimmer tool, the program offers a range of practical and useful features, including Video Cropper, Video Rotator, Video Reverser, Video Compressor, Watermark Remover, Video Enhancer, and Video Speed Controller. The program also offers more advanced multimedia features, including MV Editor, Collage Maker, Video Format Converter, and 3D Video Maker.
To learn how to use the Video Trimmer feature of AnyMP4 Video Converter Ultimate, please follow our three-step guide below, which includes a detailed tutorial on the trimming option of the tool.
Also, be sure to download it for an easier time following each step.
Secure Download
Secure Download
1. Open AnyMP4 Video Converter Ultimate and select the Toolbox option in the program. Then, choose the Video Trimmer tool from the menu. Add the video you want to cut in the upload file menu that will appear.
2. Once the video is imported, you can use the Trim Slider options on either end of the video for quick and easy trimming. For a more accurate option, you can add specific times in the Set Start and Set End menus to indicate when the trimming will begin and end. Optionally, you may add Fade In and Fade Out effects for a smoother video cut effect.

3. With the trimming options applied, click Export to begin producing the edited video.

In addition to offering better trimming options than Adobe Premiere Pro, AnyMP4 Video Converter Ultimate is also more beginner-friendly compared to traditional video editing tools. This makes the software not only a good alternative for cutting videos, but also a better tool for newer editors.
What's the fastest way to trim the beginning and end of a clip?
The playhead and keyboard shortcuts are the fastest way to trim clips. This involves adjusting the playhead using your mouse, then executing the proper command. You only need to learn the Command + K shortcut to use this option.
Why are my video and audio files unlinked when I trim them?
Make sure that your video and files are trimmed simultaneously in the timeline. They should be in sync during the time the trimming occurred. This should ensure that the trimming result will be in sync.
My timeline is a mess with gaps after I delete clips. How do I fix it?
Use the Undo button to move back to the previous editing adjustments. It is Control + Z in Windows or Command + Z in macOS. Once you are back, redo your adjustments.
Is it hard to trim videos on Premiere Pro?
It depends on the trimming tool you will use. Easy-to-use options are less accurate. Meanwhile, harder options are more accurate.
Is Premiere Pro beginner-friendly?
No, it is not. Adobe Premiere Pro is designed for professional use. However, learning it as an amateur is a good skill to build.
Now that we have featured a guide for three of the most popular tools for video trimming in Premiere Pro, we hope that this article has provided you with useful information regarding everything you need to learn about video cutting in Adobe’s video editor software. If you are looking for an alternative multimedia tool that offers video editing capabilities and more, be sure to download AnyMP4 Video Converter Ultimate.
Secure Download
Secure Download
 Posted by Mark Cristobal to Edit Video
Related Articles
 5 Best Methods to Cut Audio in Windows, Mac, and Online
How to trim an audio file? How to split MP3 into clips? This post shares 5 ways to cut music file on Windows, Mac and online.
 MKV Cutter - How to Trim MKV File on Mac and Windows PC
What is the best MKV cutter? How do I trim an MKV file? How to cut MKV files for free? Get 3 MKV cutters to split or trim MKV files on Mac and Windows computer.
 How to Make Video Quality Better in Premiere Pro
Join us, discover what we need, and learn how to improve video quality in Premiere Pro. Check this to learn how to enhance video quality with this tool.
 Improve Video Using Color Correction in Premiere Pro
Do your videos look bland? Check this post and learn the color correction in Premiere Pro. This post includes the steps to achieve a natural-looking clip.