While the daily usage of your iPhone, you may frequently have the need to transfer all types of data from iOS device to Mac. Here in this post, we will talk about how to sync notes from iPhone to Mac.

Notes app offers a convenient and effective way to help iPhone users to write down or keep some valuable things. You can handily write a quick thought, note an important thing, copy a great sentence, create checklists, and do other things in iPhone Notes app. In some cases, you like to transfer iPhone notes to Mac for better view. Do you know how to sync iPhone notes to Mac?
In fact, it’s quite simple to sync notes from iPhone to Mac. iCloud provides you with a convenient way to sync all types of iOS data including iPhone notes among iPhone, iPad, iPod and Mac. This part will tell you detailed steps to help you transfer iPhone notes to Mac with iCloud.
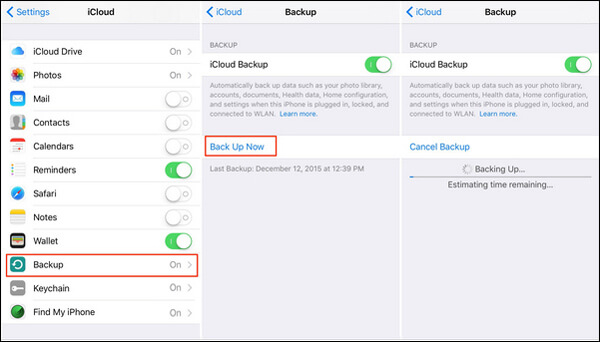
Step 1. First, you need to ensure all your iPhone notes are backed up to iCloud service. You can unlock iPhone and go to Settings app. Tap "iCloud" > "Backup" > "Back Up Now" to make a new backup for all notes on your iPhone.
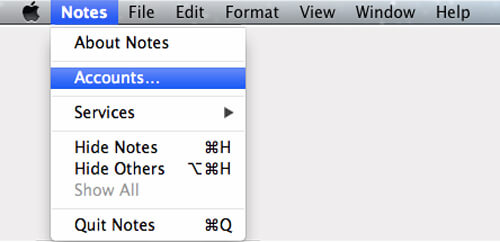
Step 2. On your Mac, open the “Notes” app. Click “Notes” on the menu bar and then choose the "Accounts..." option. During this step, you need to ensure your Mac is signed in with the same iCloud account.
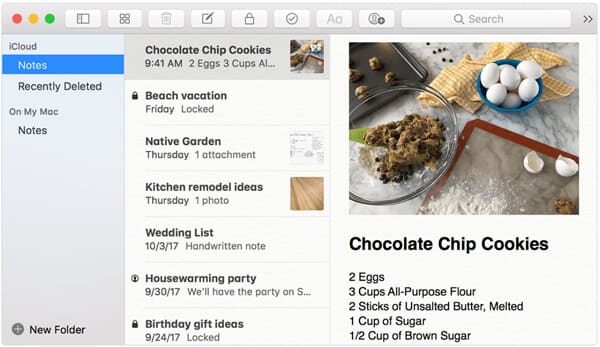
After signing in with the same iCloud account, all iPhone notes will be automatically synced to your Mac. Here you need to put both your Mac and iPhone under the same and good Wi-Fi network connection.
Sharing is also a good way to send various files from one device to another. You can also transfer iPhone notes to Mac through share feature.
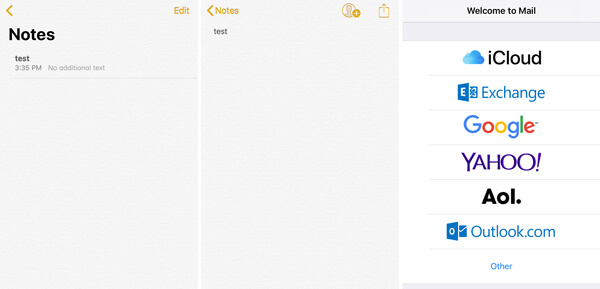
Step 1. Unlock your iPhone and go to “Notes” app. When you enter there, you can check and locate the specific notes file you want to sync to Mac.
Step 2. Tap on the iPhone notes file to check detailed information about it. Then you will see a “Share” icon on the top-right corner.
Step 3. Tap the “Share” icon and you will be given several ways to share the notes, such as Exchange, Google, Outlook and more. Here you can pick one suitable way as you like to sync notes from iPhone to Mac. Here you may also like to know how to lock iPhone notes.
With the first 2 methods above, you can easily sync notes from iPhone to Mac. But besides iPhone notes, do you also have the need to transfer other iOS files like photos, music, videos, contacts, messages, and more to your computer? Here we strongly recommend the best iPhone data transfer tool, iPhone Transfer Pro for you to transfer all types of iOS files between iPhone/iPad/iPod and Mac/PC. It gives you the one-click way to sync iPhone notes to Mac or PC, you should free download it and have a try.
Secure Download
Secure Download
Step 1. Double click on the Mac version download button above and follow the instructions to quickly install and run this iPhone notes transfer software on your Mac. It also offers a Windows version. If you want to transfer iPhone notes to PC, you can rely on it.
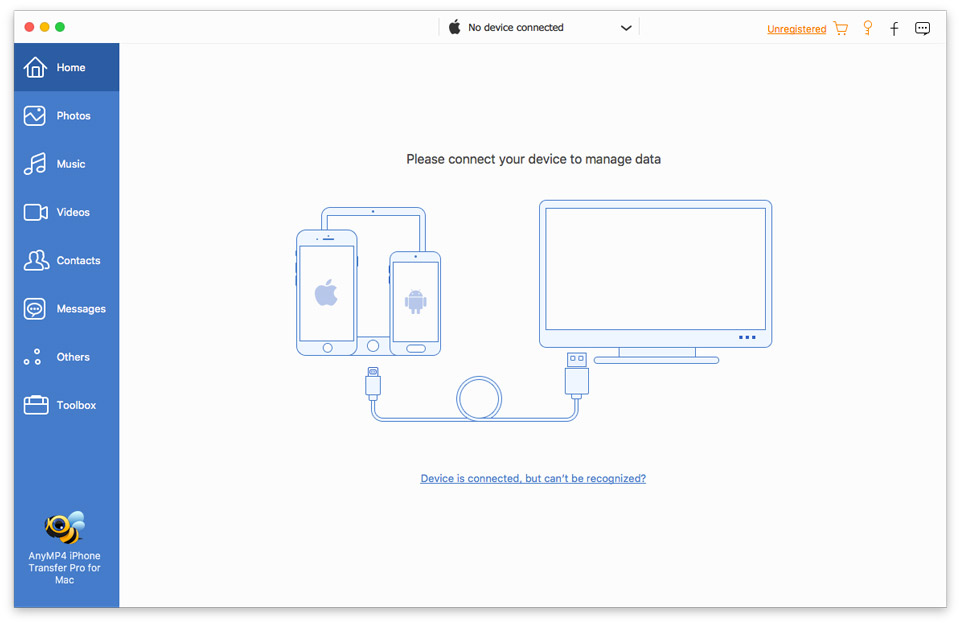
When you enter the main interface, you should first connect your iPhone to it with a standard lightning cable. To help your Mac quickly recognize your iPhone, you need to tap Trust this Mac on your iPhone screen.
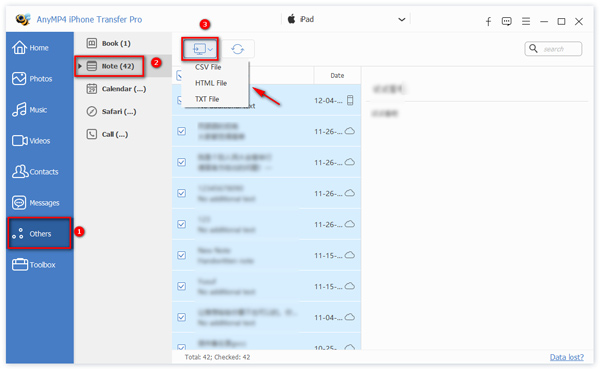
Step 2. After connecting successfully, this iPhone notes transfer will show some basic information of your iPhone in the interface. What’s more, you can see some basic iOS files are listed in categories on the left panel, such as Music, Photos, Contacts, Messages, Others and more. To find your iPhone notes, here you need to click on the “Others” option.
Step 3. You are allowed to check the details of each iPhone notes on the right preview windows. Here you can select all iPhone notes you want to sync to Mac. Then click on the Computer like icon to select an exported file format with three options CSV File, HTML File, TXT File. Then you can quickly transfer all these selected iPhone notes to Mac.
After reading this post, you can get 3 simple and effective ways to sync notes from iPhone to Mac. If you have any other solutions to do that, you can share them in the comment part with other readers.
 Posted by Riley Mitchell to Mobile Transfer
Related Articles
 How to Delete Apps on Mac – 4 Ultimate Solutions
Do you know how to delete an app on Mac quickly and safely? In this article, we introduce some professional eraser methods for you. Just read and get these best ways.
 How to Screen Capture on Mac – 8 Best Methods You Should Know
How to take a screen capture on your Mac? When you need to print screen on your MacBook, here are the 8 efficient methods to get the desired files with ease.
 Top 10 Best iPhone Music Players with Excellent Features [Free & Paid]
This is your one-stop solution to transfer and play music on iPhone. You can get not only 10 awesome iPhone music player apps, but also the super-fast iPhone transfer software here.
 How to Recover Deleted Notes from iPhone
Do you want to recover deleted notes from iPhone? You can find 5 best methods to get the deleted notes back from the article.