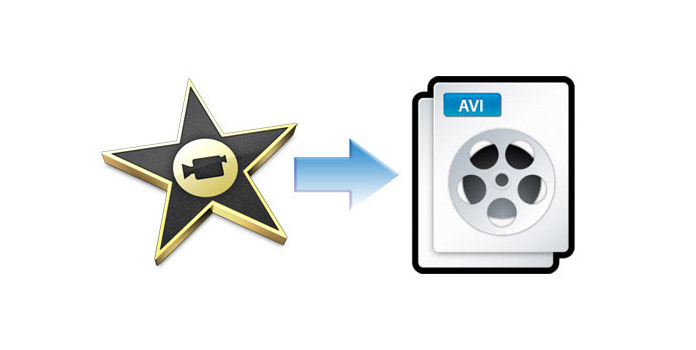
AVI files contain high quality video and audio together with small size so it's a very popular video format to transmit over the Internet. Would you like to share your iMovie edited videos with your friends who are PC users or share it on YouTube? Though iMovie can export .avi file, the file is either low quality or large size. Sometimes your PC and other devices even can't read .avi file exported from iMovie. Don't feel depressed. Here you just need to convert iMovie video format to AVI compatible with Windows and other devices.
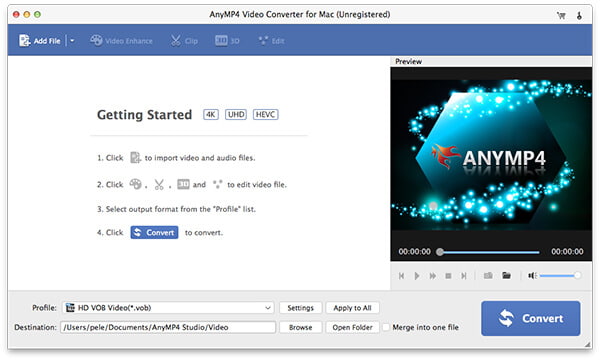
AnyMP4 iMovie to AVI Converter is the best iMovie to AVI converting software for Mac users which can convert iMovie to AVI with fast speed and excellent quality. Also, you can edit the videos with many functions, like trim, crop, merge, watermark and more. With simple design and user-friendly interface, it's very easy to operate even without much computer knowledge. This article aims to show you how to convert iMovie to AVI on Mac with this wonderful software step by step. First of all, please download the program here and run it on your Mac.
Secure Download
Secure Download
Click the drop-down arrow on the "Add Video" button and you'll see a drop-down list. Please choose "Add Video" item to open the "Select Video File" window. Here you can select the iMovie videos you want to add in the program one by one; or you can select "Add Folder" item to add multiple files to the program at one time.
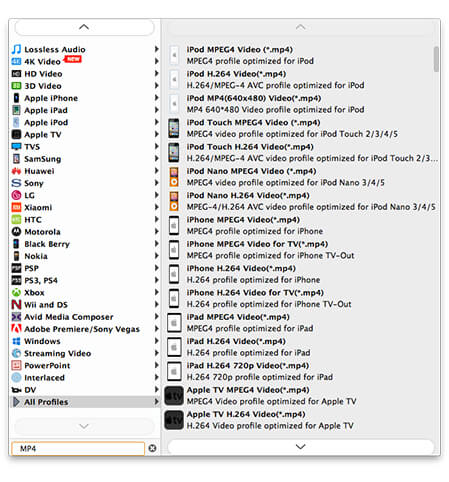
Click the "Profile" drop-down arrow then a drop-down list will pop up. Please input "AVI" in the quick search box and you'll see all the AVI formats then choose the one you desire. Or you can select "General Video > AVI - Audio-Video Interleaved (*.avi)" as the output format.
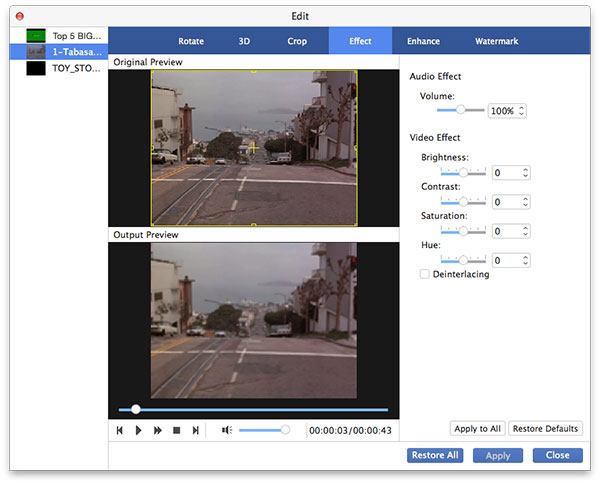
You're enabled to adjust the video effect with this powerful software. Click "Effect" button on the toolbar to open the "Edit" window. Here you can adjust Brightness, Contrast, Saturation, Hue and Volume by dragging the scroll bar of each effect to corresponding place or inputting corresponding value to change the effect.

You can add your signature and lovely picture to the video. Select the video you want to add watermark and click "Effect" button, then you'll see the "Edit" window. Please click "Watermark" button and check "Enable watermark" option, then check "Text" or "Picture" option to add text/image watermark to the video. Also, you're allowed to adjust the distance of the watermark to the left and top as well as its width and height as you like.
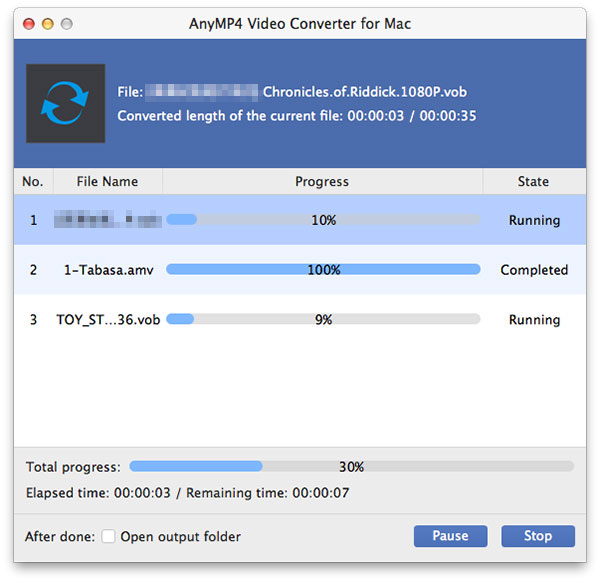
Finally you can convert iMovie to AVI by clicking "Convert" button. Batch conversion is supported so you can convert several videos at the same time. All the process will be finished in a short while.
 Updated by Joan Aimee to Convert Video
Related Articles
 How to Add Watermark to A Video with Your Brand
You can add watermark to a video with your own brand in 3 methods from the article.
 Top 10 Methods to Convert MP4 to WebM
These are top 10 best MP4 to WebM Converter programs that you can get easily.
 Top 10 MP4 to WAV Converters Online and Offline
This article has chosen 10 satisfied tools for you to convert MP4 video to WAV audio files.
 10 (Free) Ways to Extract Audio from MP4 (2026 Guide)
Learn how to rip audio from MP4 files losslessly with the best 10 tools (VLC, Audacity, etc.) to isolate audio in seconds. 100% working for Windows & Mac!