We always find a suitable picture for our PowerPoint presentations. However, there are instances when the images we use in them do not fit properly. Similarly, some online photos do not have uniform sizes and qualities. The post will let you know how to resize a picture in PowerPoint. You can discover easy steps in resizing a photo in many ways. Additionally, using the basic skills in PowerPoint can make the work easier. If you want to discover more about it, read more below.
In this part, you should know the two primary skills in resizing an image in PowerPoint. Resizing a picture is a simple skill you can quickly learn. Familiarize yourself with this skill so you won't have a hard time the next chance you do it. Read more below.
1.Open Microsoft PowerPoint on your PC.
2.Import your image file by clicking Insert. You have two options to choose; Online Pictures or Pictures that are stored on your PC.

3.A dialog box will open, and it will show the available pictures. Choose one that you want. Click Insert.
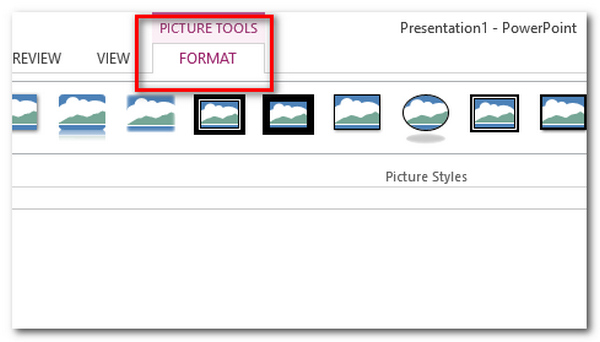
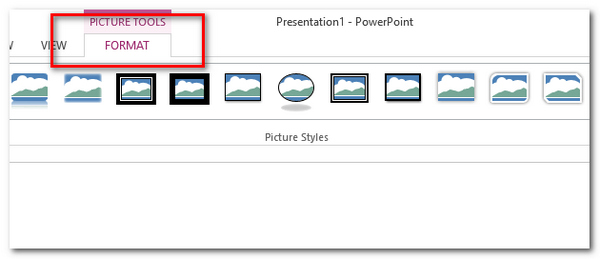
4.After importing your image file, highlight the image file. Then go to the Menu Toolbar. Under Picture Tools, select Format.
5.Under Format, go to Size, located on the upper right of the application. In this part, you can set the measurements of the height and width of the image to reduce the image's size.
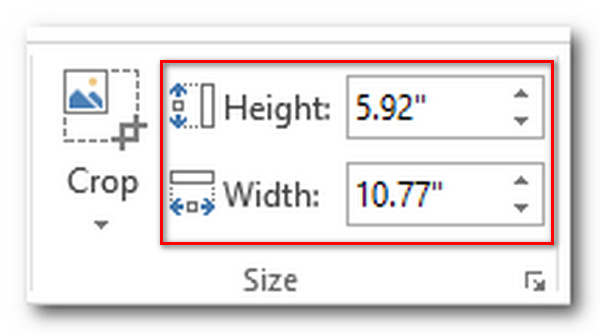
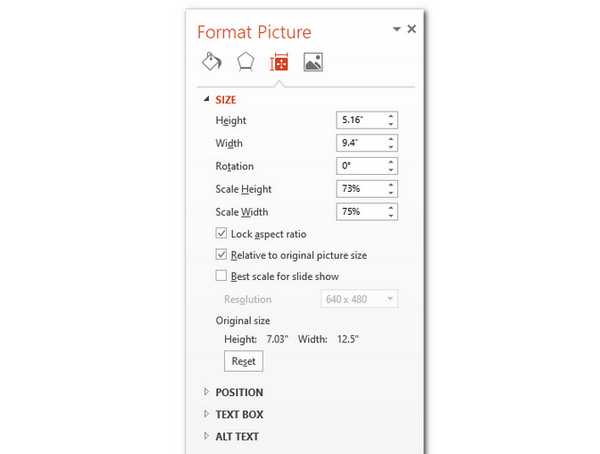
6.To go further on the details of the picture's size, click the arrow icon in Size. You will see the Format Picture box. You can edit the height, width, rotation, aspect ratio, and original size.
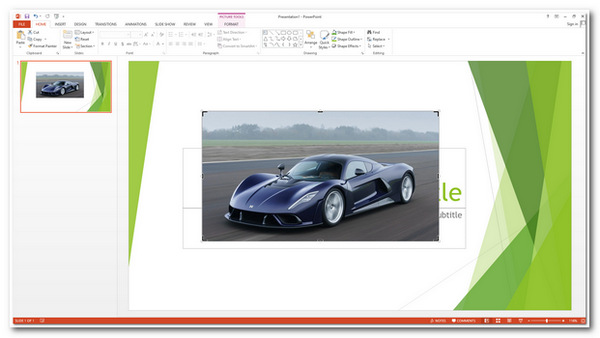
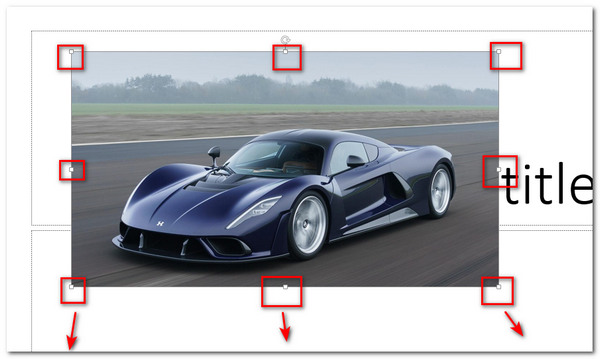
1.After inserting your picture, click on the added image file in the PowerPoint.
2.There are little boxes surrounding the image file. Those are called drag-sizing handles. You can use them to resize the photo by dragging and releasing the handles.
You can use either of the two ways. However, there is a big difference between these methods. In the first method, you can set specific measurements for the image size, including height and width. While in the second method, you can only drag and release the handles and can be visually relied upon on what you see fit.
Reducing an image size in PowerPoint is understandable because most images do not seem fit on a given slide. That is why in this post, you can learn to adjust its size and keep the quality of the image.
Cropping a photo is defined only as cutting the unwanted parts of an image. This can indeed reduce the size of the picture. In this part, you will learn the steps in quickly cropping a photo in PowerPoint.
1.After inserting your image file in the PowerPoint, click on the added image file. Under Picture Tools, select Format.
2.On the upper-right part of the app, click on the Crop tab in the Size section.
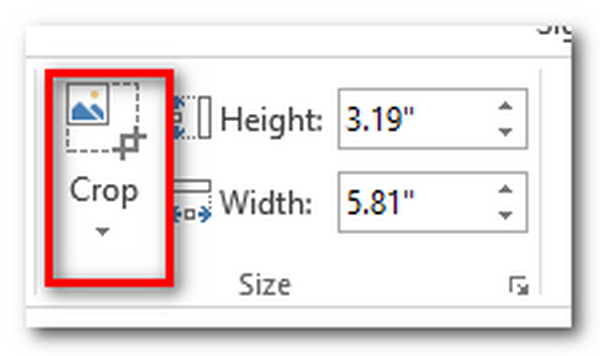
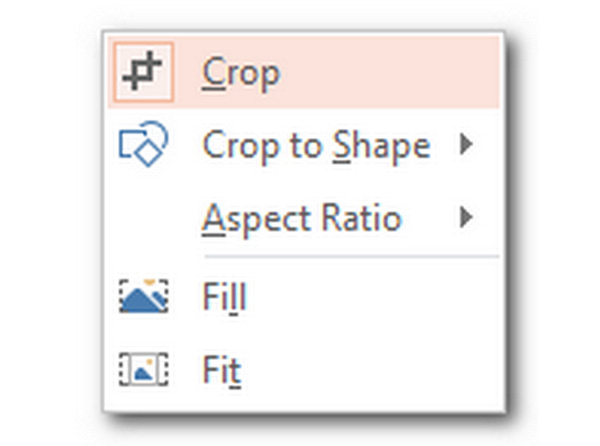
3.Click on the Crop tab. It will give you different Crop options for the image file. Select any. Then you can now click on your image to proceed.
Resizing either reduces or increases the image size you put in the PowerPoint. Cropping is removing and cutting any area of the image. These are two essential skills in editing a photo that is added in PowerPoint. After learning these steps, you can apply them in the future. For more image cropping tools, you can check them in this post.
Get rid of the complicated steps of resizing an image on Photoshop, you can turn to some free and esay tools online.
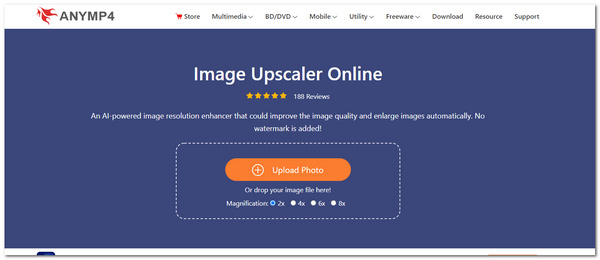
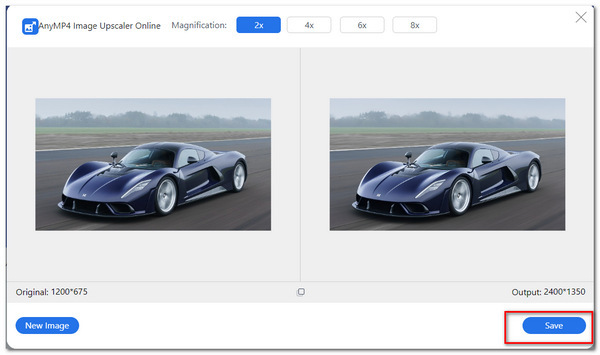
AnyMP4 Image Upscaler Online is one of them. It is an excellent tool for resizing a picture. It is guaranteed to maintain a good quality of images after enlarging. Moreover, it is a web-based application that is accessible online. The tool can reduce the noise of the photo and improve its sharpness. Similarly, the edges, lines, and some parts of the image can be improved.
Furthermore, it supports the standard image formats like JPG, JPEG, PNG, and BMP. Also, the tool has an excellent user interface. You can adjust the magnification between 2X, 4X, 6X, and 8X times. Also, it shows the original file size and its final output file size. Now, we go through its easy steps for you to learn more.
1.Visit AnyMP4 Image Upscaler Online on its official site.
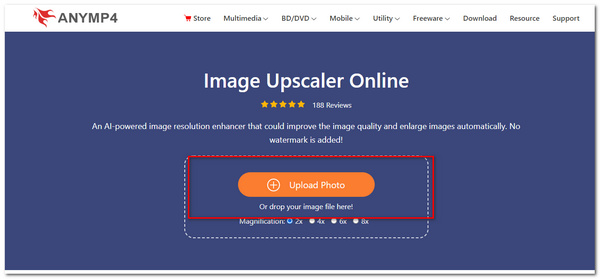
2.On its main interface, click Upload Photo. Or you can drag the file and then paste it into the app. You can import your image file successfully.
3.On the upper part of the app, you can select the magnification of the image file. Choose between 2X, 4X, 6X, and up to 8X times. This will guarantee you a good quality image.
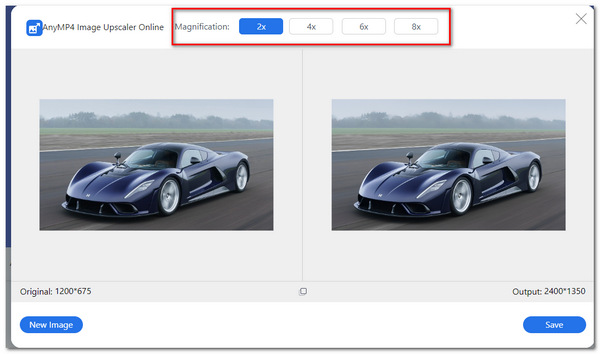
4.To save and download your picture, click Save on the lower part of the dialog box.
You can surely use this tool to resize pictures you can put in your PowerPoint. It already has preset magnifications that you can choose. The excellent thing about this tool is that it produces high-quality images that are not distorted.
How to resize a picture in PowerPoint without distorting it?
You can press SHIFT while dragging the drag-sizing handles surrounding the image to ensure the picture is proportionally resized. To keep the image in the center, press CTRL while dragging the handles in the image's corners. Furthermore, you can press SHIFT and CTRL to maintain proportion and keep it in the center.
How to keep the aspect ratio of the picture?
Select the Picture Tools option. In the Size section, click on the arrow icon. A dialog box will open, and it will show the Layout Options. Click the Size tab. Under the Scale section, put a check on the box of Lock Aspect Ratio, then click OK.
Is it possible to revert the image to its original size?
Yes, it is a possible thing to do. Select Reset Picture under Picture Tools. Under the Reset Picture tab, click Reset Picture & Size. It will automatically revert the image to its original size.
Does PowerPoint decrease the image quality?
PowerPoint compresses the photos in a 96 PPI resolution by default. Somehow, the 96 value of PPI produces low-quality of resolution.
To conclude, you already know the steps to be followed when resizing a picture in PowerPoint. In this post, two methods are introduced in resizing photos, one is from the built-in settings of PowerPoint, and another is from AnyMP4 Image Upscaler Online. By using the picture format settings in PowerPoint, you can specify the measurements of the image, or you can drag it as well. Also, it can crop your photo if needed. In AnyMP4 Image Upscaler Online, its benefit is instantly resizing your photo. Both tools are beneficial and depend on the user's preference.
 Posted by Angelica Liwanag to Edit Photo
More readings
 4 Ways to Resize Photos in Word
Resizing a picture in Word is an easy thing to do. Follow the 4 ways to change image or object size in Word 2007, 2010, 2016, and more directly.
 Best 4 Ways to Resize an Image on iPhone Without Quality Loss
Here is a complete tutorial on easily resizing photos on your iPhone. Learn and discover these simple steps and the best alternative tools.
 2 Ways to Burn a PowerPoint Slideshow to DVD without Quality Loss
A PowerPoint is a slideshow file format created by Microsoft. To burn a PowerPoint presentation to a DVD, you can learn 2 methods here.
 How to Use Illustrator to Resize Image in 3 Methods
Resizing an image using Illustrator is a great thing to do. With the help of this unique tool, let us discover these easy and simple steps in this post.