Picture this: you’re in a cozy hotel lobby, tired, and you want to take a break using DVD entertainment, but you only have your Chromebook with you. To most people, this is a nightmare scenario since it is a common misconception that Chromebooks can’t play DVDs. However, this is not entirely accurate; you can indeed play DVDs on Chromebooks. This article provides a detailed guide on how to play DVDs on a Chromebook using an external DVD drive. We will explore how to connect, set up, and play DVDs on Chromebooks with the help of detailed step-by-step guides below.

By default, Chromebooks are not equipped with built-in DVD players, a feature that is increasingly rare in modern laptop releases, as most are designed to support streaming services. However, DVDs are still supported by these devices, thanks to the use of external DVD drives for Chromebooks, which are now required to access physical media.
Fortunately, Chromebooks widely support external DVD drives, especially since most renditions of this modern hardware come with a USB connection. Due to these features, the general compatibility of Chromebooks and external DVD players is widely positive.
Now that it has been confirmed that a Chromebook with a DVD player connection is possible, let's proceed to the detailed tutorial on how to play DVDs on your Chromebook. To learn about the items you need to prepare, please refer to our guide below, which lists everything required to play DVDs on your Chromebook device.
What You'll Need:
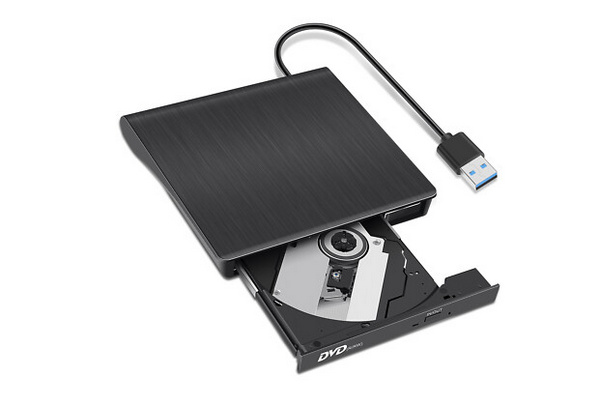
To start playing DVDs on your Chromebook, you need to use the correct external DVD drive first. In this case, look no further than external drivers equipped with a USB connection. With this item now in hand, please proceed to the guide below for instructions on connecting both devices.
1. Purchase an external DVD drive equipped with a USB connection. Fortunately, these connection options remain the most common to this day, and they are also the best external DVD drive options for Chromebooks.
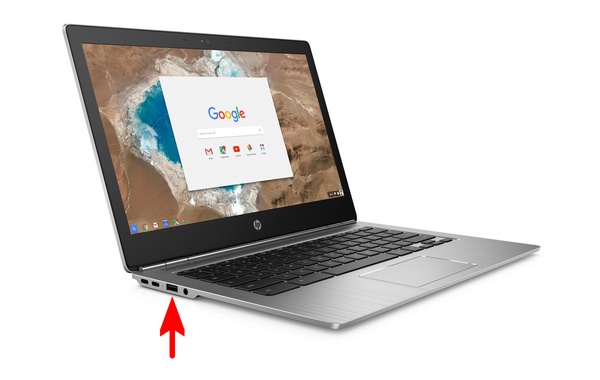
2. Inspect your Chromebook to determine the available USB ports. Use your external driver to connect your DVD player to a USB 2.0 or 3.0 port on your hardware.
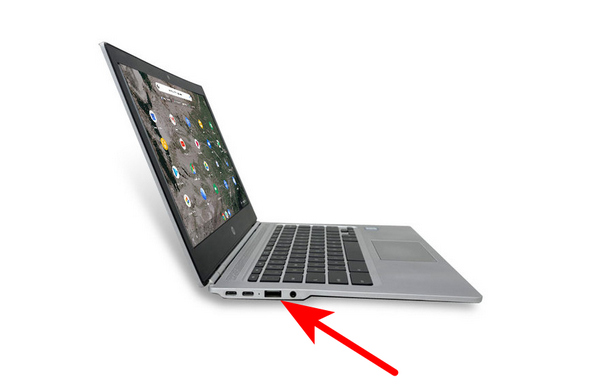
3. Follow the setup requirements of your External Driver to connect the device to your Chromebook. Once it is connected, you can use it to read the DVD media you want to watch.
Now that your external DVD player and Chromebook are connected, you can proceed to the next guide in this section to learn how to use an Acer Chromebook with a DVD drive.
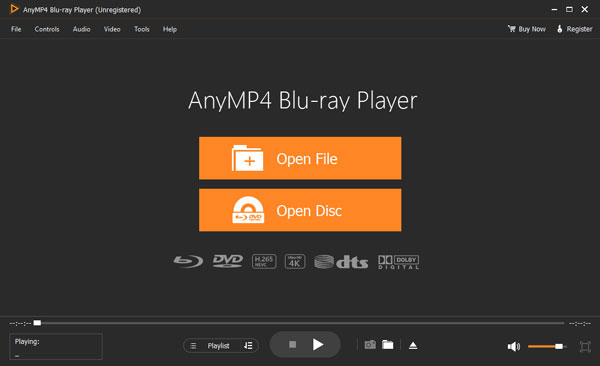
After connecting your Chromebook and external DVD player, the next step is to use a multimedia player that supports DVDs. Not all media player software is compatible with physical media, such as DVDs and Blu-rays. In this case, look no further than AnyMP4 Blu-ray Player.
Capable of supporting 4K quality media, this multimedia software supports various types of DVD formats, including DVD-RW, DVD-ROM, DVD-R, and other popular options. Additionally, DVD playback controls can be accessed in the tool, including menu, subtitles, audio track, and other DVD-related adjustments.
Available for Windows, Mac, and ChromeOS, AnyMP4 Blu-ray Player is a superb option for accessing physical DVD media from the comfort of your modern computer, whether you want to play DVDs, Blu-rays, or CDs.
To learn how to use the program, please refer to our guide below and ensure that you have downloaded the program first for an easier time following each step.
Secure Download
Secure Download
1. Refer to the guide above to connect your Chromebook to the external DVD player you are using. Insert the DVD into the player.
2. After loading the DVD, open AnyMP4 Blu-ray Player and select Open Disc.
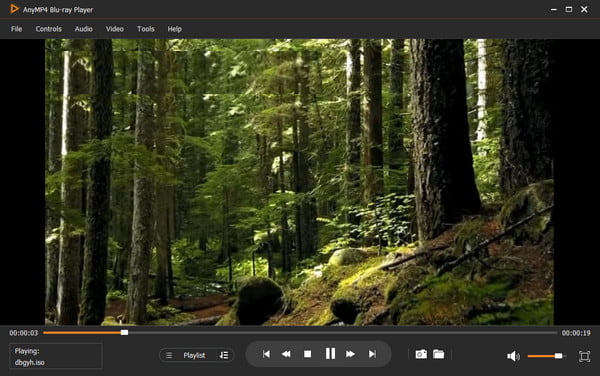
3. After selecting Open Disc, you will now be able to access your DVD content directly on your computer.
To watch the loaded DVD on your Chromebook, you have to use reliable media player software that supports these more advanced formats. In this case, AnyMP4 Blu-ray Player is an excellent choice. If you want to learn, does VLC work on Chromebooks? The answer is yes, and you can also use the open-source software as an alternative.
If your Chromebook fails to read your DVD drive, the first step you should try is to reconnect the hardware. This is usually solved by refreshing the physical connection between the devices. We can confirm that a Chromebook can run an external DVD drive.
DVD-related issues, such as unplayable media, are mostly rooted in the DVD that is running. Although you can connect a DVD player to a Chromebook, these errors should still be expected.
When your DVD playback has no sound, it is usually rooted in the media player you are using. To ensure that it is not, try increasing the volume on your device, whether through the program or directly on your Chromebook.
Choppy playback is commonly a sign of DVD damage. If that is the case, double-check your discs for visible scratches or major damage. If these are present, try using DVD repair tools. Unfortunately, using video editors for Chromebook will not be enough to fix these choppy playback errors.
If you want to play DVDs on your Chromebook but don't want to carry around external DVD drives, the next best option is to rip the DVD media. If you want this alternative, AnyMP4 DVD Ripper should be your number one choice.
After ripping DVD data, the content of the DVD you want to watch will now be accessible using digital media players. For a quick overview of how DVD ripping works, please refer to our short guide below and download the program first using the provided link.
Secure Download
Secure Download
1. Load the DVD you want to rip into your computer using an external DVD drive. Then, open AnyMP4 DVD Ripper.
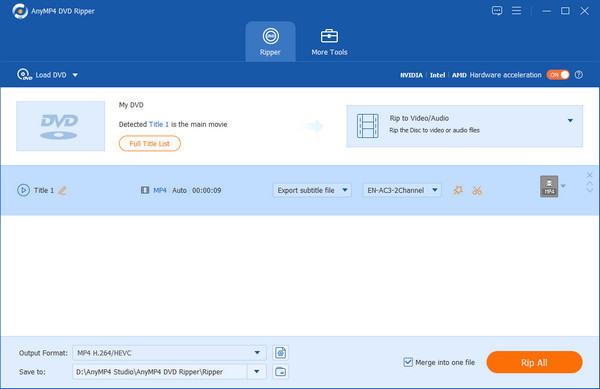
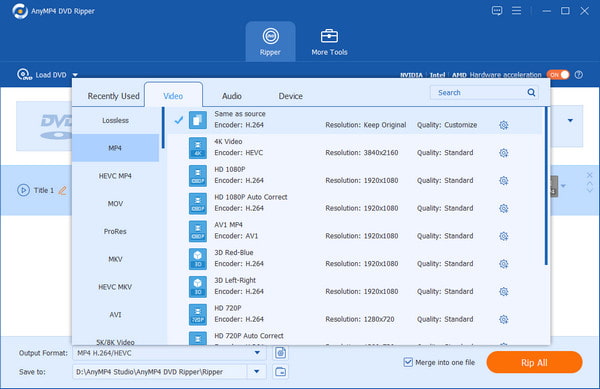
2. Select the video format in which you want the ripped DVD media to be saved. Among the available options, MP4 is the most supported choice.
3. Locate the destination where you want the ripped media to be saved. Then, select 'Rip All' to start the DVD ripping process.

Once you have learned how to rip DVD media, you will be able to play the video digitally without using DVD drivers.
Now that our guide has clarified that playing DVDs on Chromebooks is possible with external drives, we hope this article is sufficient to help you learn how to play a DVD on your Chromebook. Fortunately, the AnyMP4 Blu-ray Player option is very simple to use and free to download.
We hope that this guide will help you enjoy your DVD collection on your Chromebook, and that this article has answered your questions, such as how to play a DVD on your Chromebook.
Secure Download
Secure Download
 posted by Ted Klarso to Play Blu-ray&DVD
Related Articles
 Top 5 Google DVD Player Software – Rip DVDs to Chromecast for Playback
Get easy to operate workaround, to rip and stream DVD movies to Chromecast. Here are top 5 Google DVD Player for you to choose and manage with.
 How to Play DVD on MacBook Pro Without Limitation
MacBook Pro Retina does not have DVD drive now. What should you do to play DVD on MacBook Pro? Here are the solutions for you.
 2 Best Ways to Play DVDs on Android Tablet
Does the Android tablet play DVDs? Read this post to find the answer and the two best methods to play DVDs on an Android tablet easily and quickly.
 [2026 Updated] How to Play DVDs on MX Linux in 3 Easy Ways
How do I play DVDs on MX Linux? This article will give a detailed guide to show the steps of playing DVDs on MX Linux in 3 ways.