AVI is a one of the most popular video formats. It's highly compatible with many mainstream devices, such as BlackBerry, Wii, Xbox, PSP, PS3 and Creative Zen. However, when you want to share your AVI videos downloaded from the Internet with a friend who's using QuickTime player, you'll feel frustrated because QuickTime can't play AVI.
Is there no solution to make it possible to play AVI videos with QuickTime? Of course there are solutions. One of them is to convert AVI to QuickTime MOV. AnyMP4 AVI to QuickTime Converter can finish the conversion in a few second by a few clicks. With this best software, you can edit the video as you like, including adjust the video settings, adding watermark and cropping the video frame. This article mainly introduces a step-by-step guide on how to convert AVI to QuickTime MOV with best software. First of all, please download the program and install it on your computer.
Secure Download
Secure Download
After you install the program on your computer successfully, double click the program to launch it. Click "Add File" button to open the "Select Video File" window to select the AVI videos you want to add to the program. Want to put several files to the program at one time? Please select "Add Folder" option from "Add File" drop-down list or "File" drop-down list in the main menu to add multiple files to the program.

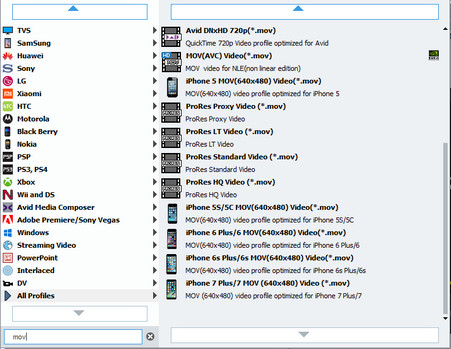
Click the drop-down arrow on the "Profile", a drop-down list will pop up, please select "MOV – QuickTime Video (*.mov)" from "General Video" category; or you can input "MOV" in the quick search box under the drop-down list to let the system find all formats for you then select the one you need.
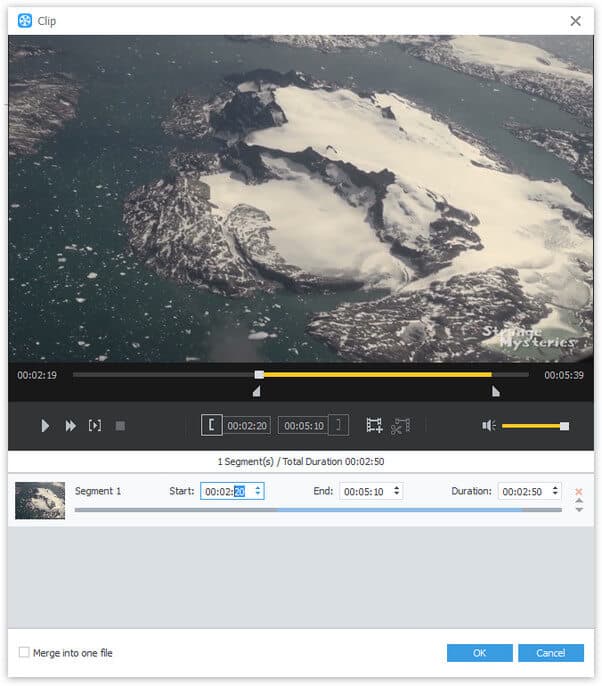
Have you ever wanted to get rid of your unwanted part of one video? With "Clip" function, you can make it very easily. Select the video you want to trim then click "Clip" button or select "Clip" option from "Edit" drop-down list. You can drag the slide block to corresponding place to decide the start time and end time or directly input the time you desire in the corresponding box.
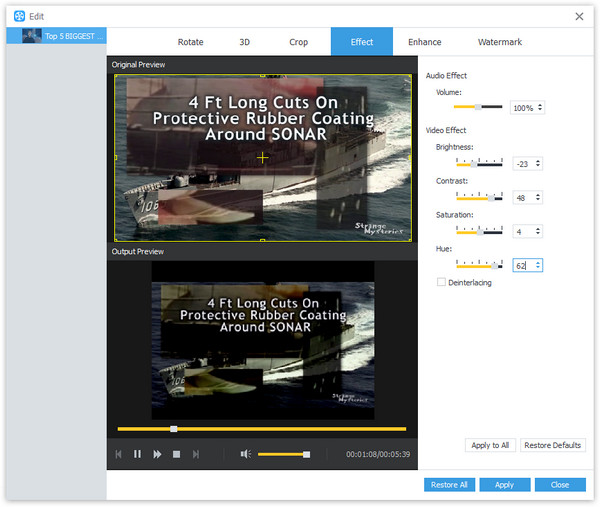
Click "Effect" button to open the "Edit" window. You can adjust the Brightness, Contrast, Saturation, Hue and Volume. What you need to do is dragging the scroll bar of each video effect to set corresponding value or inputting the value you want in corresponding box to change the video effect. In the "Output Preview", you can see the output video.
After you've done the editing efforts, you can start to convert AVI to QuickTime MOV right now. It takes a few seconds to finish the conversion. In addition, this software supports batch conversion. You can convert several videos at the same time.

 Updated by Joan Aimee to Convert Video
Related Articles
 Convert Video to MP4 Free With Top 10 Methods
Here are the details about video to MP4 Converter. Read and discover favorite tool.
 Top 15 AVI to MP4 Free Converters You Really Want
This article introduces top 15 Free AVI to MP4 Converters for users to convert AVI.
 6 Best Audio Joiner software to Combine Audios
Learn more details about the 6 best Audio Joiner software to combine them.
 Top 10 Reverse Video Makers You Should Know
Discover your favorite tool to reverse a video clip on Windows, Mac, Android and iOS.