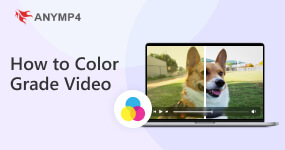
DaVinci Resolve's color grading capabilities are widely regarded as the industry standard. Many video editors, YouTubers, and colorists frequently use it, and even its free version is very powerful. So, how to effectively utilize Color Grading in DaVinci Resolve? This guide will explore the definition of color grading and color correction, while providing a structured, efficient workflow to help you create more impressive, cinematic-looking work. Now let's get started.
This section will focus on project settings (color management and timeline settings), as well as the fundamentals (color correction), to introduce DaVinci Resolve's color grading workflow.
Before making any adjustments, you must first tell DaVinci Resolve how to interpret your footage. Skipping this step is the primary reason beginners struggle with inconsistent color.
In the Color Management tab, set your Output Color Space to Rec.709-Gamma 2.4. This is the universal standard for YouTube, TV, and web displays.
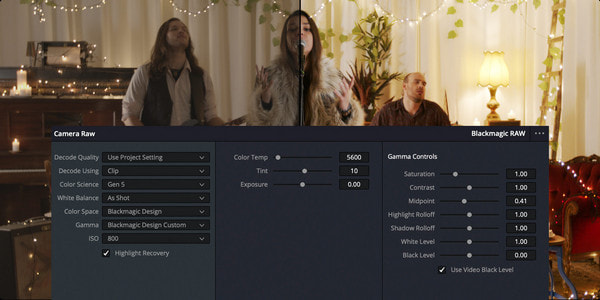
Color Correction is about cleaning the slate. Before you add a mood or look, your footage must look natural and balanced.
After completing the above steps, your footage is now fully prepared for color grading.
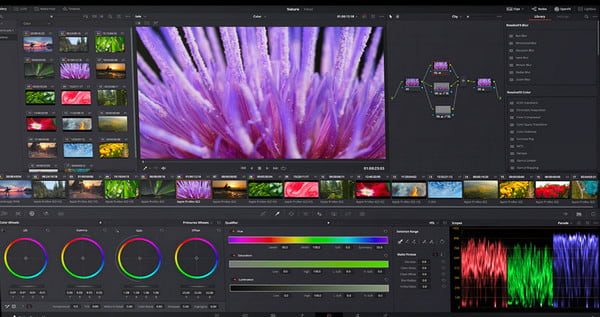
This section is the highlight of cinematic color grading in DaVinci Resolve. The workflow here will define the final look of your film.
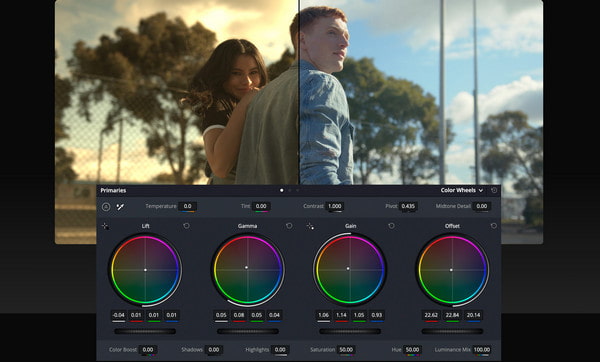
This is where you use the tool color wheel to establish the overall contrast ratio and brightness of your scene.
The key to secondary adjustments lies in emphasizing specific colors or areas of the image that need special attention.
• Skin tones: Use the HSL Qualifier (eyedropper) to select a single color, most often, Skin Tones. You can then adjust only that color's hue, saturation, or luminance (HSL) without changing the background.
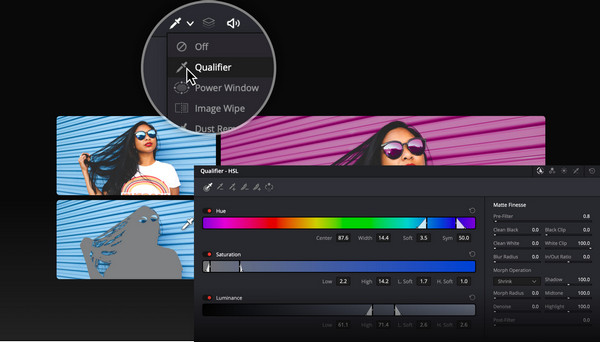
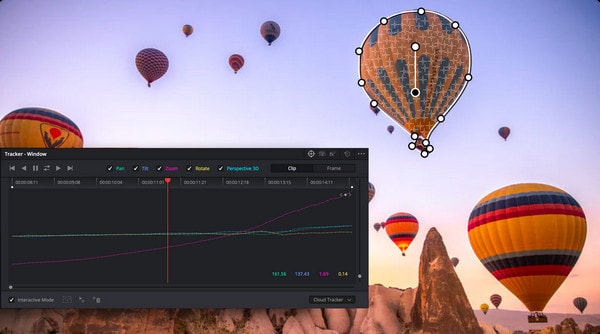
• Power Windows (Masks): Use these shapes (rectangles, circles, or custom polygons) to draw focus. For example, draw a circular Power Window around a character's face, soften the edges, and slightly raise the Gamma (midtones) to light their face independently of the environment.
The Advanced part isn't about using complex tools; it is about organization and applying sophisticated mathematical definitions of color.
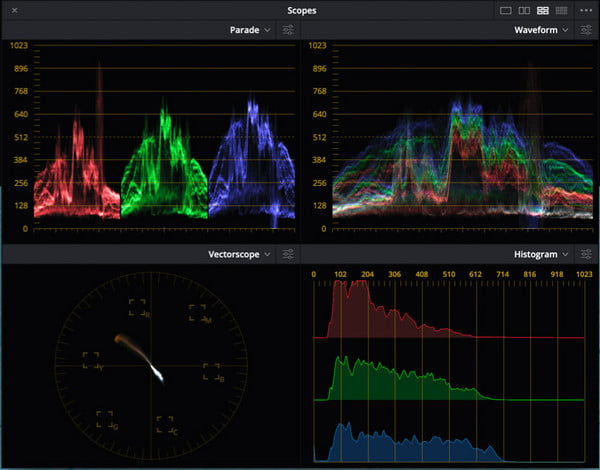
The scope is like a monitor for your video's health. During final editing, you should always keep the Video Scopes panel open (Shift + 9) in DaVinci Resolve to ensure your monitor is perfectly calibrated.
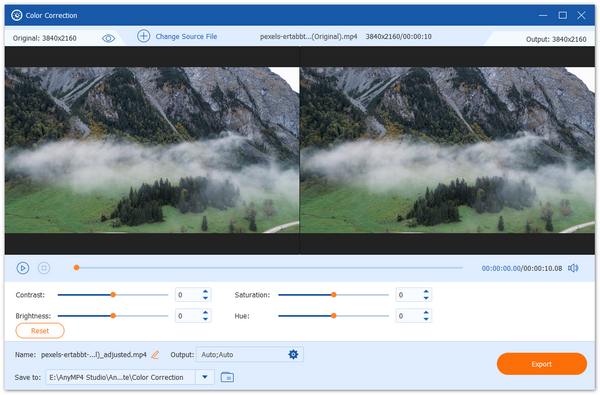
Although DaVinci Resolve is the undisputed industry standard for color grading, its steep learning curve and high hardware requirements may not suit everyone. AnyMP4 Video Converter Ultimate is definitely its best alternative. This all-in-one video editor is specially designed for creators who value efficiency. Its built-in tools, Video Enhancer and Video Color Correction, let you easily and quickly adjust hue, brightness, contrast, saturation, and more. It also provides versatile editing functions, allowing you to customize parameters after color grading your video files for an enhanced viewing experience.
Secure Download
Secure Download
What is the difference between Color Correction and Color Grading?
Color correction is about structural integrity and realism, while color grading is about style and mood. The difference between them is like the difference between building a house and decorating it.
What is the best Node Tree structure for color grading in Resolve?
The best structure is subjective, but most professionals use a Fixed Node Tree, where every node has a specific job. This approach ensures consistency and makes it much easier to go back and tweak specific settings later.
How do I get rid of the 'digital' look in my footage?
Digital sensors capture data mathematically, whereas film is organic, chemical, and slightly imperfect. To get that 'filmic' texture, you essentially need to introduce controlled imperfections.
Is DaVinci Resolve color grading free?
Yes, the free version of it includes nearly all of the professional color correction and grading tools found in the paid version. However, some advanced features are only available in the Studio version.
Does DaVinci have AI color grading?
Yes! DaVinci Resolve has heavily integrated AI through its DaVinci Neural Engine. But most of them are exclusive to the Studio (paid) version.
Following the workflow in this article for color grading in DaVinci Resolve can significantly enhance the visual quality of your videos. However, if you just want to simply adjust the color of the video, AnyMP4 Video Converter Ultimate is the best alternative. This all-in-one video editor has many powerful built-in tools that allow you to get professional results quickly with just a few simple steps. We hope this article can help you!
Secure Download
Secure Download
 Updated by Mark Cristobal to Edit Video
More readings
 What Is Color Grading and How Do You Color Grade a Video
What is the video color correction? How to color grade a video in DaVinci Resolve? How to colorize a video online free? Learn 6 ways to color grade a video.
 3 Ways to Change the Color of a Video (Beginner Guide)
Learn how to change the color of a video like a pro here! Discover effective methods for color transformation to add visual impact to your videos.
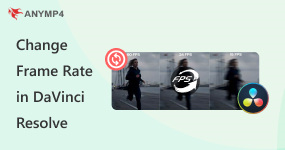 How to Change Video Frame Rate in DaVinci Resolve (2026)
Learn the different methods to apply frame rate adjustments in DaVinci Resolve using our detailed guide for changing FPS in the project, timeline, and clips.
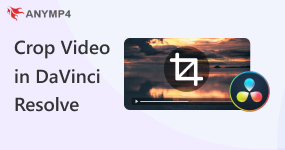 2026 Guide on Cropping Videos in DaVinci Resolve
Learn how to crop videos in DaVinci Resolve using multiple options in the video editing program, from basic cropping tools up to advanced video crop options.