Recording videos on Mac has become an essential skill in today's digital age. Whether you're a content creator, educator, or just someone looking to capture special moments, knowing how to record video on Mac can open up a world of possibilities. While Mac offers built-in tools for video recording, specialized software like AnyMP4 Screen Recorder for Mac takes your capabilities to the next level. In this post, we will walk you through various methods and tools to help you effortlessly capture your screen activities, record yourself, and create captivating video content from your Mac. So without further ado, let's get started!
AnyMP4 Screen Recorder for Mac is the best video recording software for Mac, allowing you to capture video and audio from your Mac's screen. It is commonly used for creating video tutorials, recording in-game sessions, capturing video calls, and many more. Not to mention, it offers features such as the ability to select a specific screen area, record system sound and microphone input, recording settings, and save recordings in various formats.
Recommendation
PROS
CONS
Here's how to screen record on Mac with audio from video using AnyMP4 Screen Recorder for Mac:
1. Get started by obtaining AnyMP4 Screen Recorder for Mac; click Free Download below. Please install the program on your Mac and run it afterward.
Secure Download
Secure Download
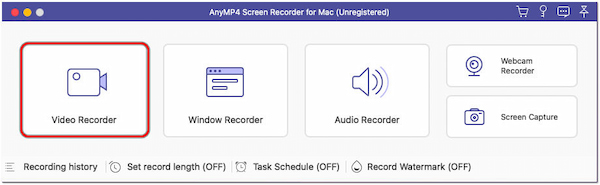
2. Navigate to the Video Recorder tab and configure your recording settings on the next window.
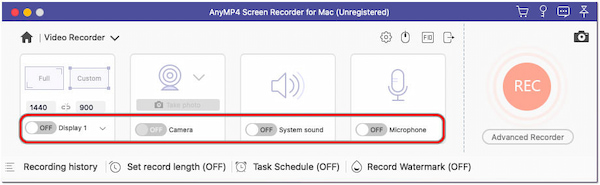
3. Once the settings are configured, arrange the content you want to record within the frame.
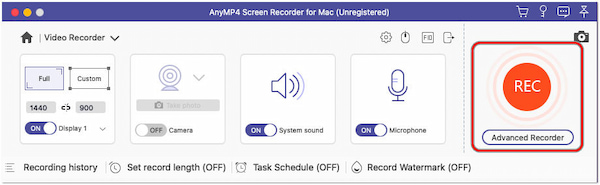
4. Click REC in the program's interface to initiate the recording. Begin performing the actions you want to record.
5. Click the red square Stop button to stop the recording once you're done.
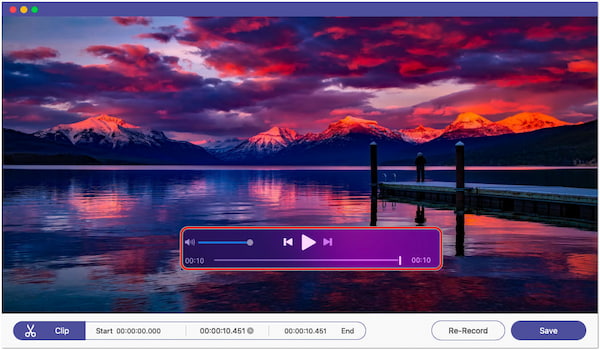
6. After ending the recording, you will be prompted in the Preview screen, enabling you to trim unnecessary footage and save the recorded video.
AnyMP4 Screen Recorder for Mac is the ultimate option for capturing videos on your Mac screen. It lets you easily capture various types of video, including software demos, games, and presentations. Afterward, save your recorded videos in different formats for easy sharing and editing.
Photo Booth is an app for recording video on Mac that provides basic photo and video capture functionality. It offers various real-time effects and filters for your images and videos. While it's not a full-fledged video recording software, it is a quick tool for capturing moments, creating simple videos, and having creative fun with effects.
PROS
CONS
How do I record a video on my Mac? Please refer to the instructional guide below:
1. Press the Command + Space keys and type Photo Booth to launch it.
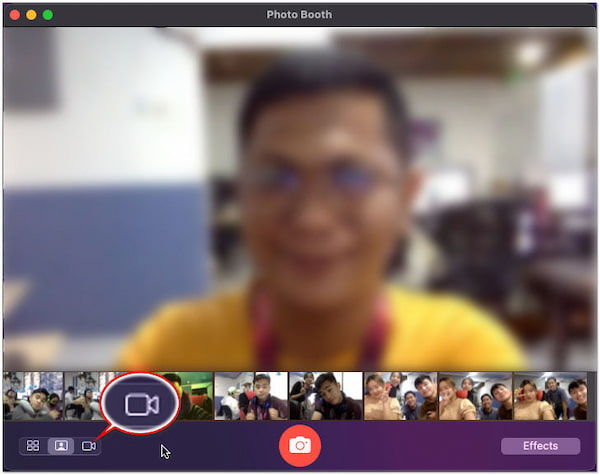
2. Click the Video icon to switch the Photo Booth to video recording mode.
3. Adjust your position in front of the camera to ensure you're properly framed in the video.
4. Click Record to start recording a video.

5. After performing your actions, click the Record button again to stop the recording.

Photo Booth is ideal for quick and lighthearted use, such as creating short video messages, recording playful videos, or experimenting with effects. However, explore other tools that offer more comprehensive features for more extensive video recording and editing tasks.
QuickTime Player is a multimedia application that comes pre-installed on Mac. It supports various media formats and is commonly used for playing video and audio files. On the other hand, QuickTime Player can also record video on Mac. It offers a recording feature that lets you capture screen activities, making it useful for recording videos.
PROS
CONS
Here's how to record self video on Mac using QuickTime Player:
1. Find the QuickTime Player in your Applications folder and open it.
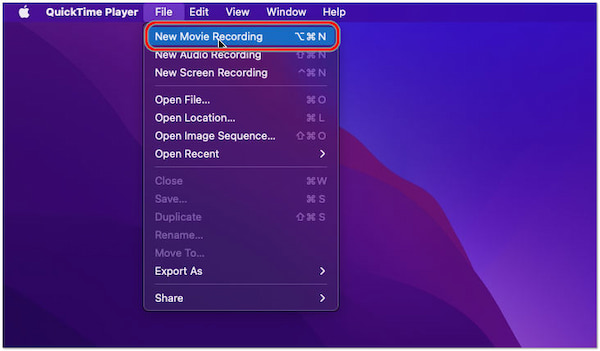
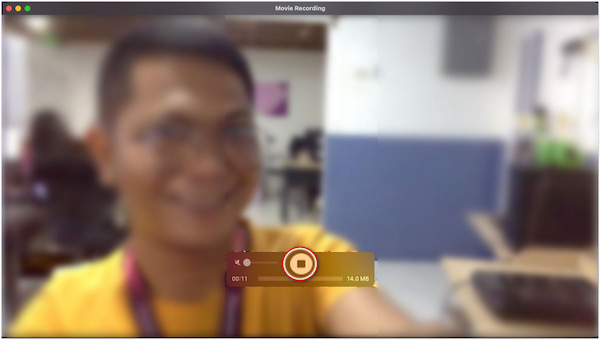
2. In the QuickTime Player menu, click File and choose New Movie Recording.
By default, QuickTime will use the built-in camera and microphone. If you have an external camera or microphone, click the arrow and select your desired devices.
3. Ensure you are properly positioned in front of the camera.
4. Click red Record to start recording your actions.
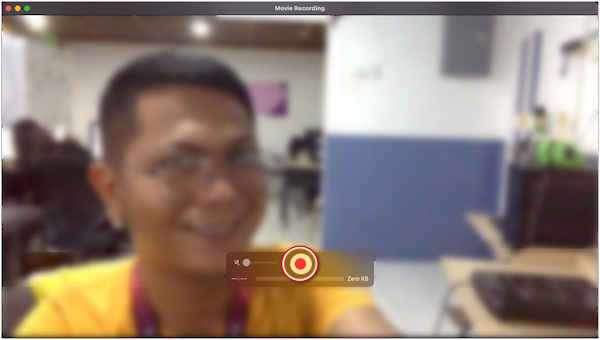
5. Click the Stop button in the recording control panel when you're finished recording.
QuickTime Player's screen recording feature is useful for basic screen capture needs. However, exporting options are limited compared to dedicated video editing and recording software, potentially restricting your choice of output formats and settings.
iMovie is a video editing application that offers various features for creating and editing videos. Although its primary purpose is video editing, you can use it as a free video recording software for Mac. iMovie includes a built-in feature enabling users to record video in iMovie directly from their Mac or external cameras.
PROS
CONS
Here's how to record a video on a Mac Air using iMovie:
1. Open iMovie, click Create New and choose Movie as the project type.
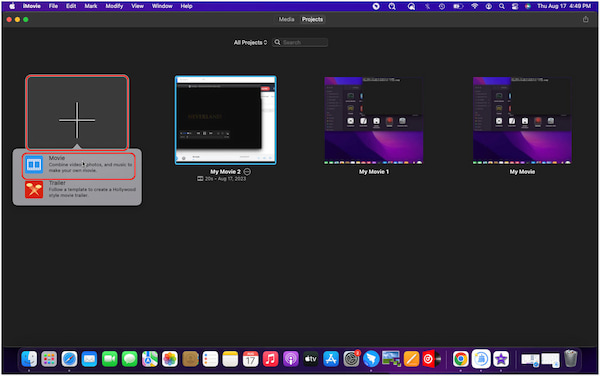
2. Click the Import Media and select a video clip as a temporary placeholder.

3. Head to the top menu, click Window, and select Record Movie.
4. Ensure your presence is visible within the real-time preview on the screen.
5. Start recording your actions by clicking the red Record button.
6. When you're finished recording, click the gray square Stop button.
iMovie's video recording feature is suitable for creating content where recording and editing are closely tied. However, recording video with iMovie is not straightforward; since iMovie is primarily an editing tool, you'll need to create a placeholder for your video recording.
Does QuickTime on Mac record audio?
YES! QuickTime Player can record both video and audio. However, it doesn't directly support recording internal audio, like sounds from applications. If you wish to capture screen activities along with system sound, you can use AnyMP4 Screen Recorder for Mac. It can record system audio (sounds from applications), allowing you to create videos with audio.
Does Mac have a video recorder?
YES! Mac computers come with built-in tools that can be used to record videos. However, they are less advanced than dedicated recording software like AnyMP4 Screen Recorder for Mac.
Can you record yourself in iMovie on Mac?
YES! You can record yourself using iMovie on Mac. While iMovie is primarily known as a video editing application, it also offers the ability to record video directly from your computer's built-in or external camera.
Can I record video and audio separately?
YES! You can record video and audio separately as you desire. Screen recording software like AnyMP4 Screen Recorder for Mac lets you capture video and audio separately. It has a Video Recorder and Audio Recorder feature you can explore upon downloading the tool.
Can I record internal audio on QuickTime?
QuickTime Player on Mac doesn't natively support recording internal audio. You can record system audio but not audio output from individual applications. To record internal audio, you can use AnyMP4 Screen Recorder for Mac.
That's all we have for the How to Record Video on Mac guide! Recording video on your Mac has evolved from a basic necessity to an art form, allowing you to express, educate, and entertain. The built-in tools on Mac provide accessibility, while additional software like AnyMP4 Screen Recorder for Mac amplifies your possibilities. Whether you're recording self-videos, sharing gaming experiences, or communicating visually, this post has equipped you with the knowledge to record flawlessly. Embrace the power of video recording on your Mac, where your creativity can shine with the support of AnyMP4 Screen Recorder for Mac!
 Posted by Riley Mitchell to Record Video
More readings
 Top 8 Podcast Recording Applications Available to Windows and Mac
Here, we identify the best podcast recording software on the market to help you save your favorite podcasts and then you can listen to them on any devices.
 3 Proven Methods to Record Audio from Browser on Windows and Mac
Whether you need to capture audio files, you have to record audio from browser, here are 3 frequently used methods you should know.
 3 Ways to Record/Capture Screen on Windows 11/10/8/7
Learn how to record screens on Windows with ease. Follow our comprehensive guide to capture screens using built-in features and third-party tools.
 Recoding Valorant Gameplay using Software and Online Tools
Let us save the incredible experience of gaming. See this post and discover how to record Valorant gameplay using the best software and online tools.