As we know, iPad can play MP4, M4V, MOV, and MPEG videos, but it doesn't support other popular video formats like MKV, FLV, MTS, M2TS, ASF, WMV, SWF, VOB, TS, and other HD video. To put these videos on your iPad, you should have a professional video converting tool to convert the video formats to iPad compatible videos. AnyMP4 iPad Converter for Mac is the best and powerful Mac iPad Converting software to convert any video to iPad with unparalleled converting speed and unbelievable converting quality. And the multiple editing functions would help you customize the videos to be perfect.
How to play and enjoy any popular video on iPad? This step-by-step guide would show the detailed steps for you. First of all, you need to download this iPad Converter for Mac and install it on your Mac.
Secure Download
Secure Download
After installing AnyMP4 Mac iPad Converter on your Mac, you can launch the program and open the main interface.
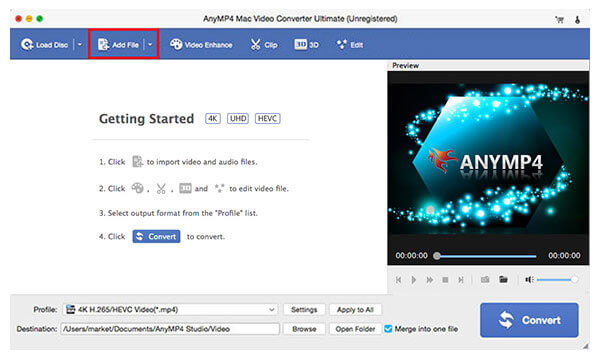
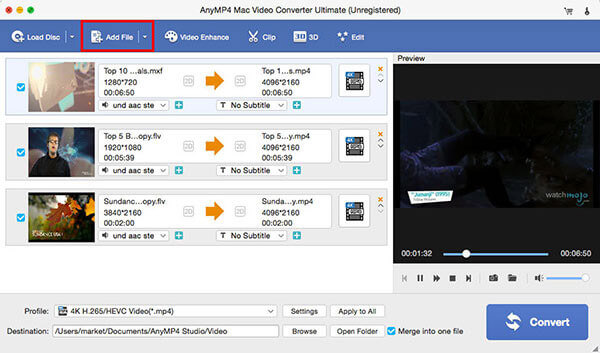
Click "Add Video" button and select the video you want to convert and add it to the program, you can also click "Add Video" drop-down button to open the drop-down list and select "Add Folder" option to add multiple videos to the program at the same time.
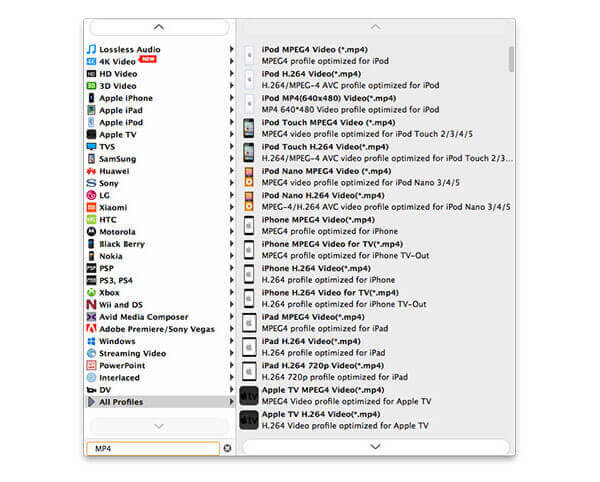
Click "Profile" drop-down button to open the "Profile" list and select iPad output format for your source videos, you can choose different video formats for each source video, and you can select one format for all your added videos by clicking "Apply to All" button.
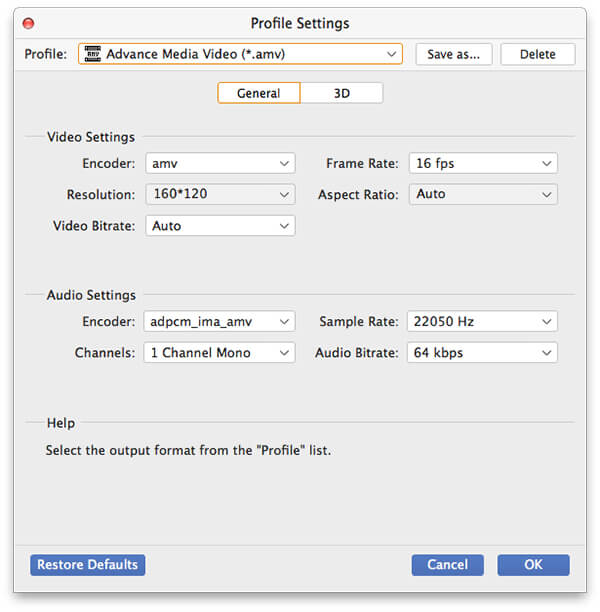
After selecting the output format, you can start to define the output settings like video settings and audio settings such as video resolution, video bitrate, frame rate, video encoder, aspect ratio, audio channels, sample rate, audio encoder, and audio bitrate.
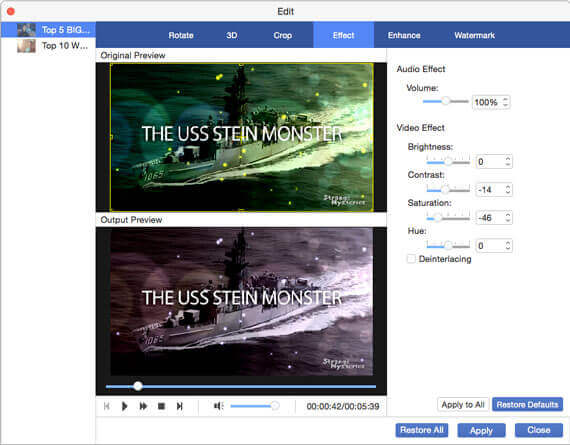
Click "Edit" button to open the "Edit" window, here you can adjust the video effect like brightness, saturation, contrast, hue and volume; trim the video length to cut off the unwanted part of the video; crop the video frame to remove the black edges; and add text/image watermark to the video. The source and output video contradistinctive window would help you get the better video effect.
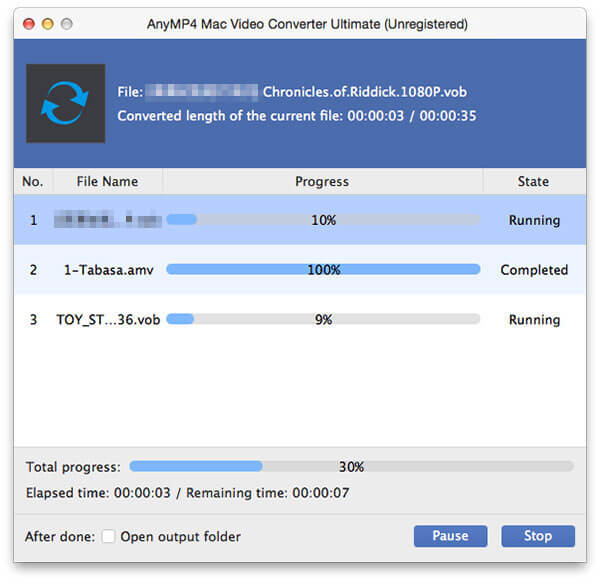
At last, you can click "Convert" button to start to convert video to iPad for enjoyment.
 Updated by Joan Aimee to Convert Video
Related Articles
 Easy to Change WMV to MP4 on Windows and Mac
The easiest ways to change your files from WMV to MP4 are all in this post.
 Top 10 Methods to Convert DAT to MP4
You may get a DAT file on your computer sometimes, you may need to convert DAT to MP4.
 Top 5 Methods to Convert ISO to MP4
The article recommends top 5 best methods to help you convert ISO to MP4 video.
 How to Convert MOV to MP4 on Android
You can learn about the best way to convert MOV to MP4 video on Android device.